UNDERSTAND IT VISUALLY
Change a variable. Keep a record.
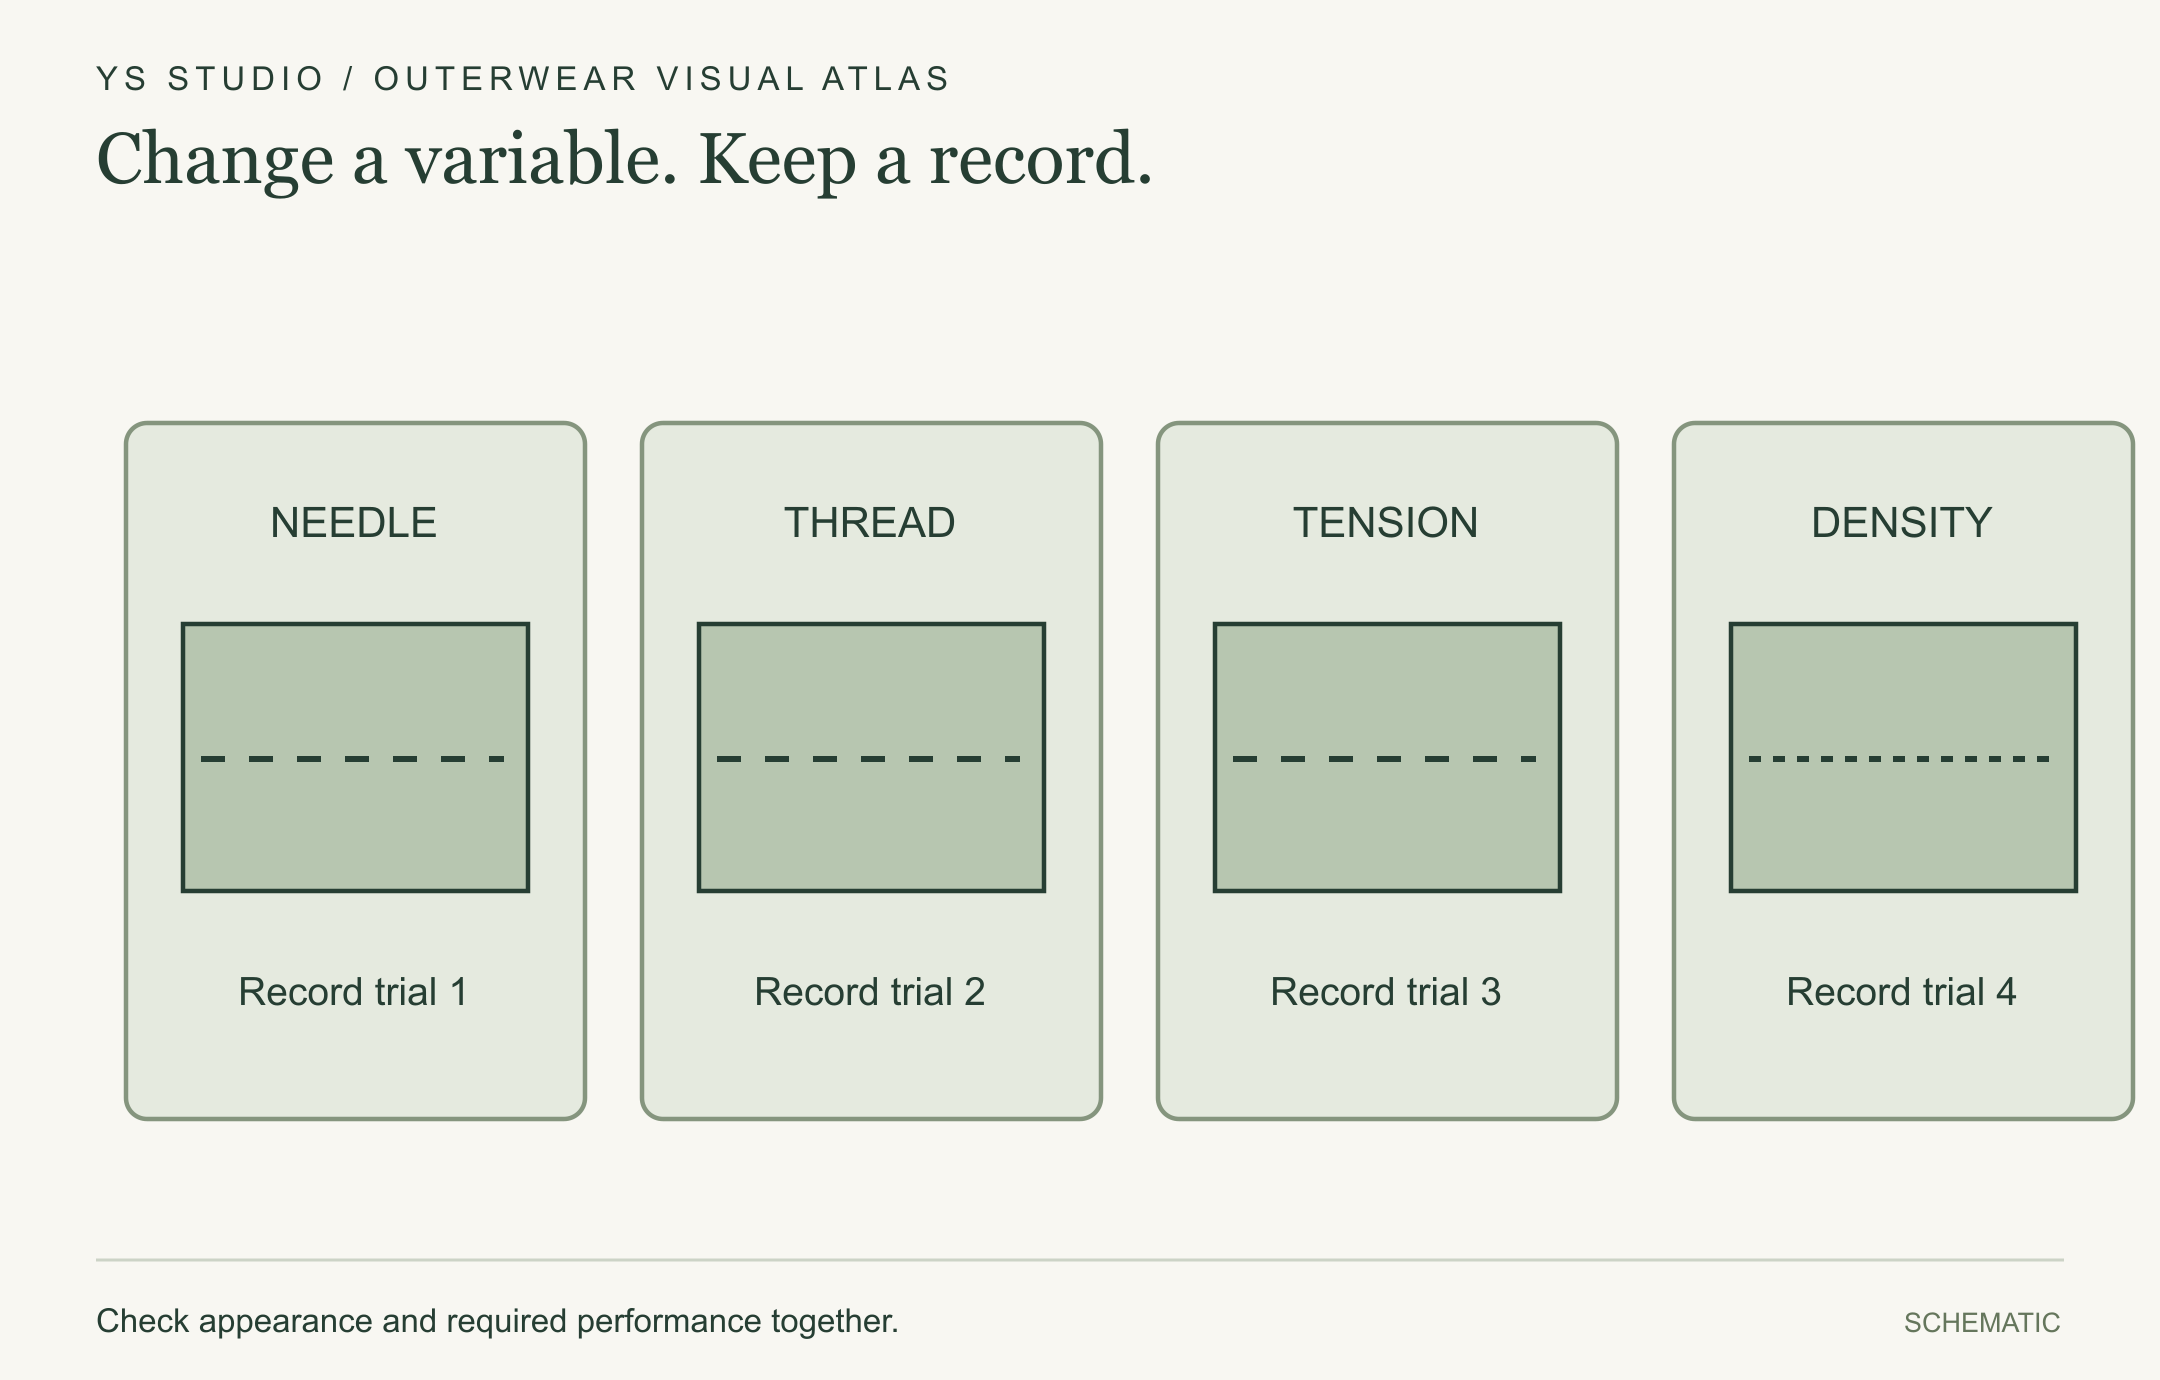
A labeled seam trial helps compare needle, thread, tension and stitch density on the real material stack. These are review variables, not recommended settings.
Check appearance and required performance together.
Identify the condition
Record where the pucker appears and when: immediately after sewing, after resting, after pressing or after care. Keep the sample, construction and machine settings identifiable.
Investigate more than one cause
Coats describes tension, structural jamming, feed imbalance and component instability as possible causes. A similar-looking defect may therefore require a different corrective action. Avoid blaming one material without a controlled comparison.
Run a documented seam trial
Change one relevant variable at a time when practical, keep the material stack constant, and label the result. Candidate variables include needle size, thread, tension, feed settings and stitch density. A qualified sewing technician should determine safe machine settings.
Check the revised garment
A visually smoother seam must still meet the project’s strength, appearance and fill-retention requirements. Record the approved settings and verify them in representative bulk production rather than assuming the successful trial automatically repeats.
Questions buyers ask
Do more stitches always mean better quality?
No. Stitch density interacts with the fabric and thread and may affect appearance, damage and seam behavior.
Can a photo establish the cause of puckering?
It can document the symptom, but a construction review and controlled trials may be needed to identify the cause.
Sources and further reading
External sources inform the technical explanations above. Standards and test requirements can vary by market; check current documents for your product.
This guide supports early product decisions. Confirm material data, applicable labeling rules and performance claims for the specific product and destination market.