YS STUDIO / THE OUTERWEAR VISUAL ATLAS
See how
outerwear works.
Explore the layers, fill, seams and decisions behind a better jacket. 36 illustrated explanations, with practical takeaways and links to the full technical guides.
01—36ILLUSTRATED FIELD NOTES
Find a specific diagram 36 field notes +
36 visual explanations
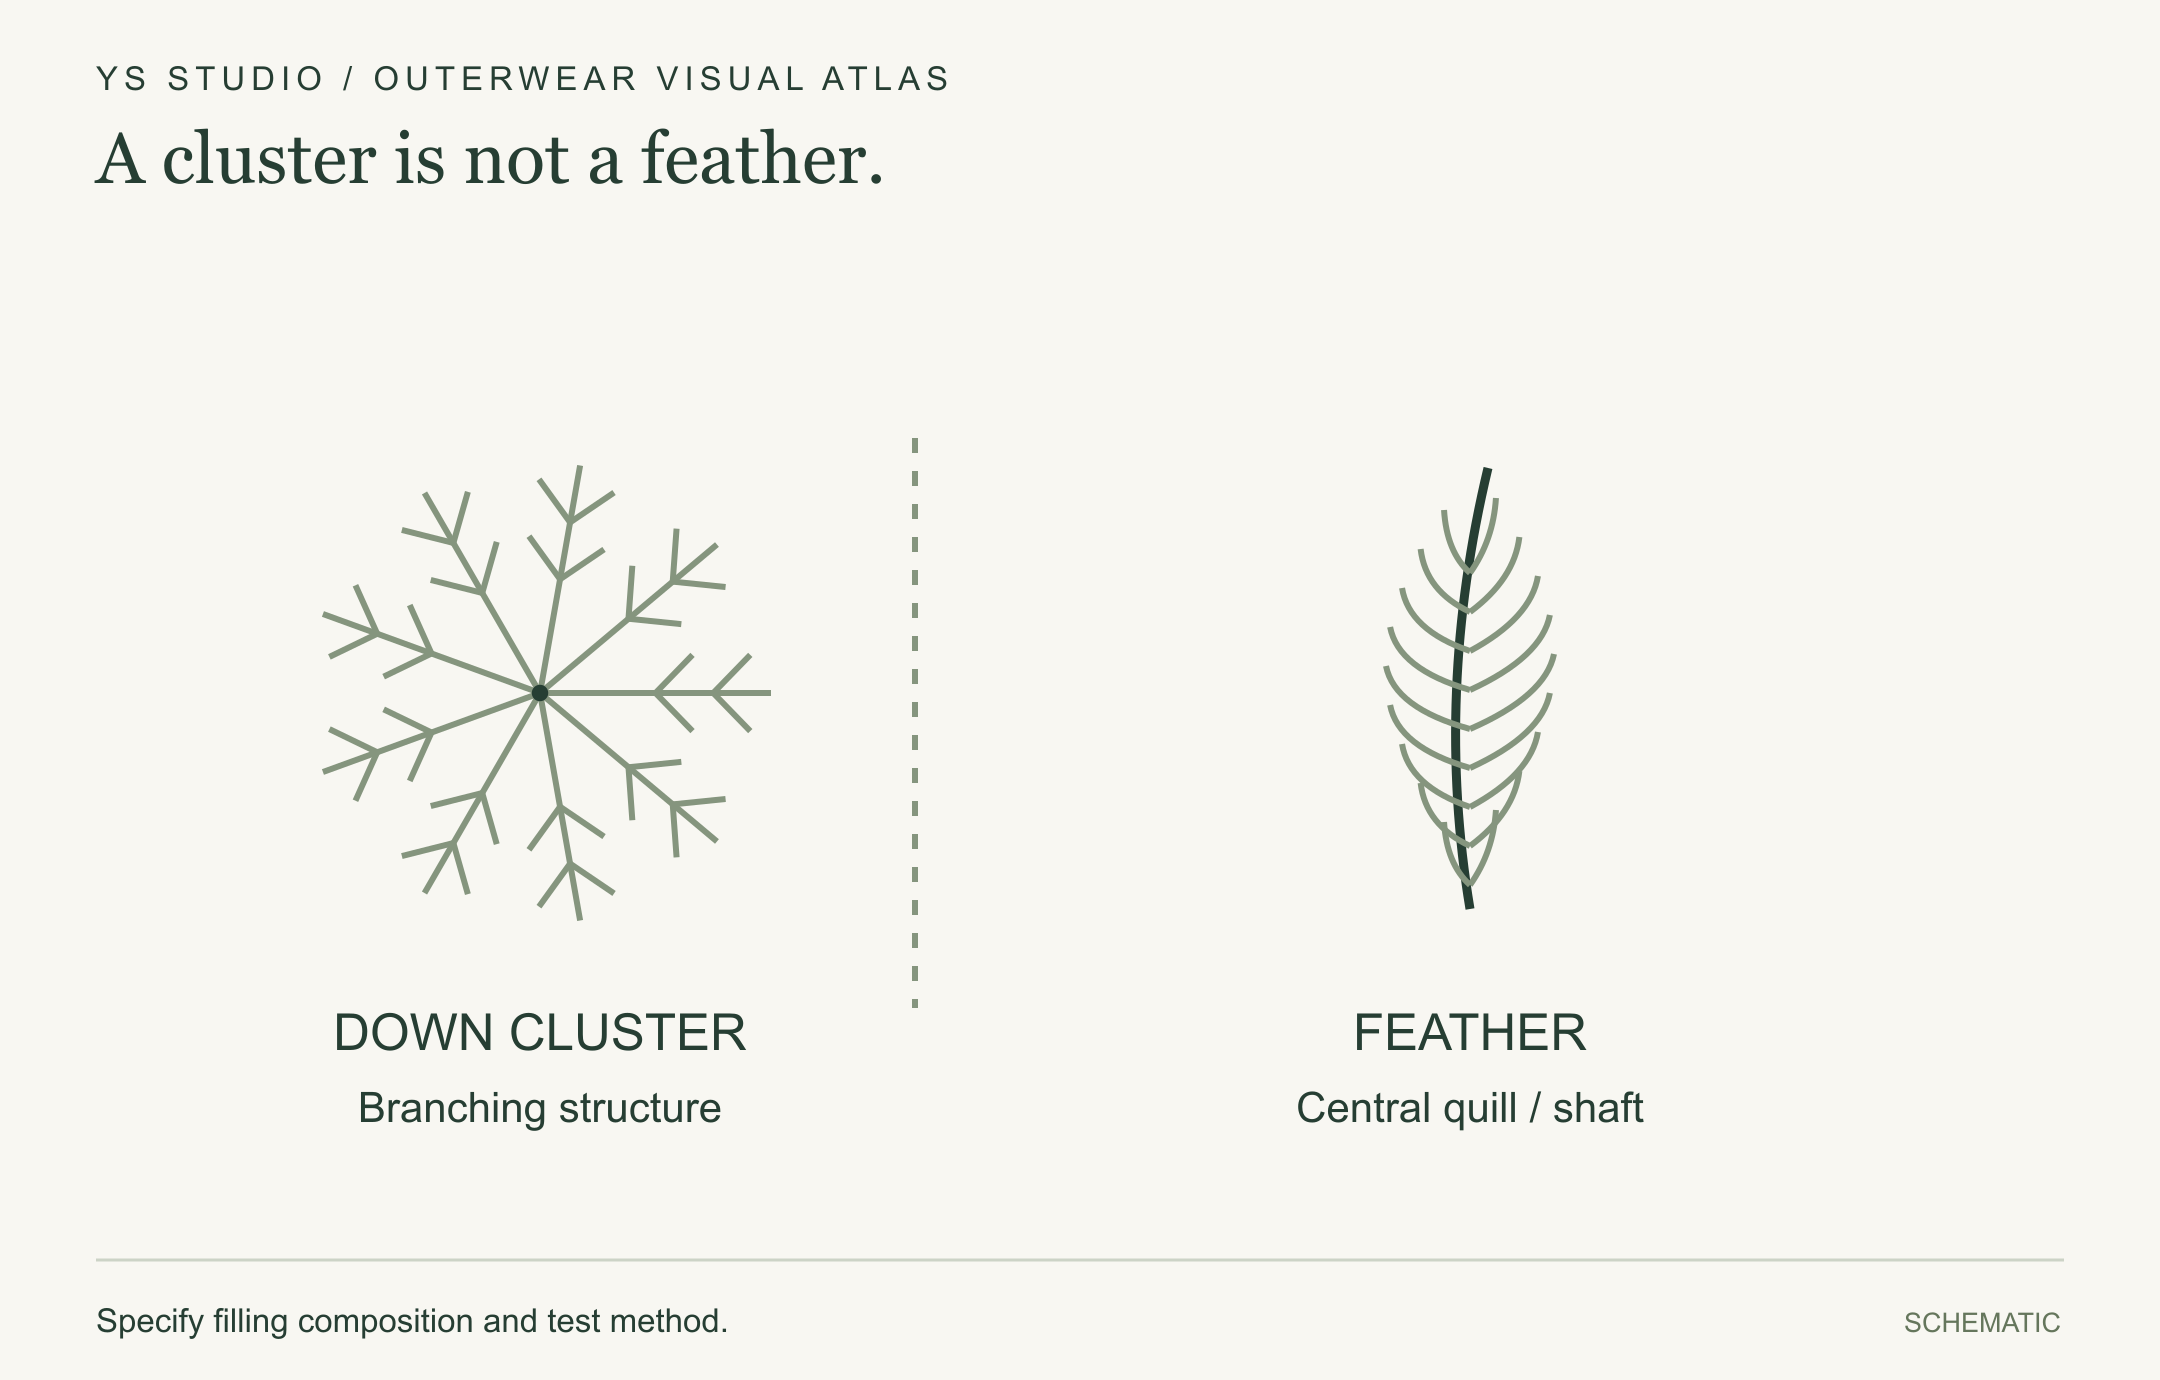
A cluster is not a feather.
Compare a branching down cluster with a feather’s central quill. The structures differ; composition and loft still need separate evidence.
Specify filling composition and test method.
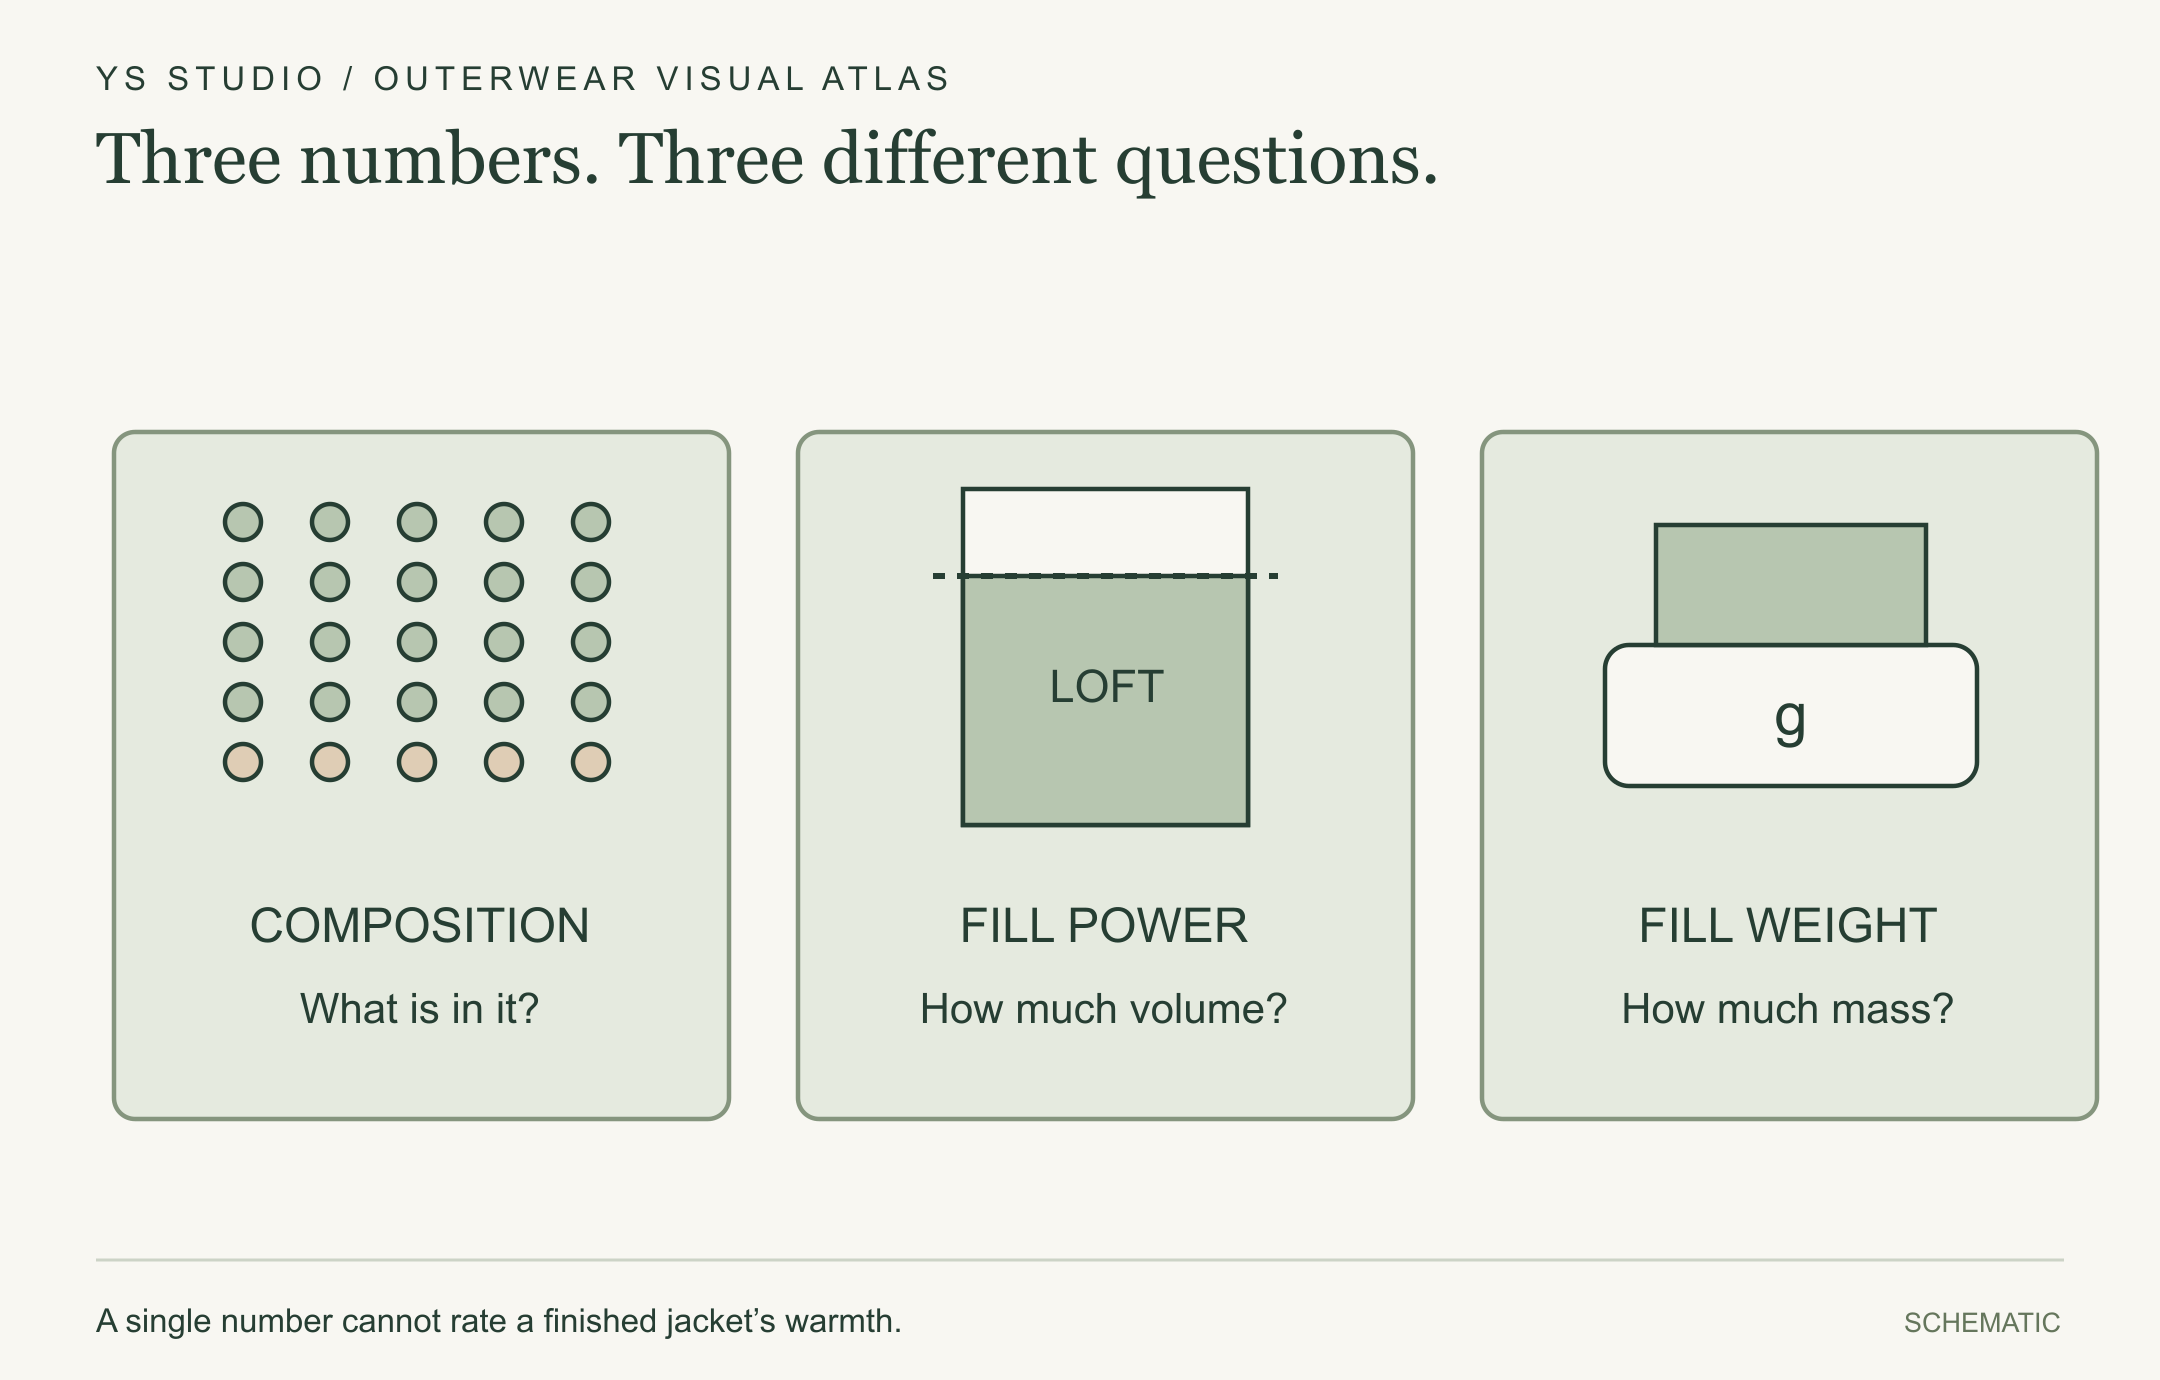
Three numbers. Three different questions.
Down percentage describes composition, fill power describes measured loft, and fill weight describes mass. Keep all three in the brief.
A single number cannot rate a finished jacket’s warmth.
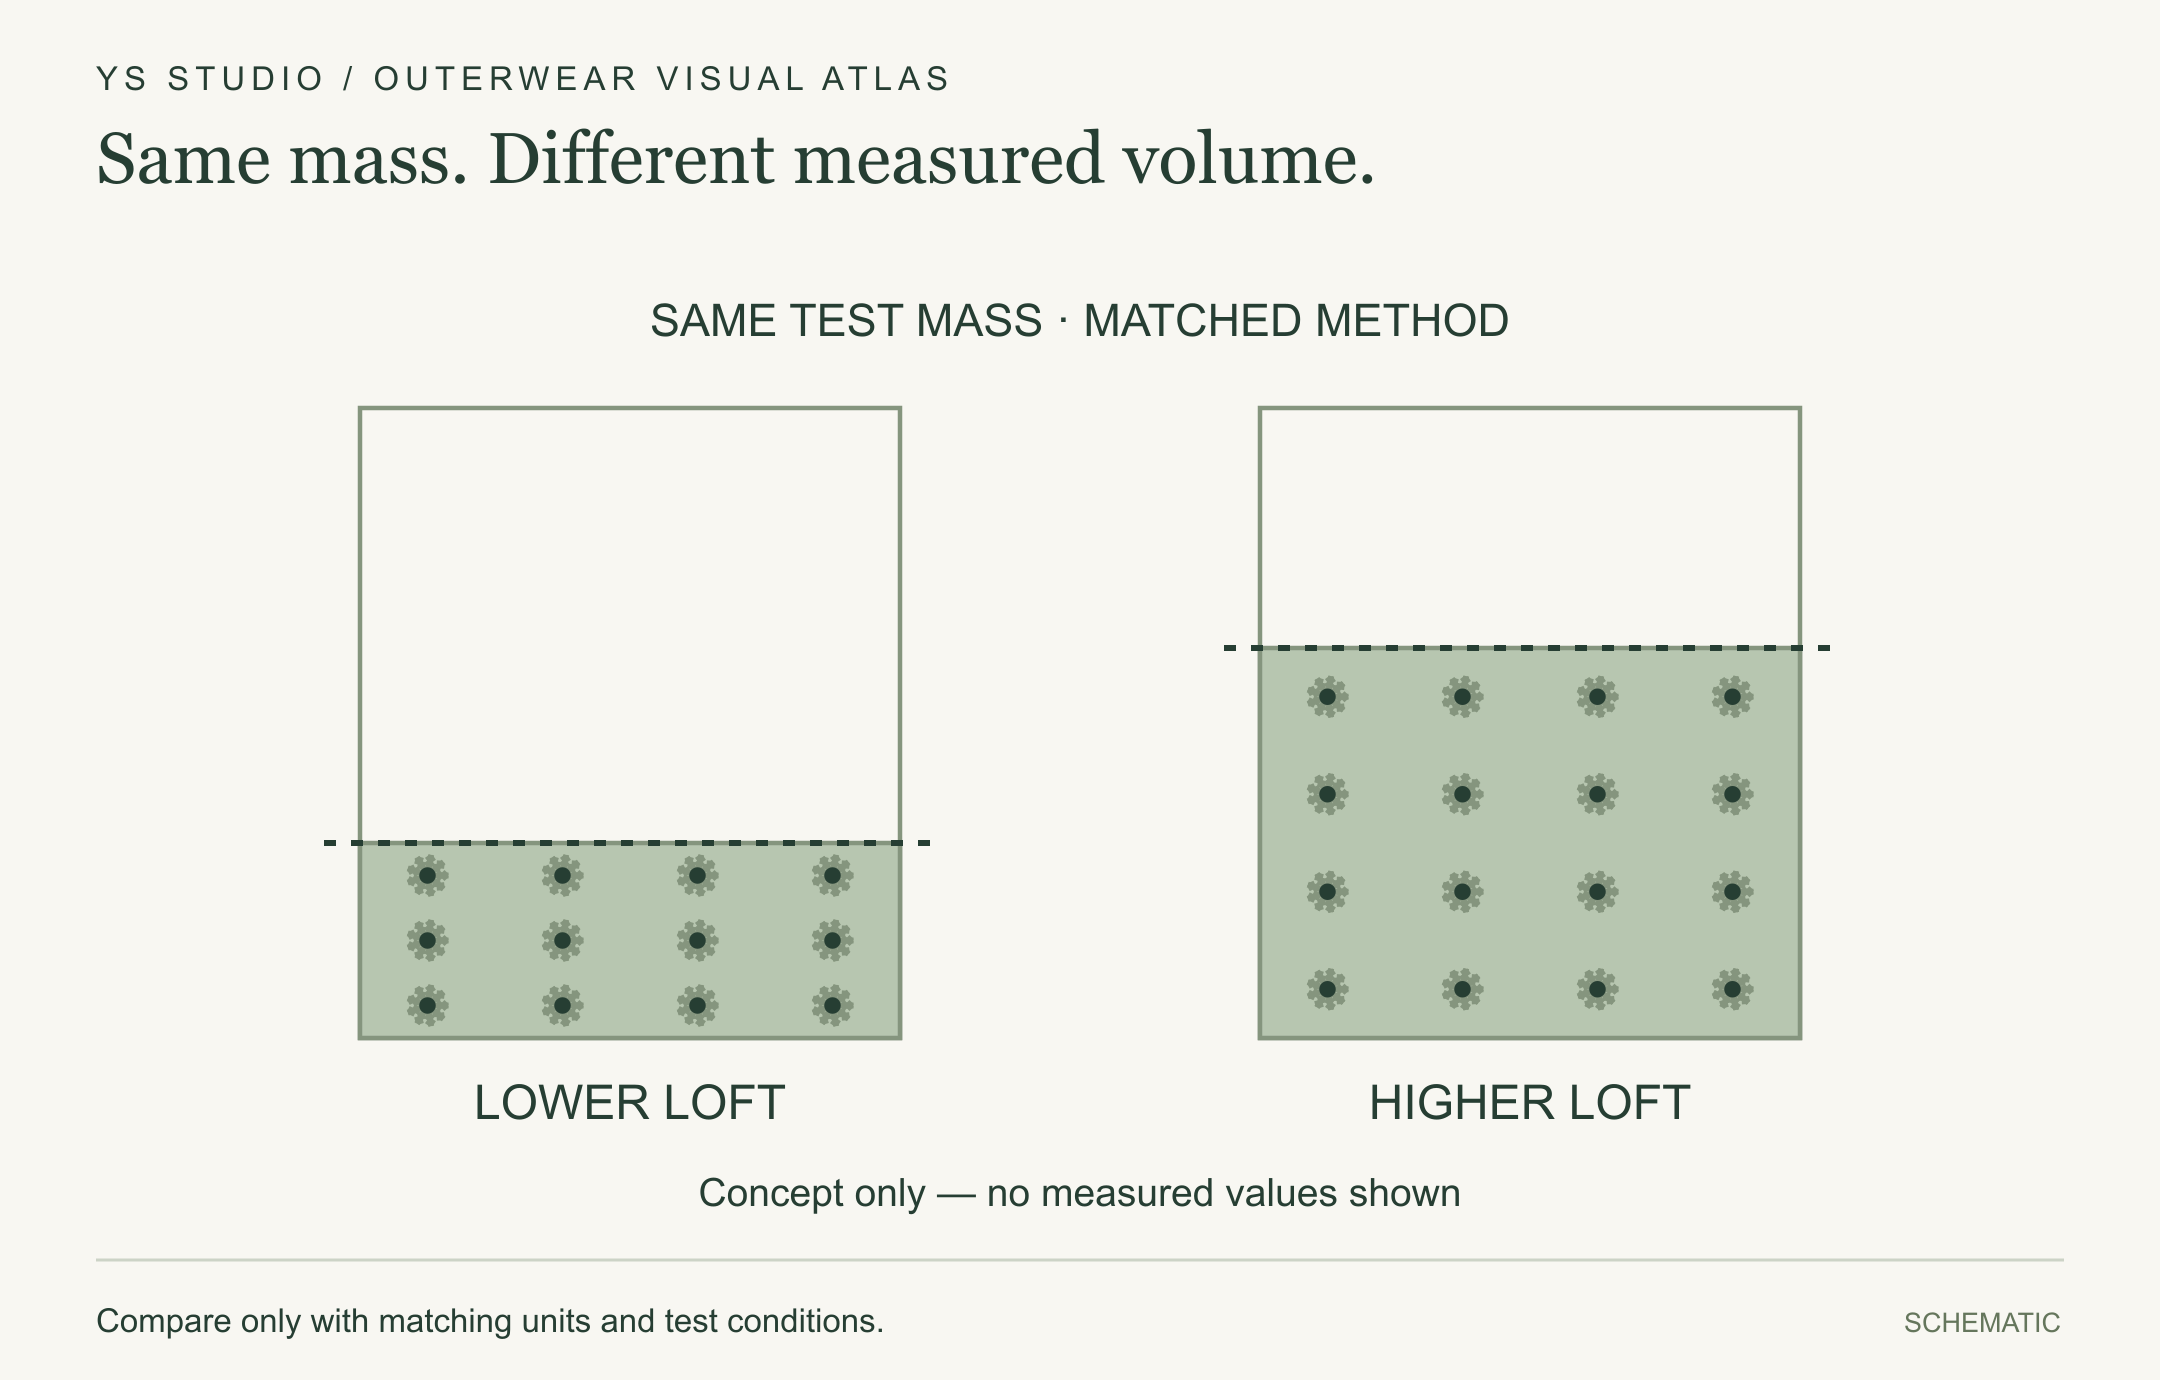
Same mass. Different measured volume.
Fill power compares loft under a specified laboratory method. These cylinders illustrate the idea, with no product test results implied.
Compare only with matching units and test conditions.
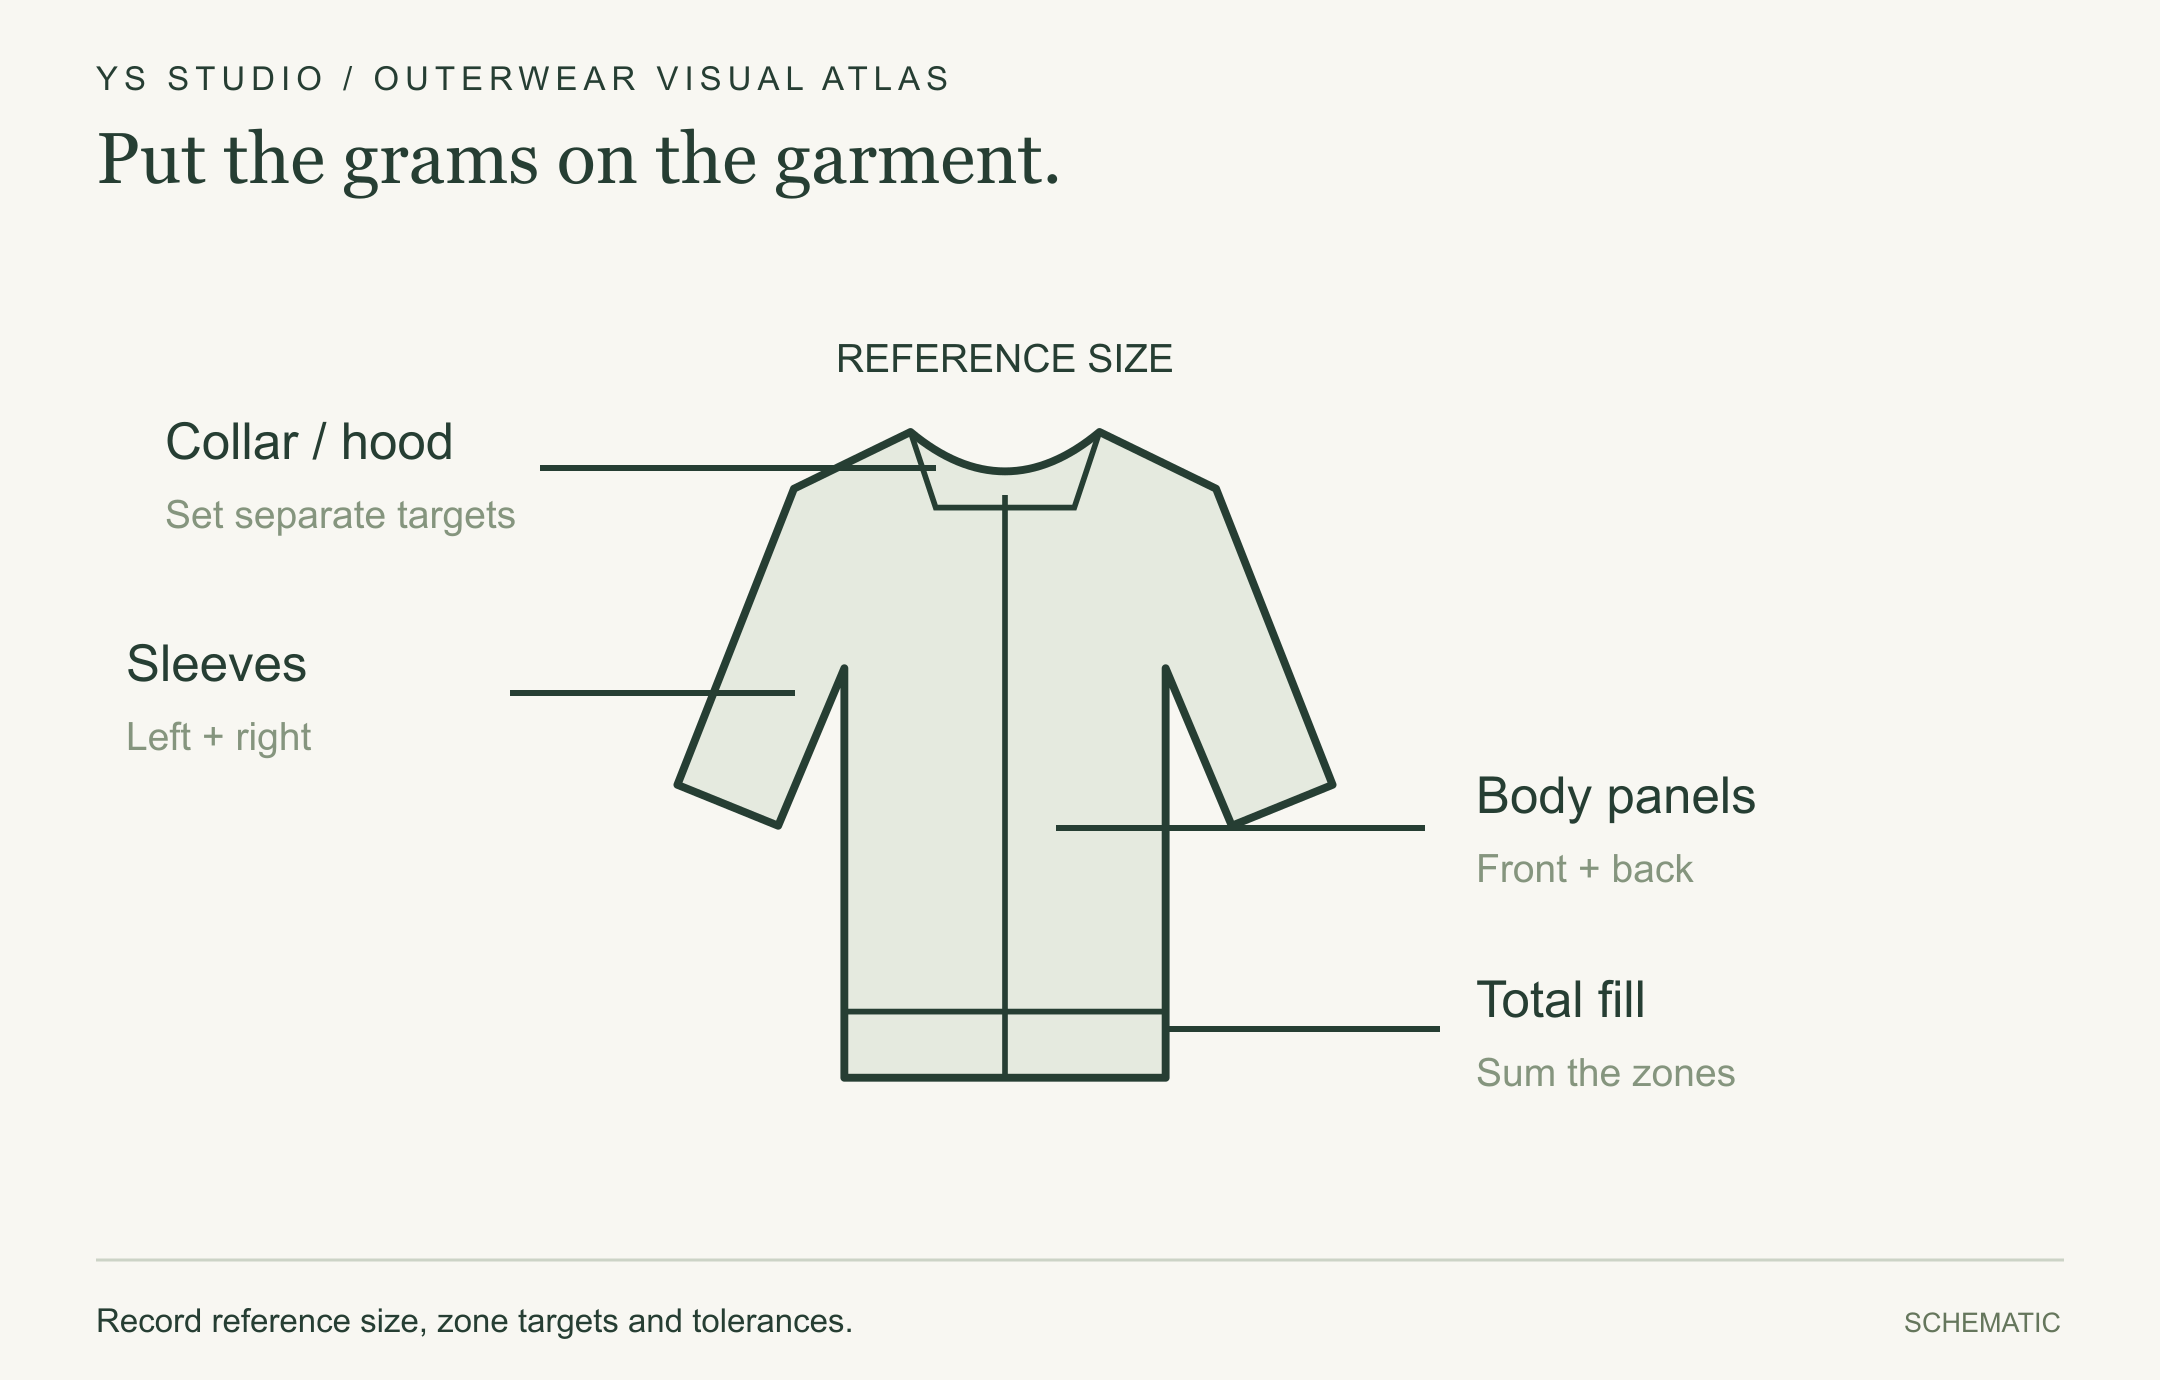
Put the grams on the garment.
A fill map assigns targets to the hood, collar, body and sleeves. It links an overall insulation concept to individual panels.
Record reference size, zone targets and tolerances.
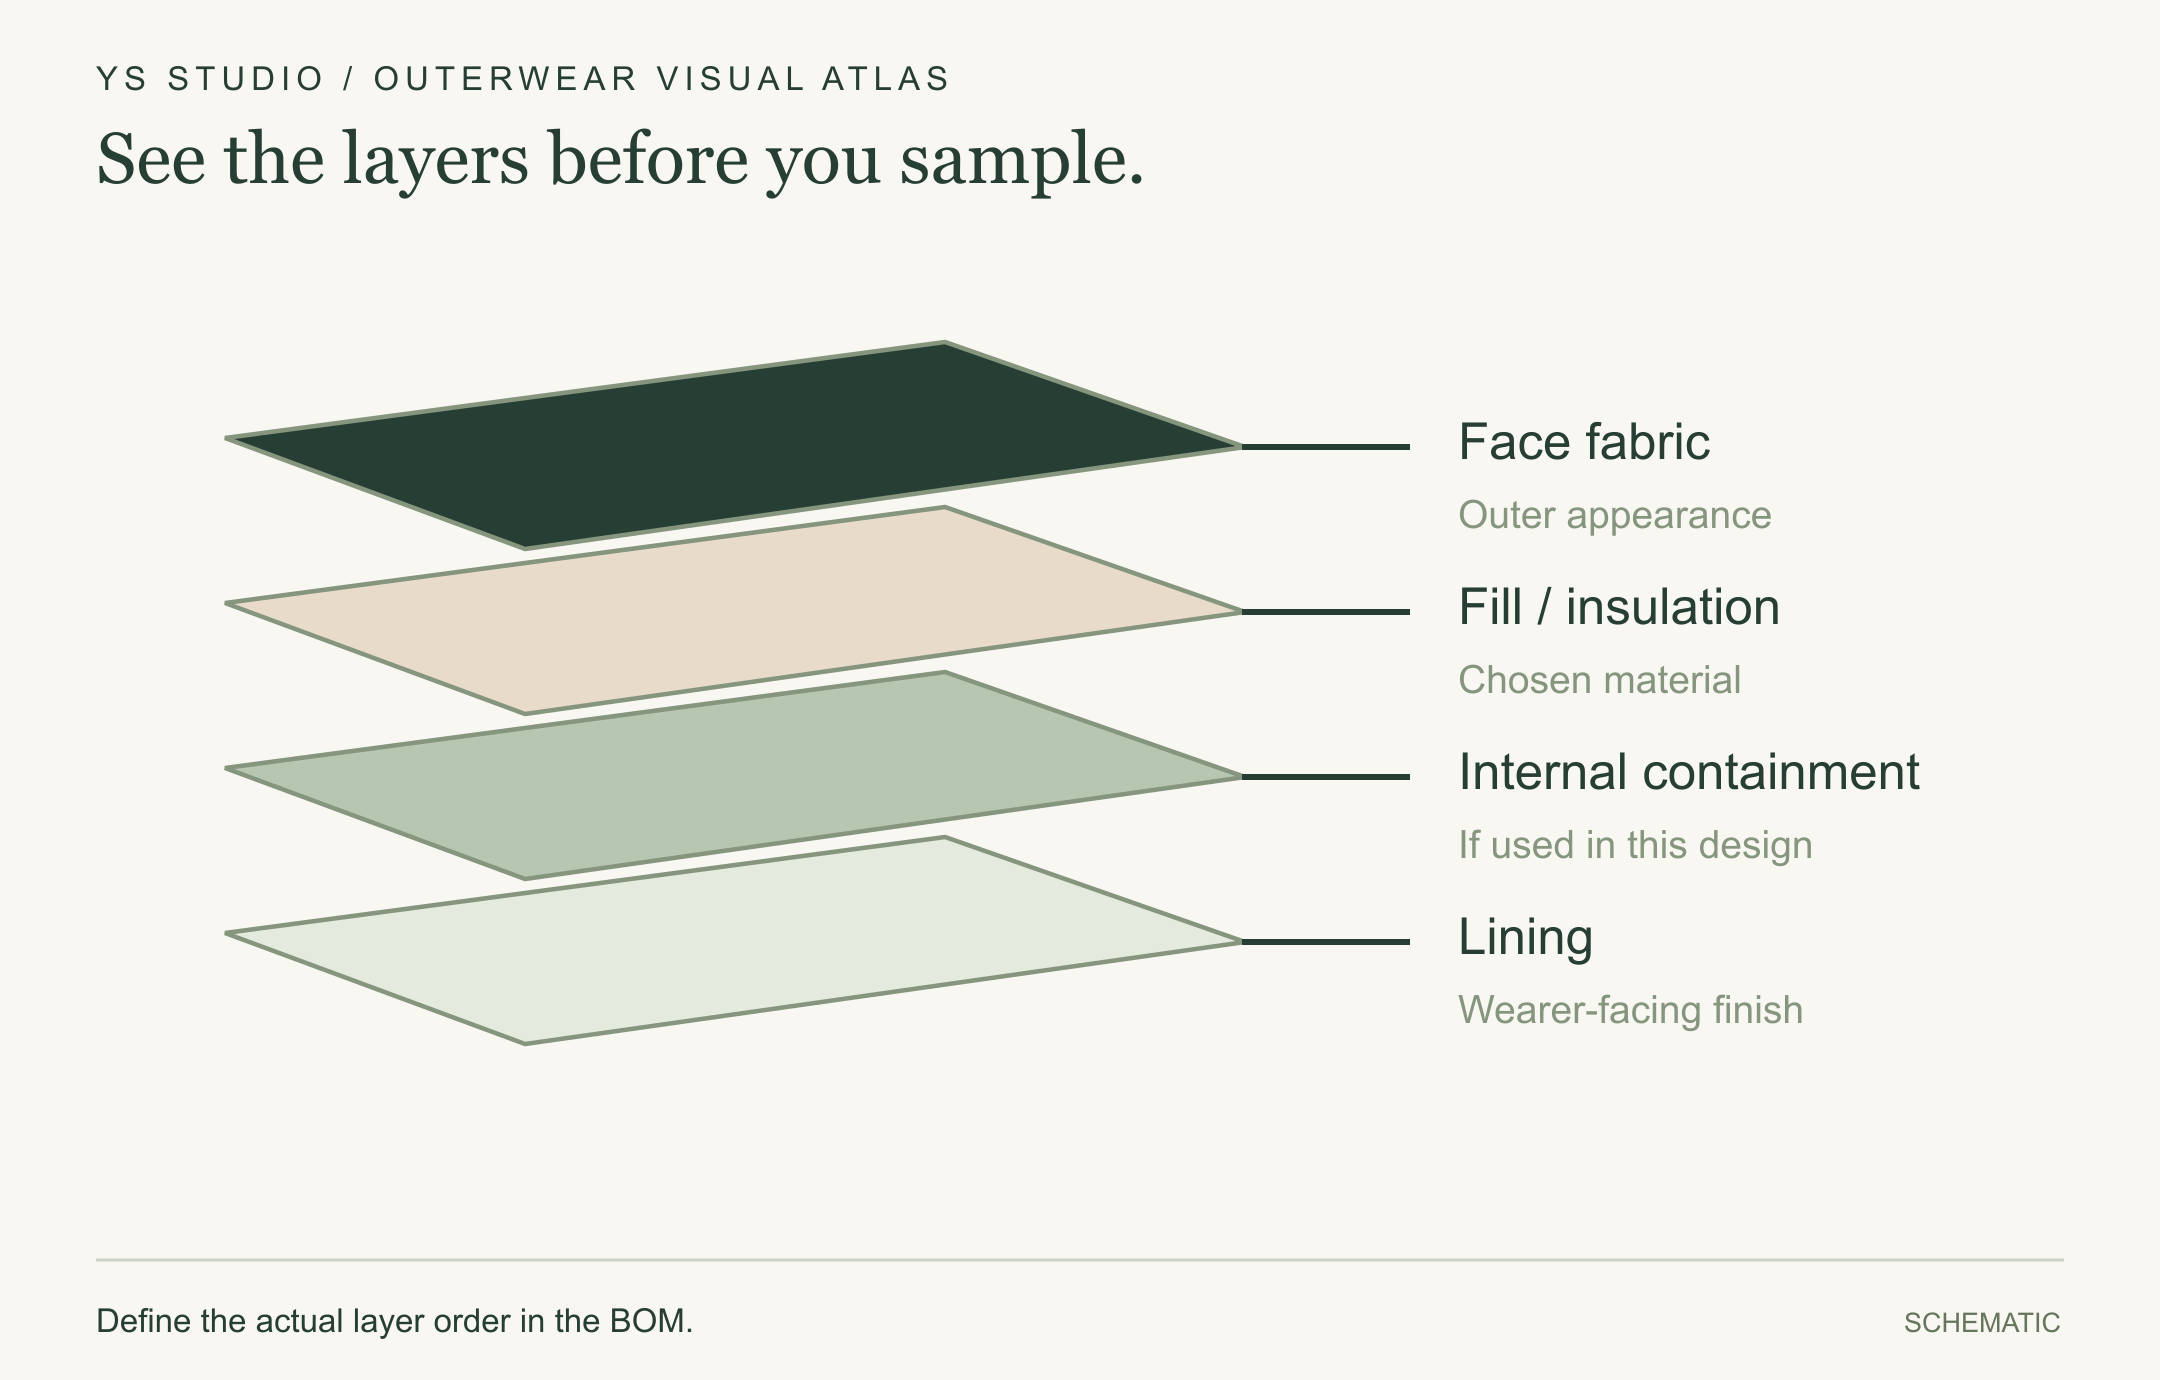
See the layers before you sample.
Identify the face fabric, fill containment and lining. A separate internal down bag is optional and depends on the chosen construction.
Define the actual layer order in the BOM.
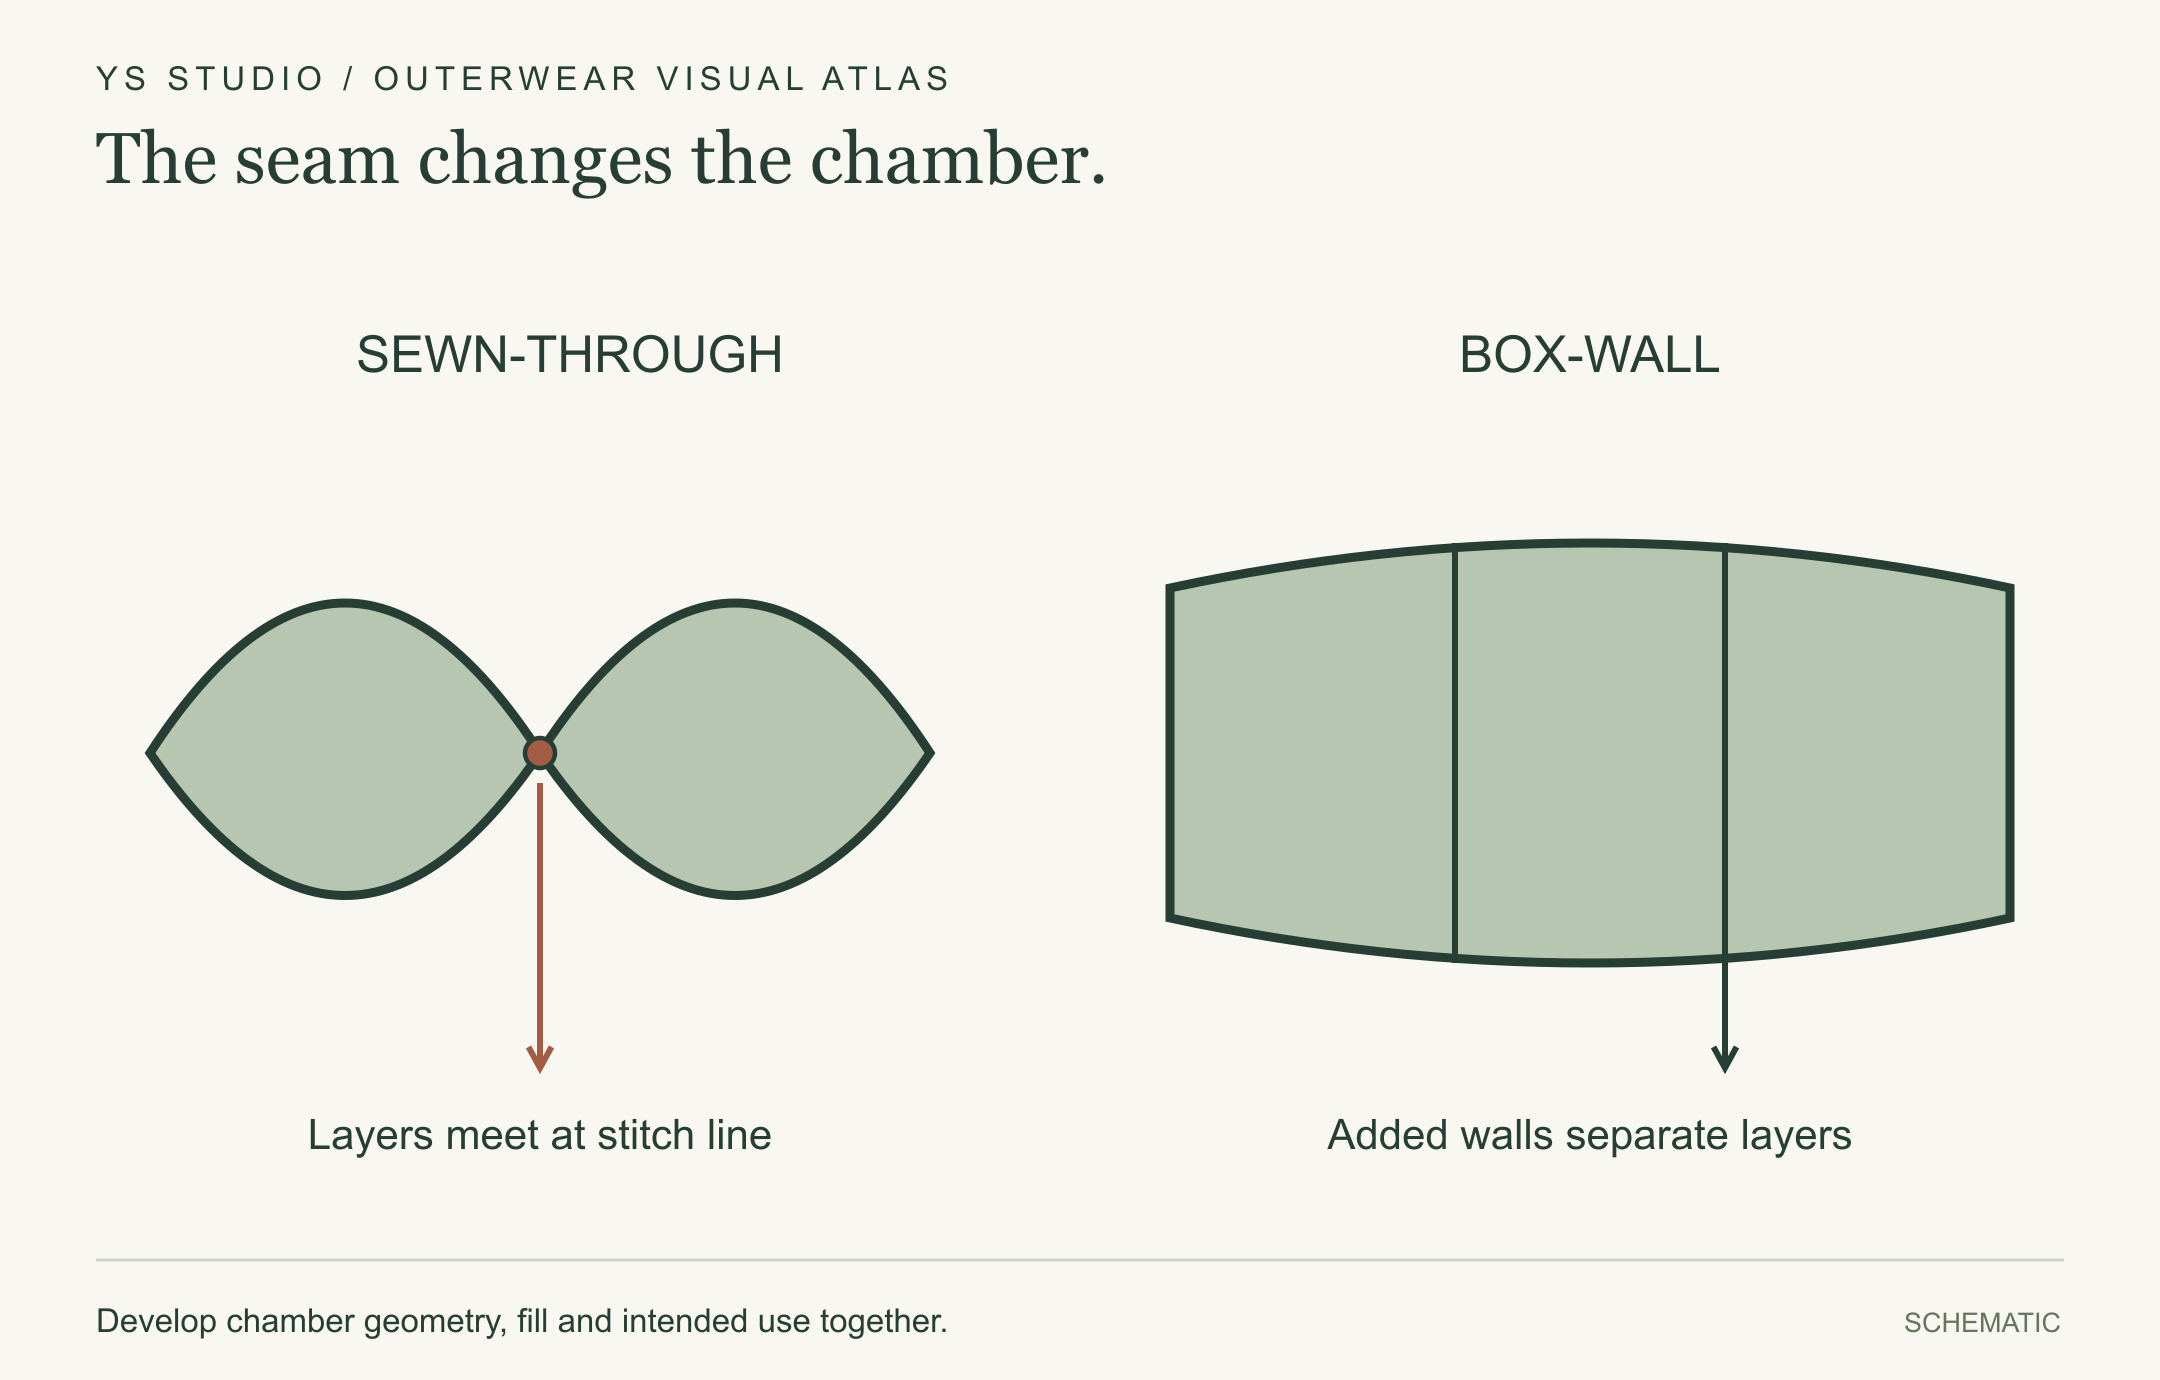
The seam changes the chamber.
Sewn-through seams join shell and lining; box-wall construction adds a separating wall. Cross-sections show the distinction.
Develop chamber geometry, fill and intended use together.
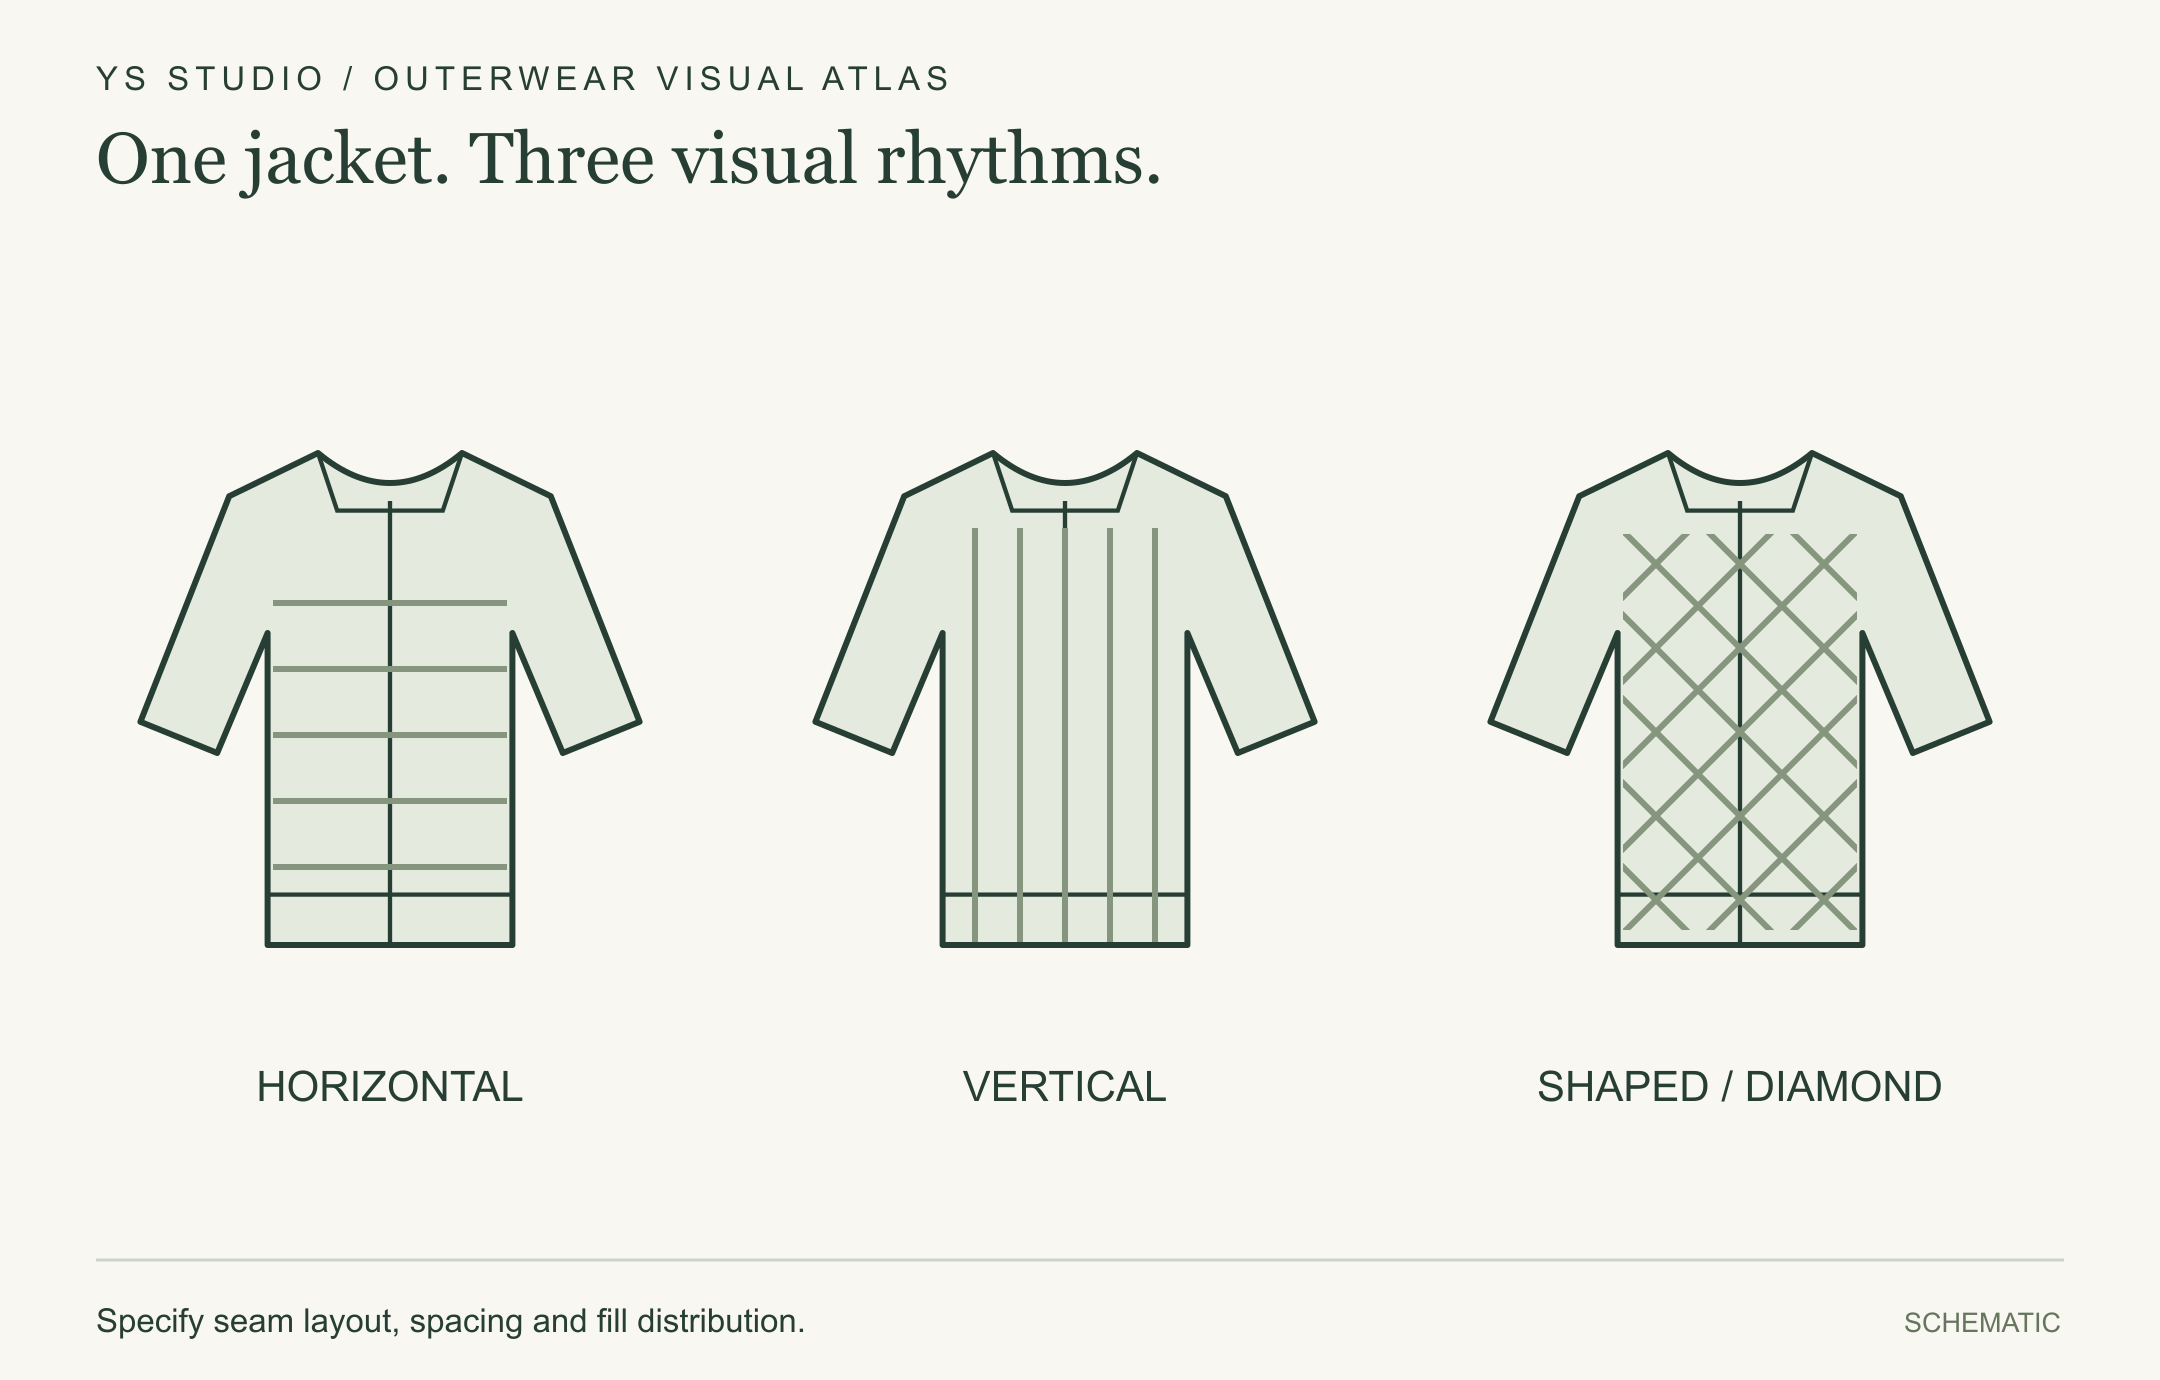
One jacket. Three visual rhythms.
Horizontal, vertical and diamond quilting change the visual language and the chamber geometry. None is a universal warmth grade.
Specify seam layout, spacing and fill distribution.
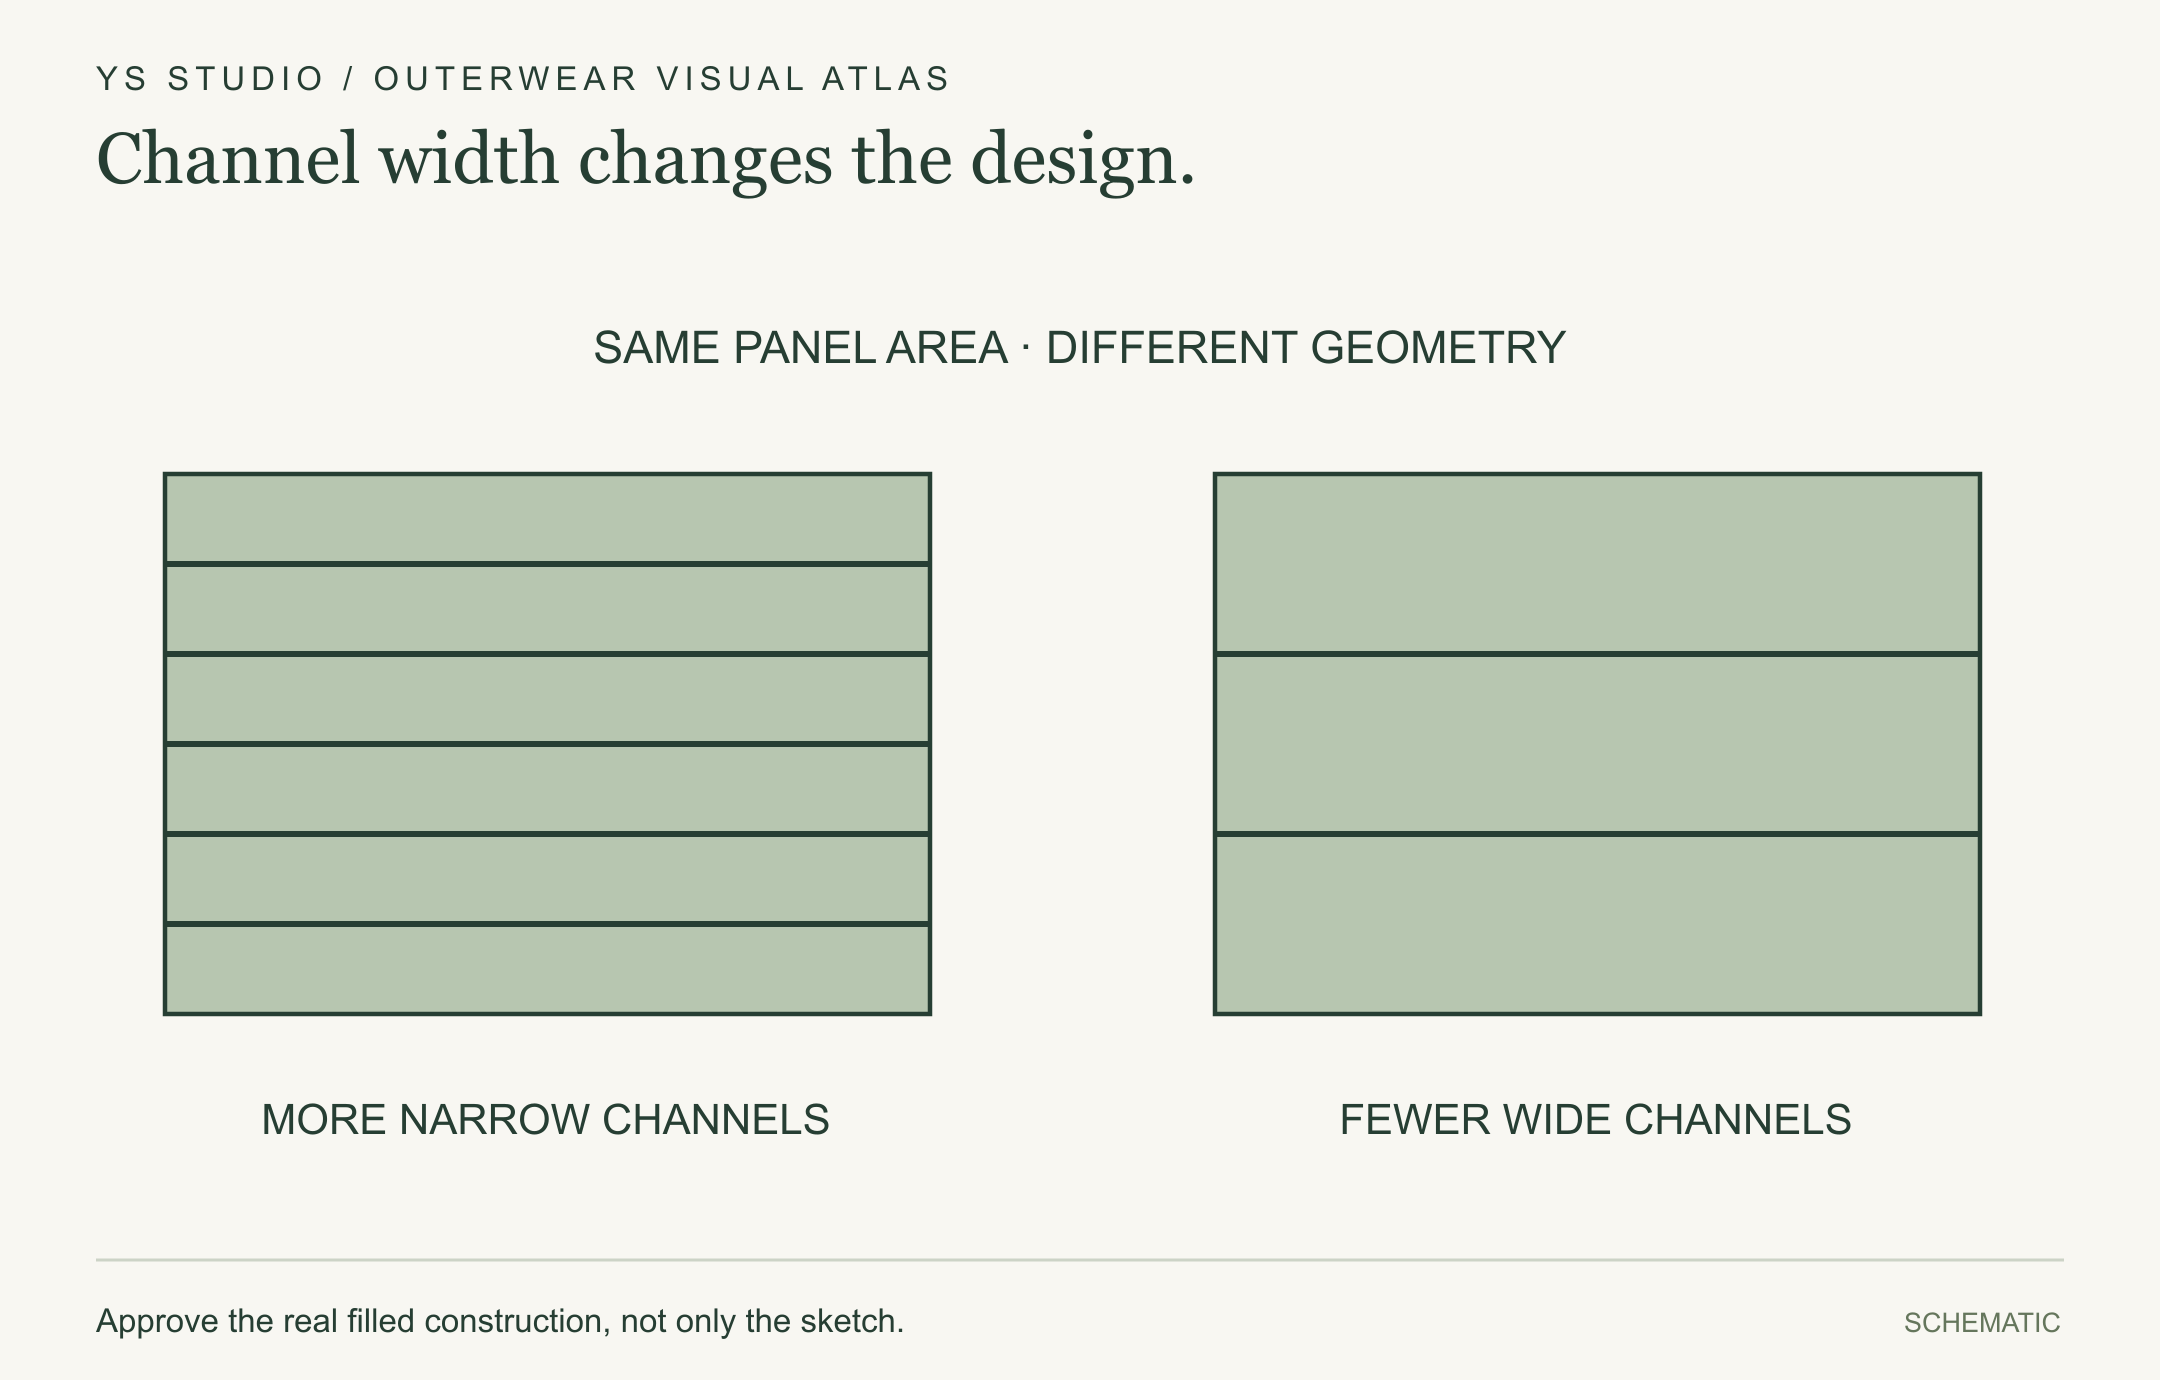
Channel width changes the design.
Compare narrow and wide chambers with their seam positions. The drawings show geometry, not a tested ranking of thermal performance.
Approve the real filled construction, not only the sketch.
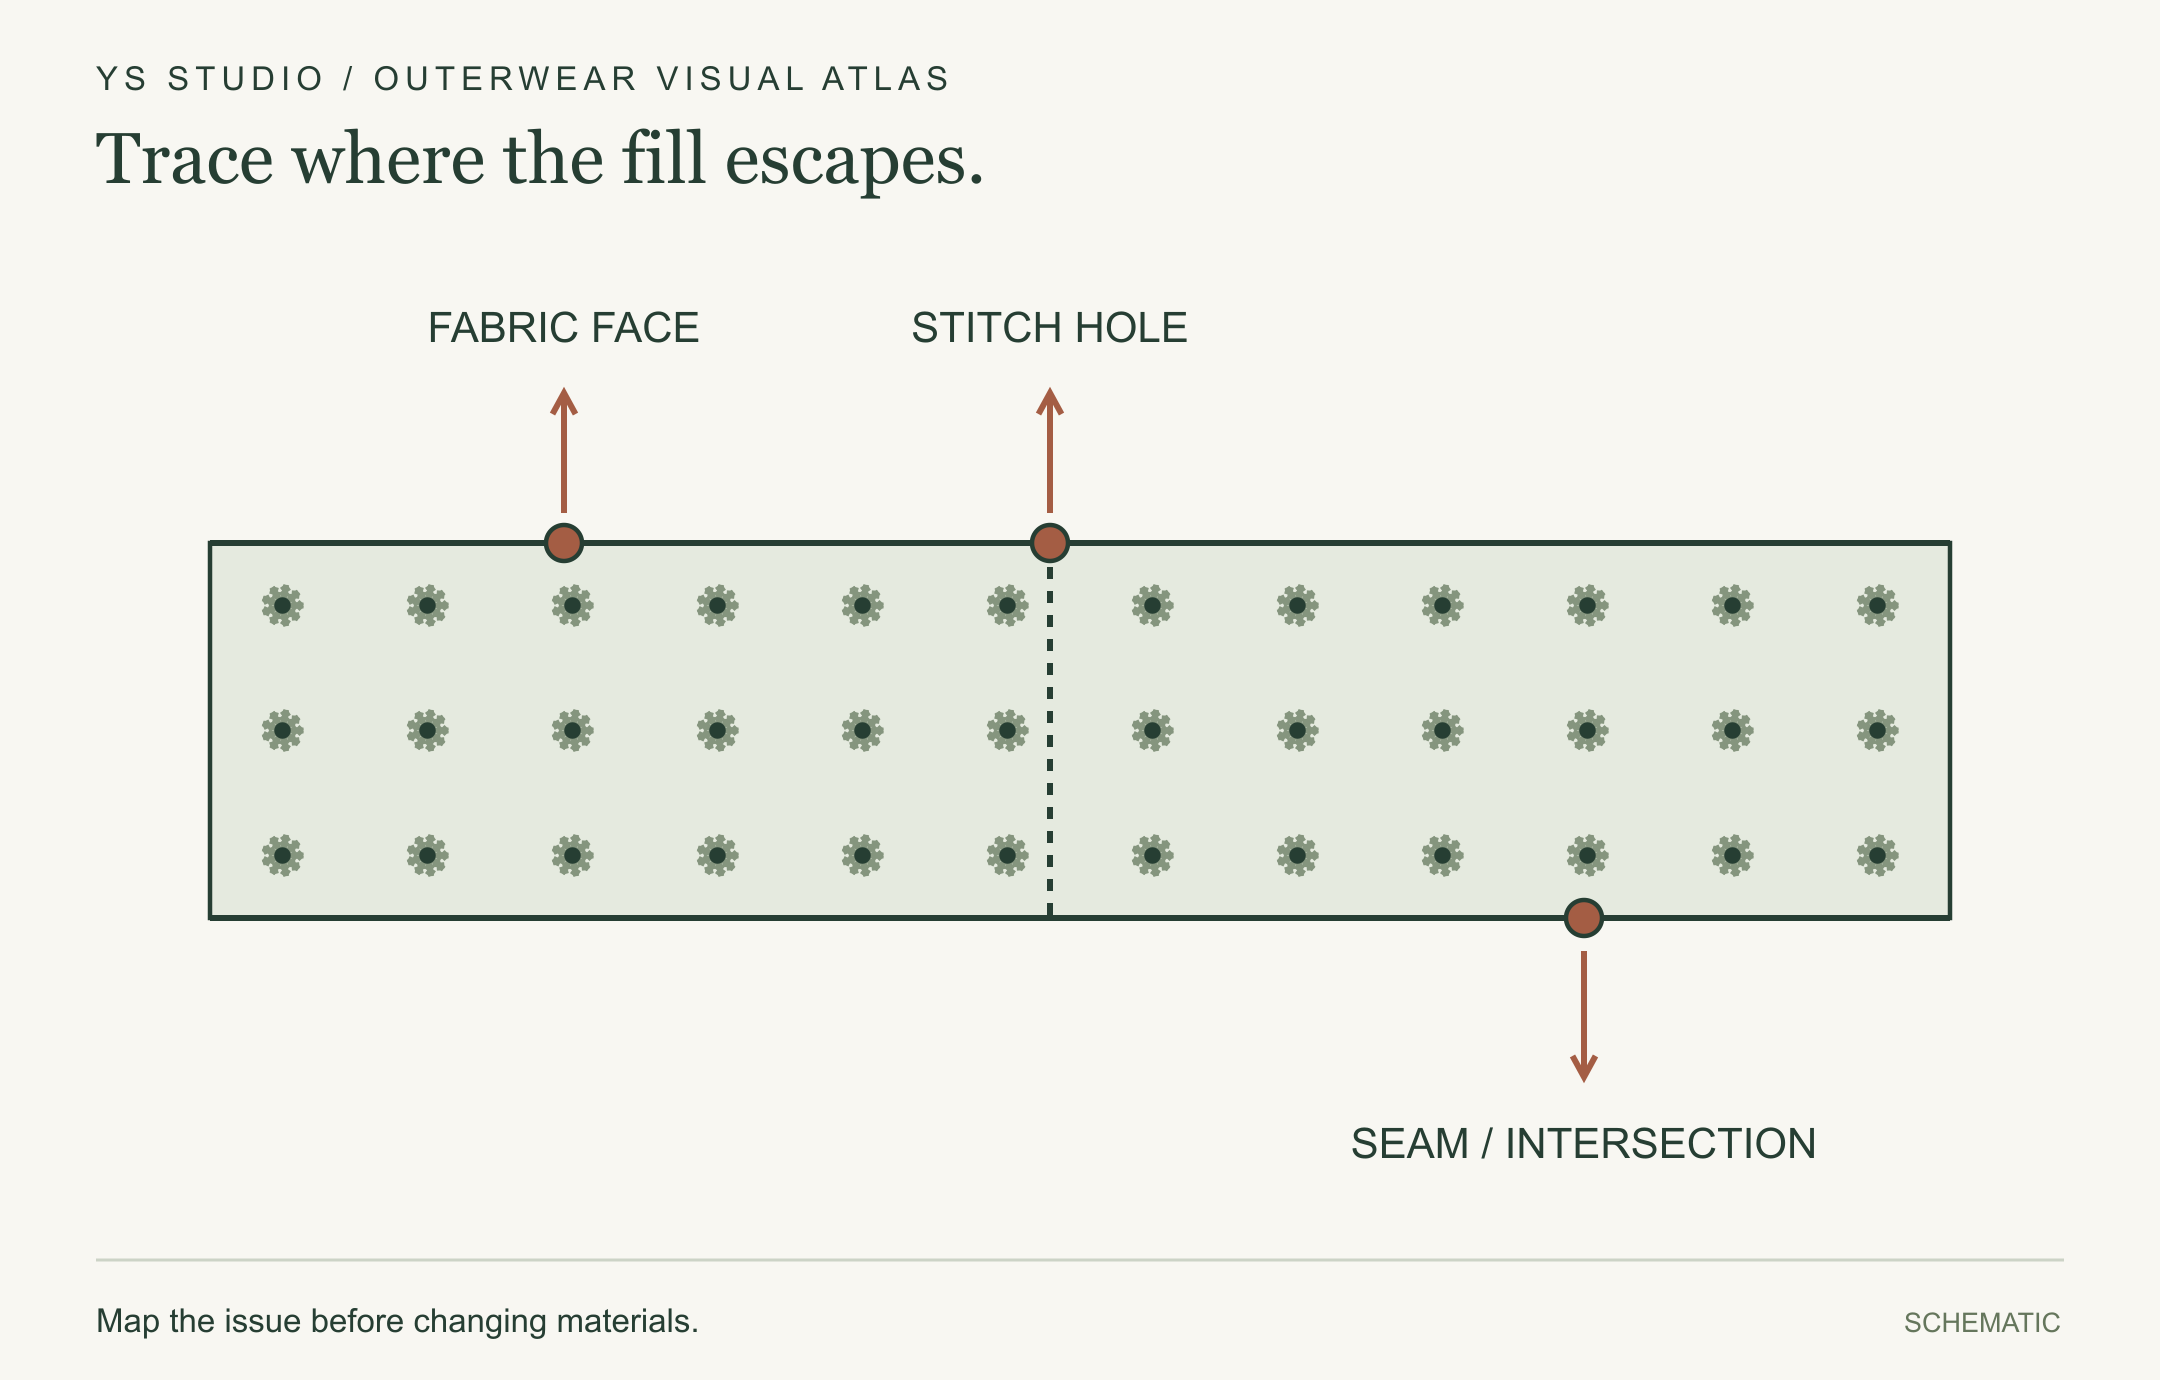
Trace where the fill escapes.
Investigate the fabric face, stitch holes and seam intersections separately. A leakage location is a clue, not proof of the root cause.
Map the issue before changing materials.
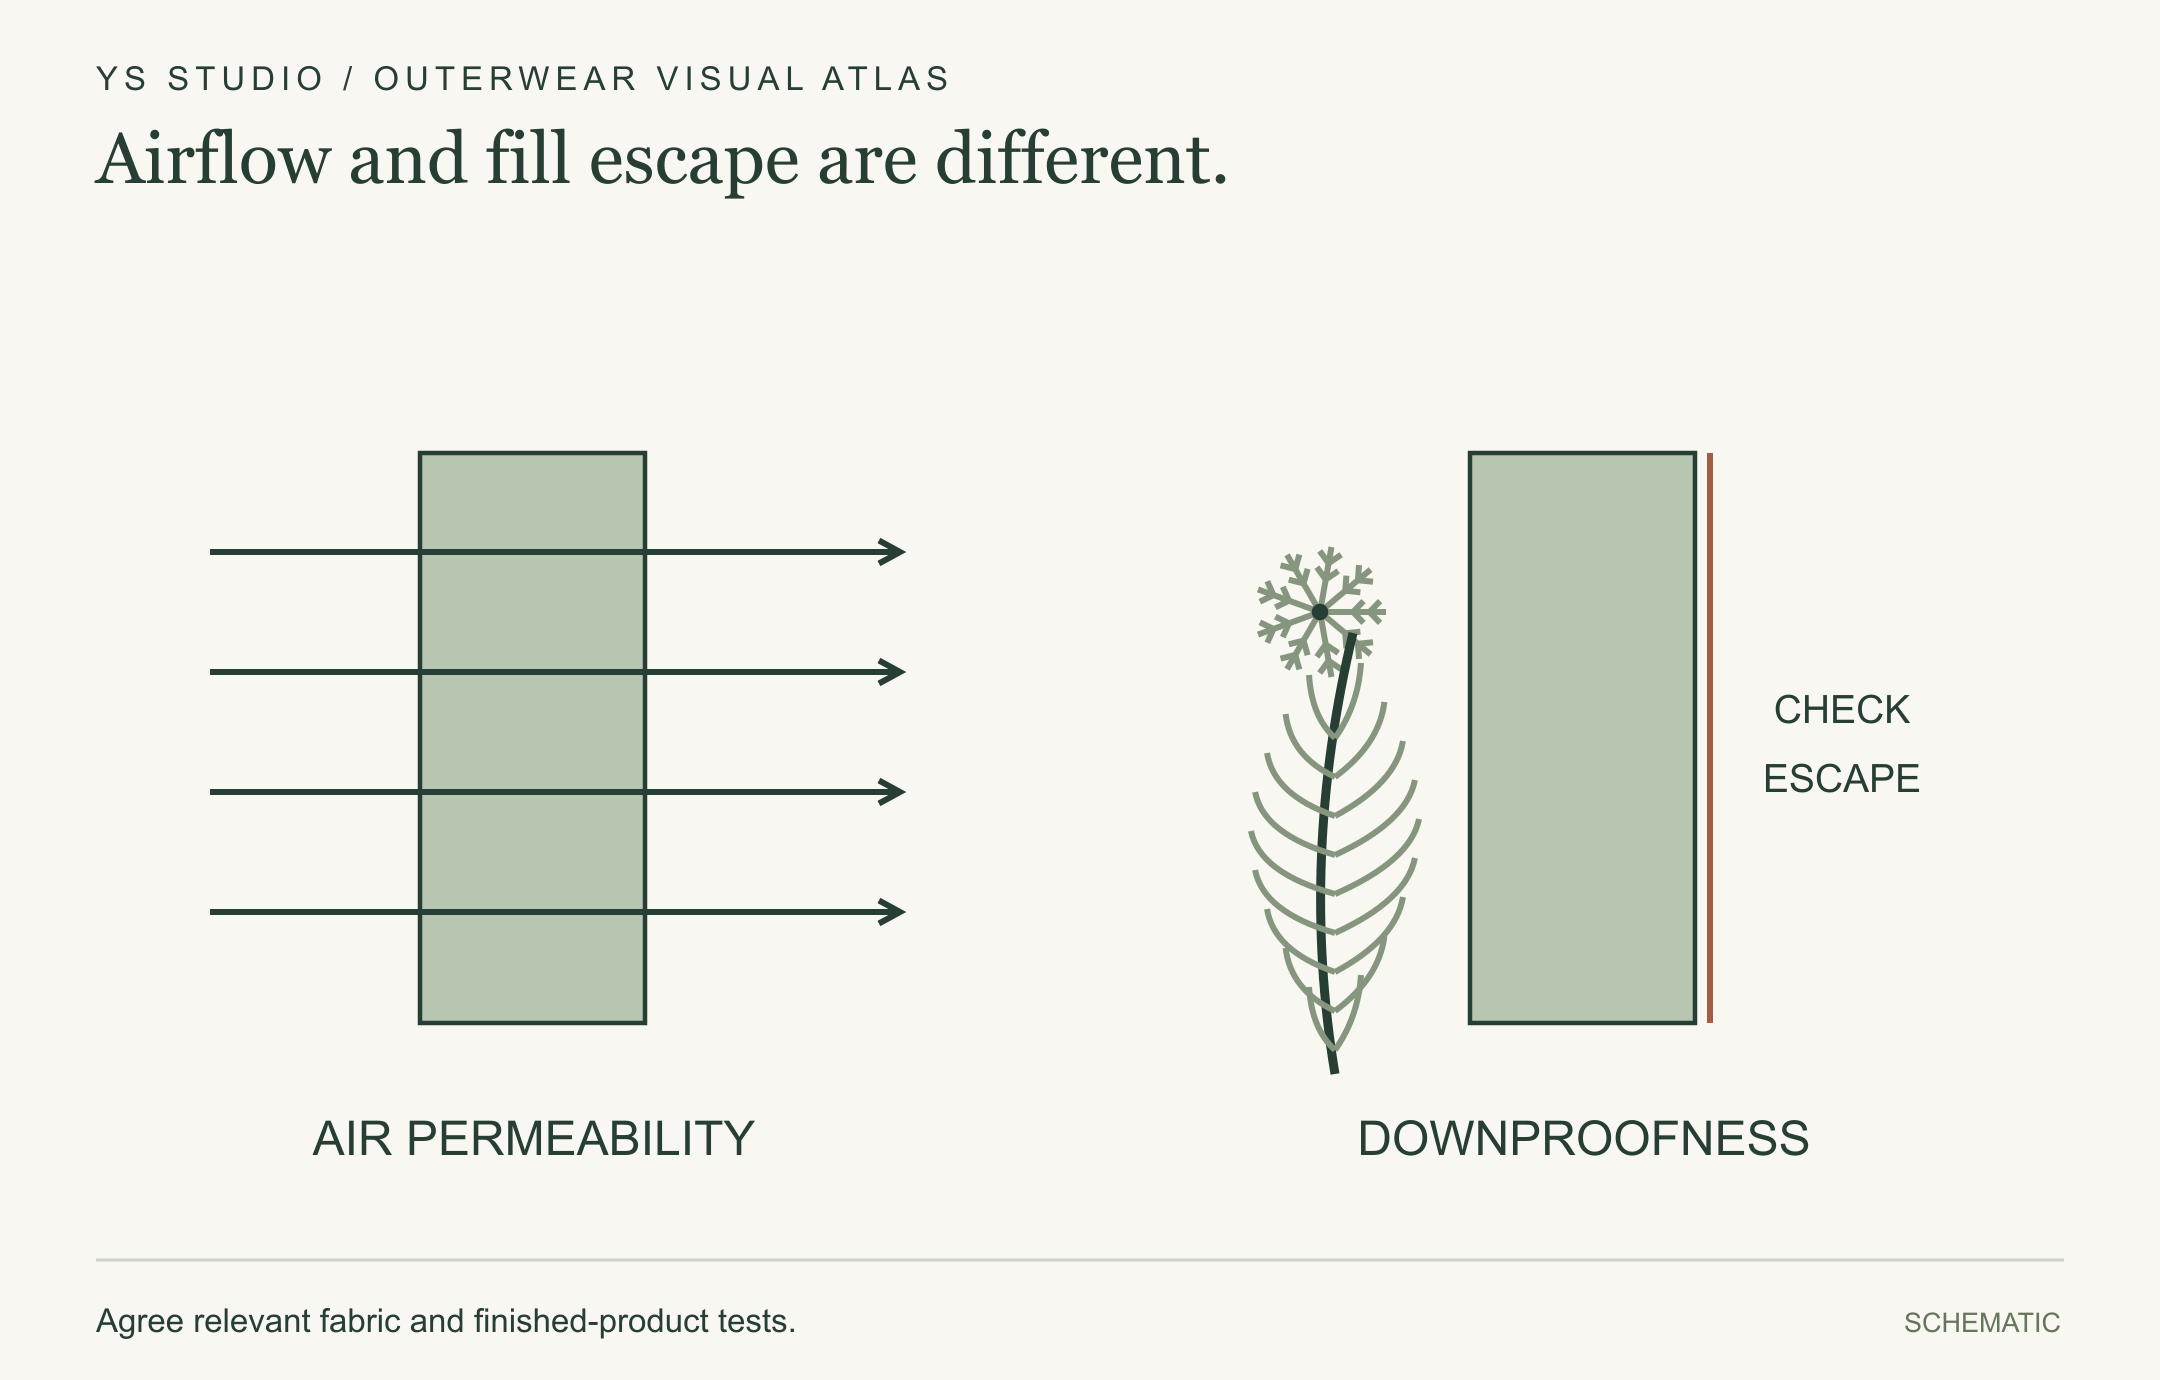
Airflow and fill escape are different.
Air permeability measures airflow. Downproofness evaluates plumage retention. A result from one does not replace the other.
Agree relevant fabric and finished-product tests.
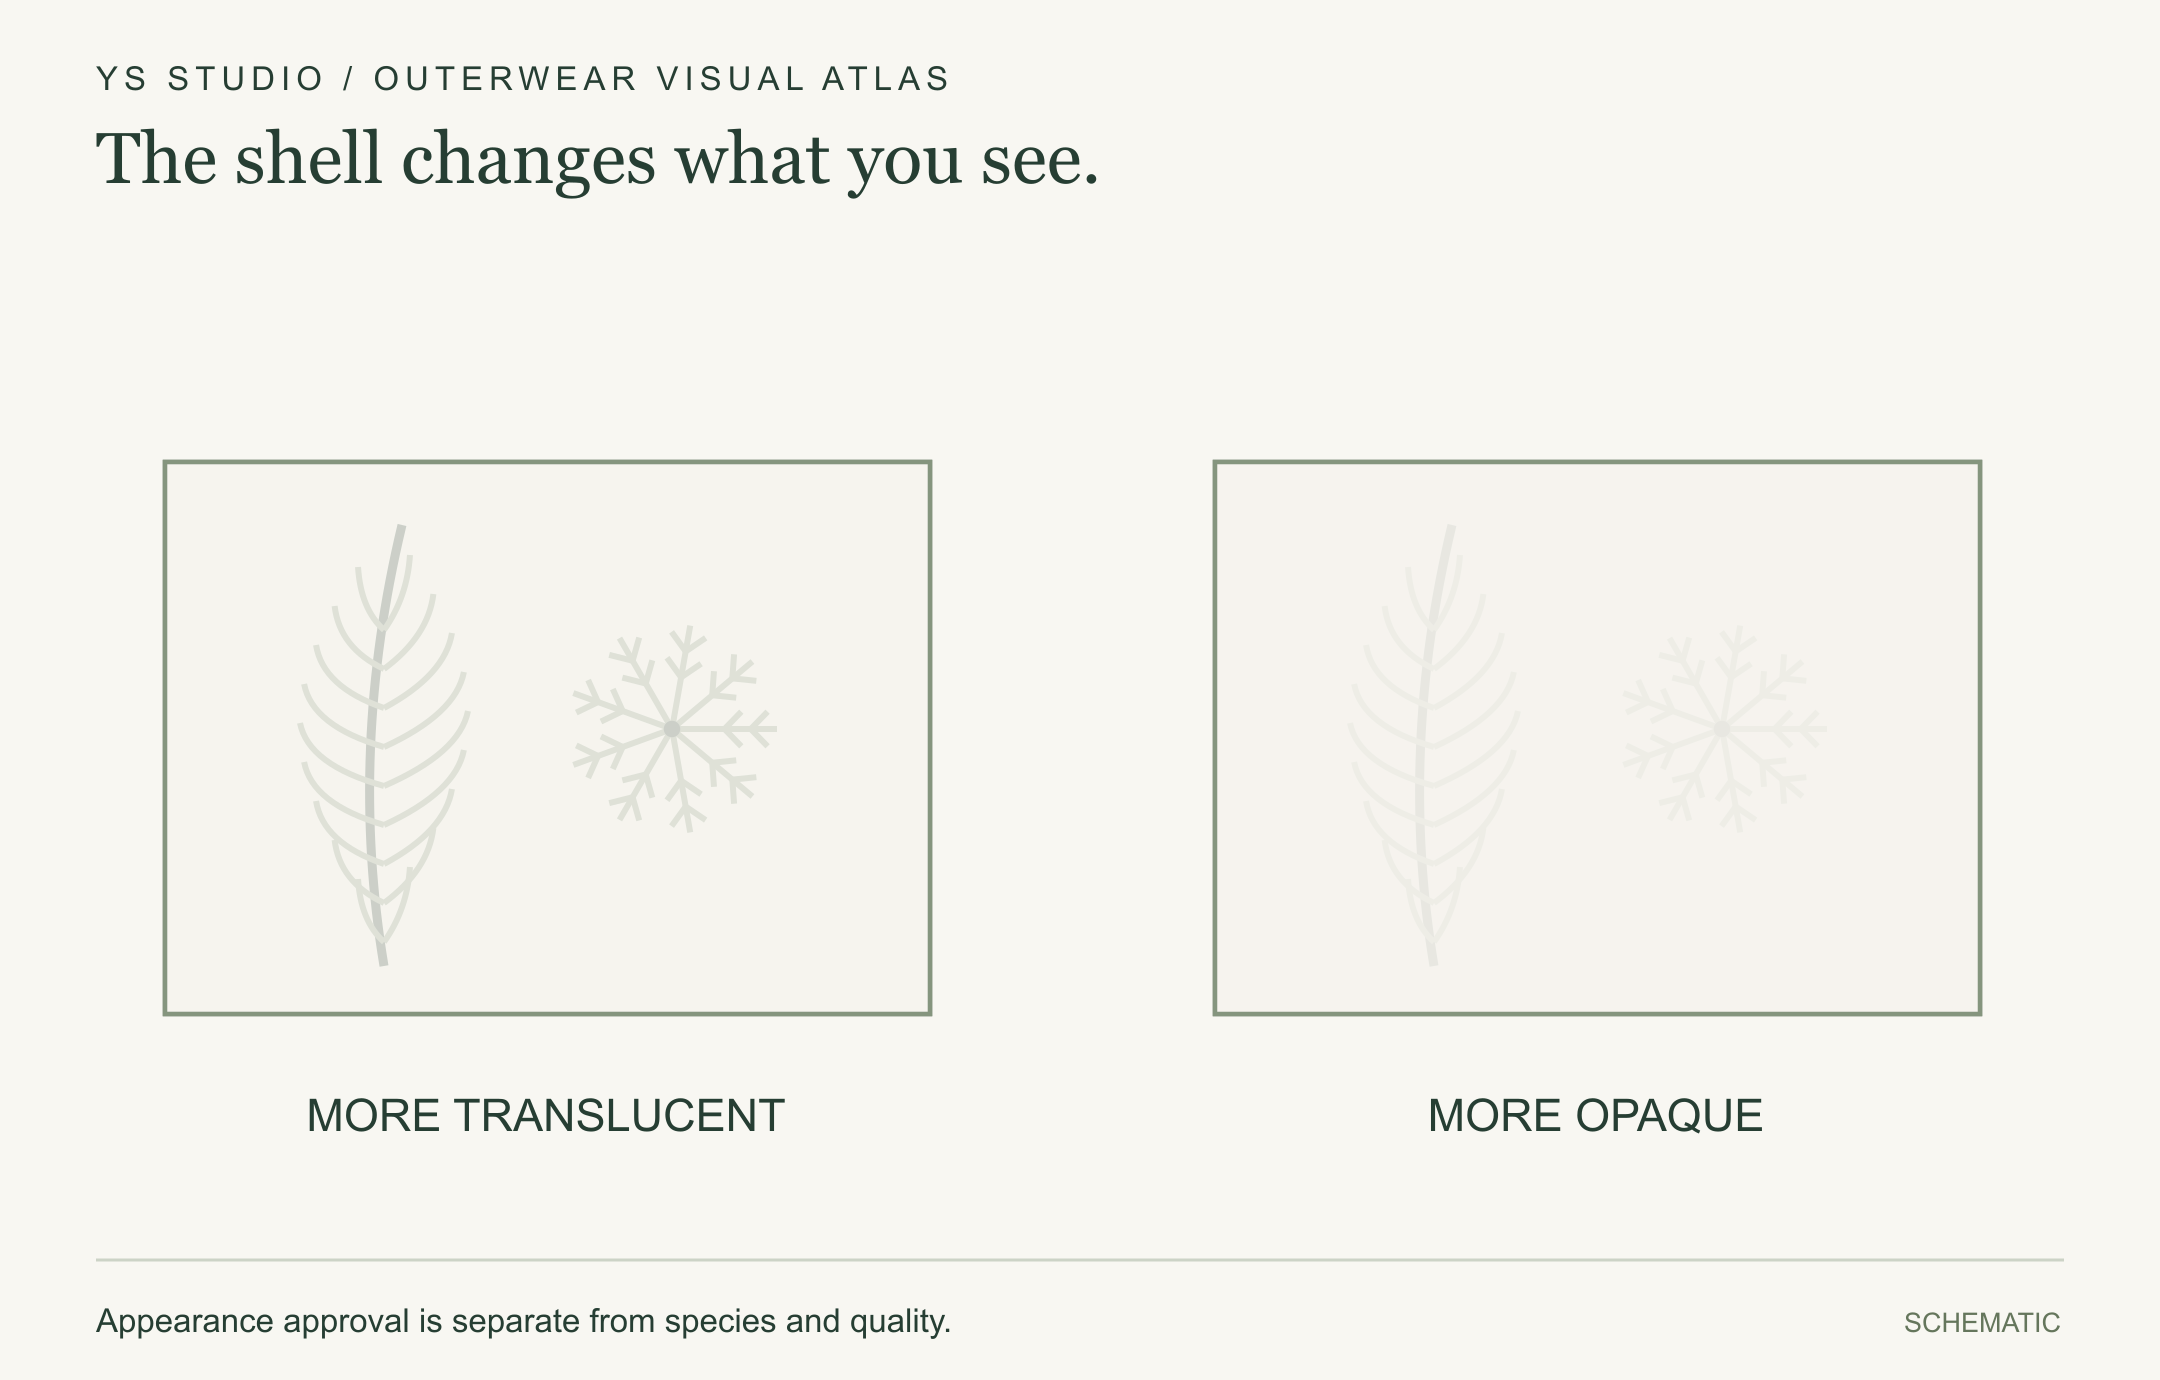
The shell changes what you see.
A translucent shell may reveal darker filling. Review the actual shell, fill and lighting together for each colorway.
Appearance approval is separate from species and quality.
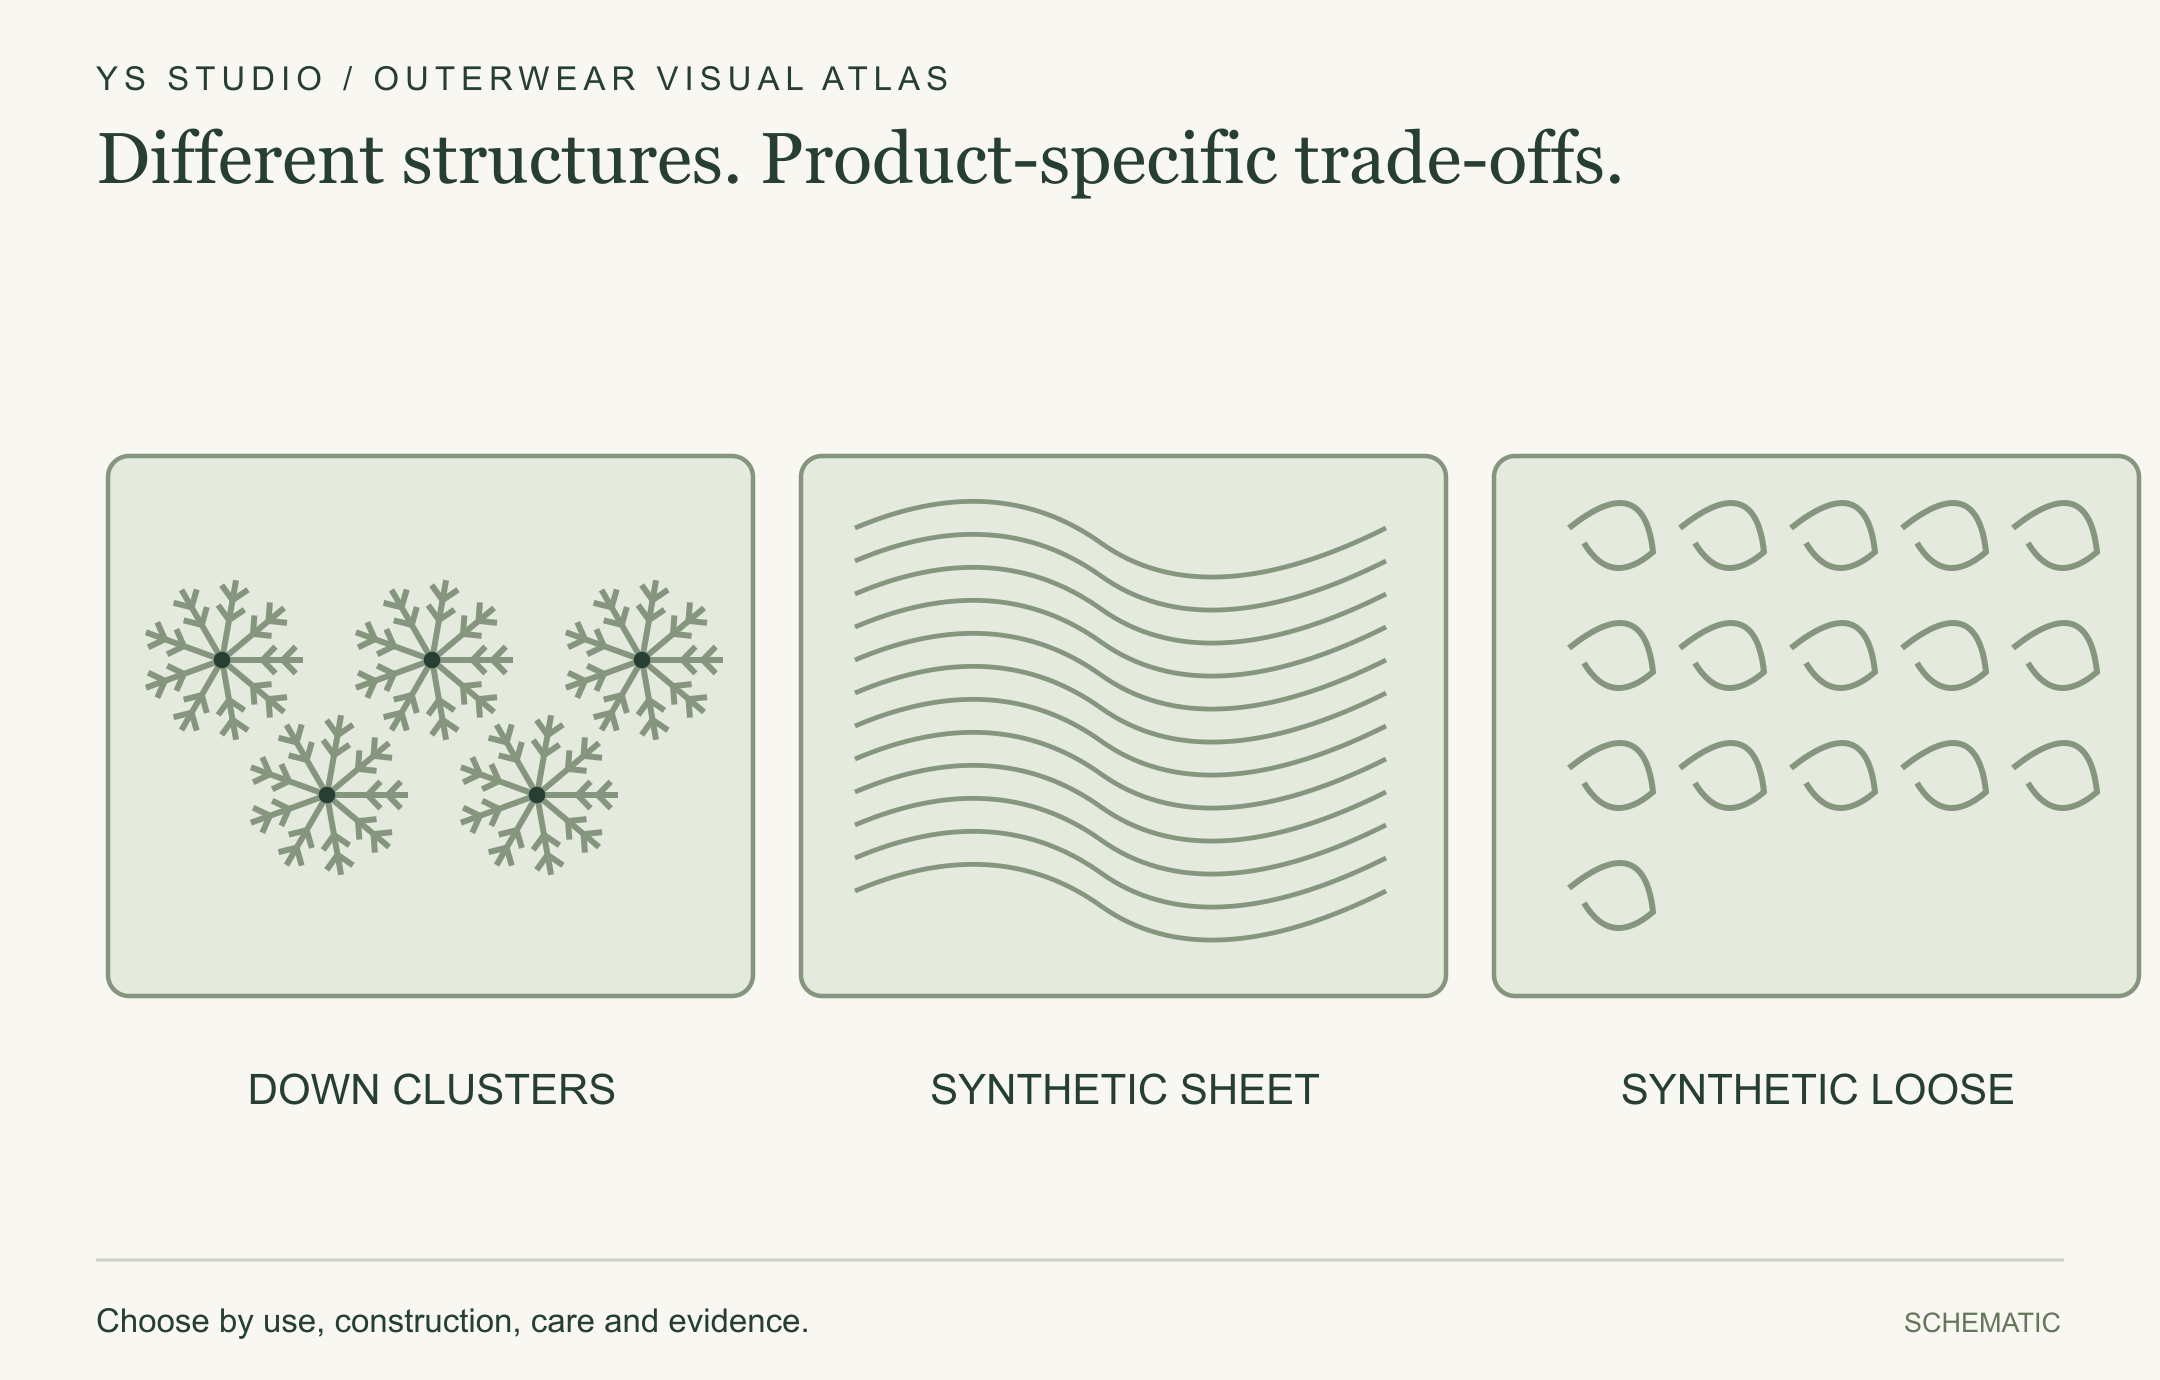
Different structures. Product-specific trade-offs.
Down clusters, synthetic sheet batting and synthetic loose fill use different structures. Each needs its own material specification.
Choose by use, construction, care and evidence.
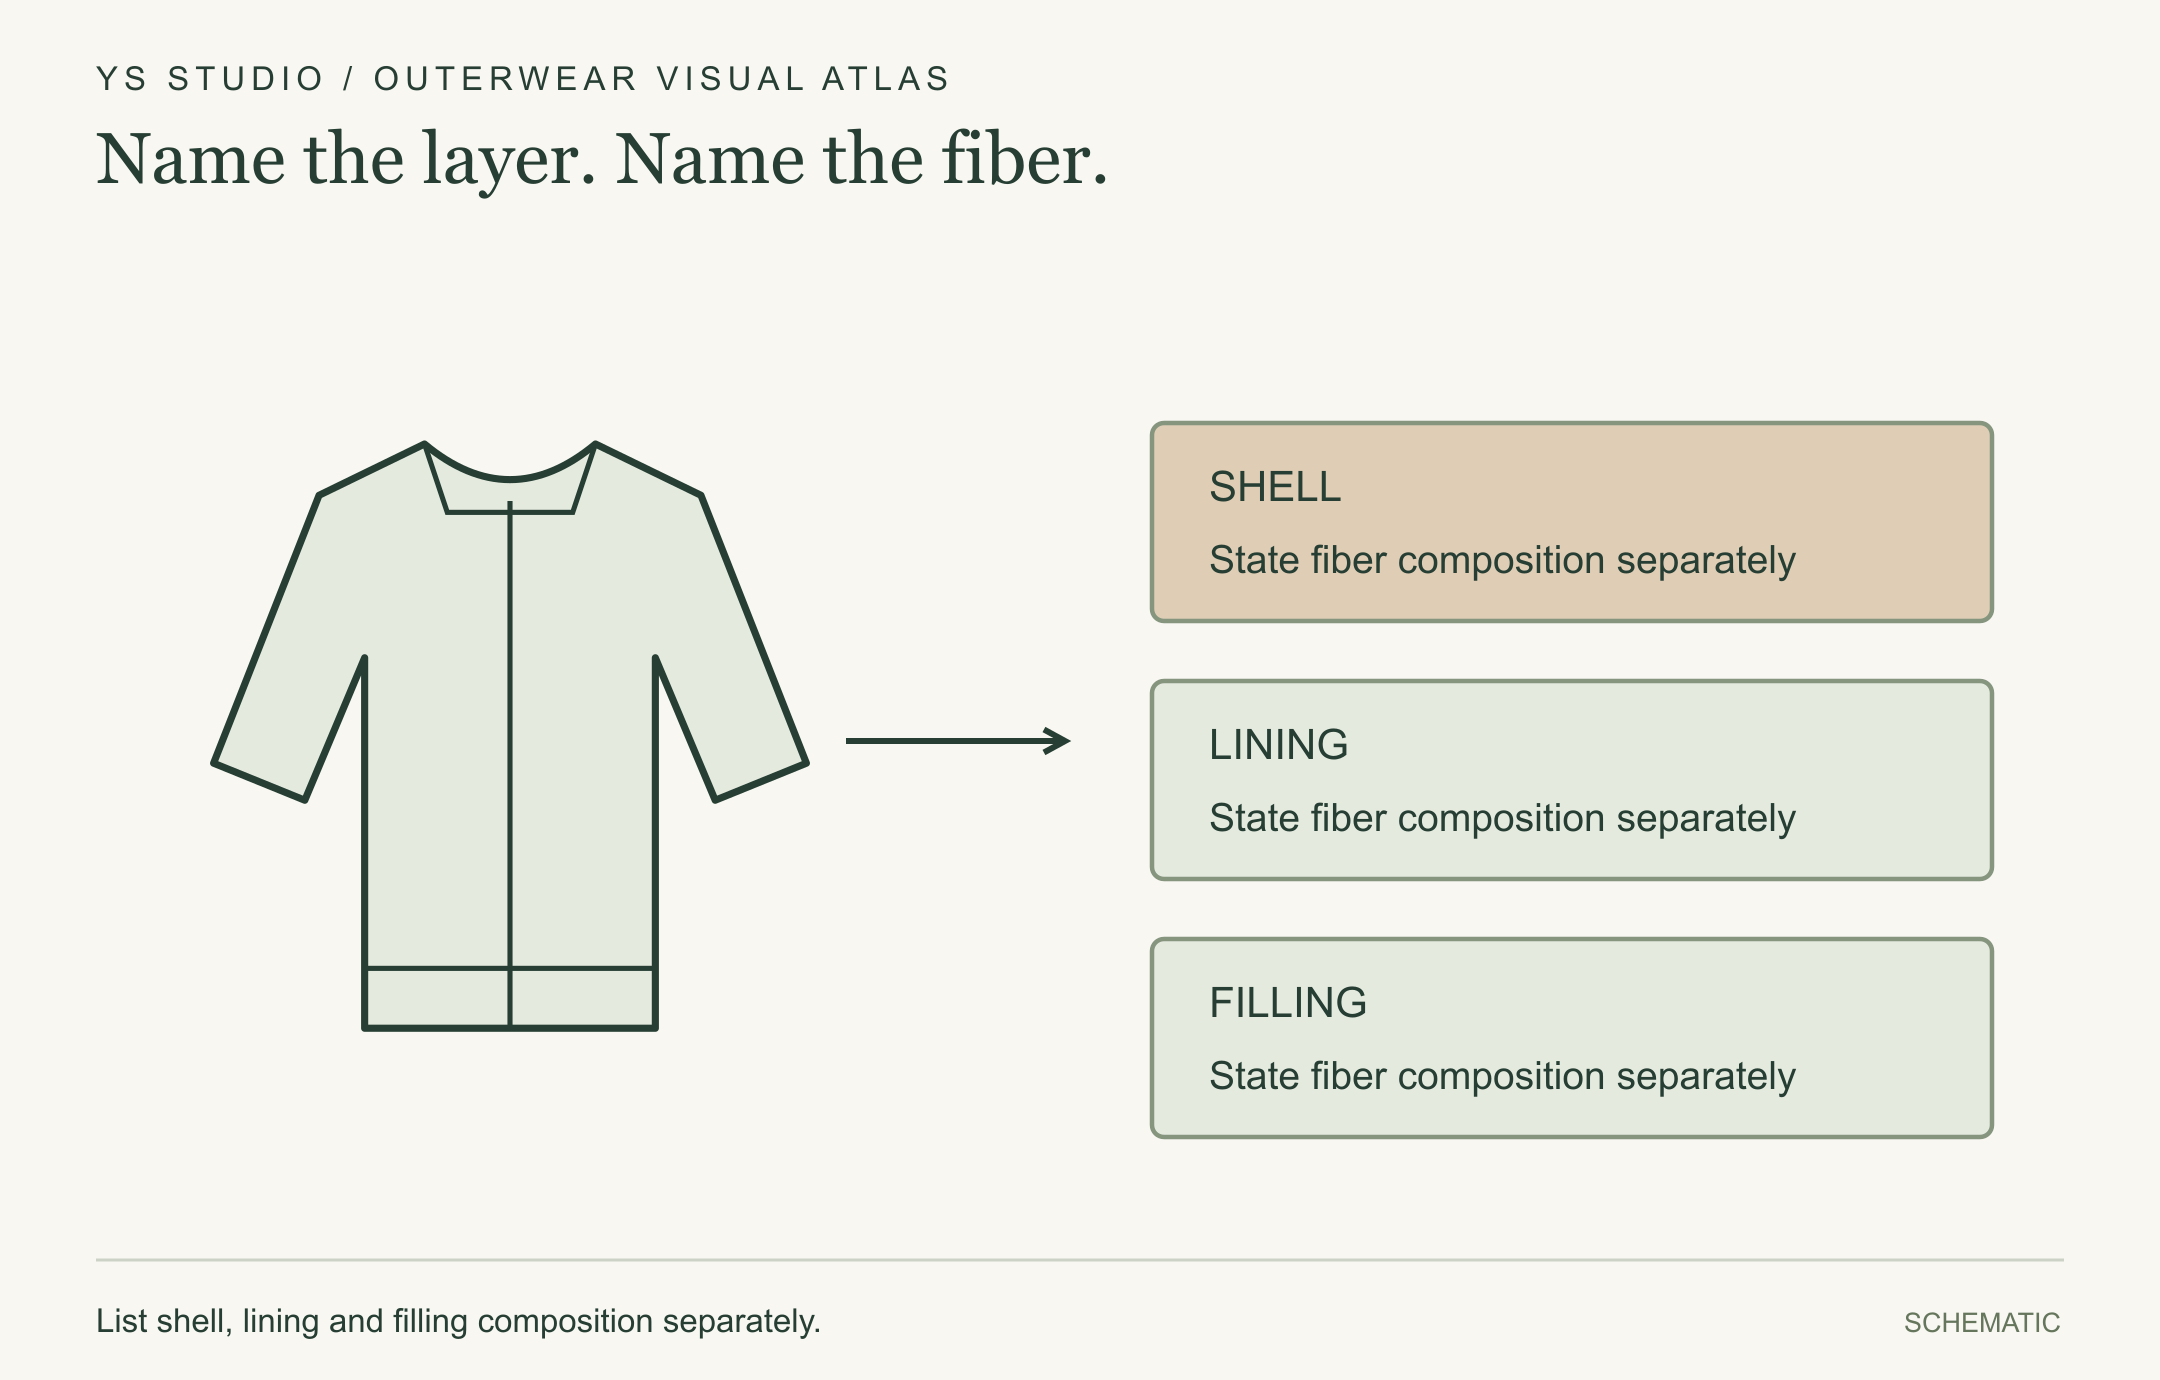
Name the layer. Name the fiber.
“Cotton jacket” can refer to the shell or be used loosely for a padded garment. It does not reliably identify the filling fiber.
List shell, lining and filling composition separately.
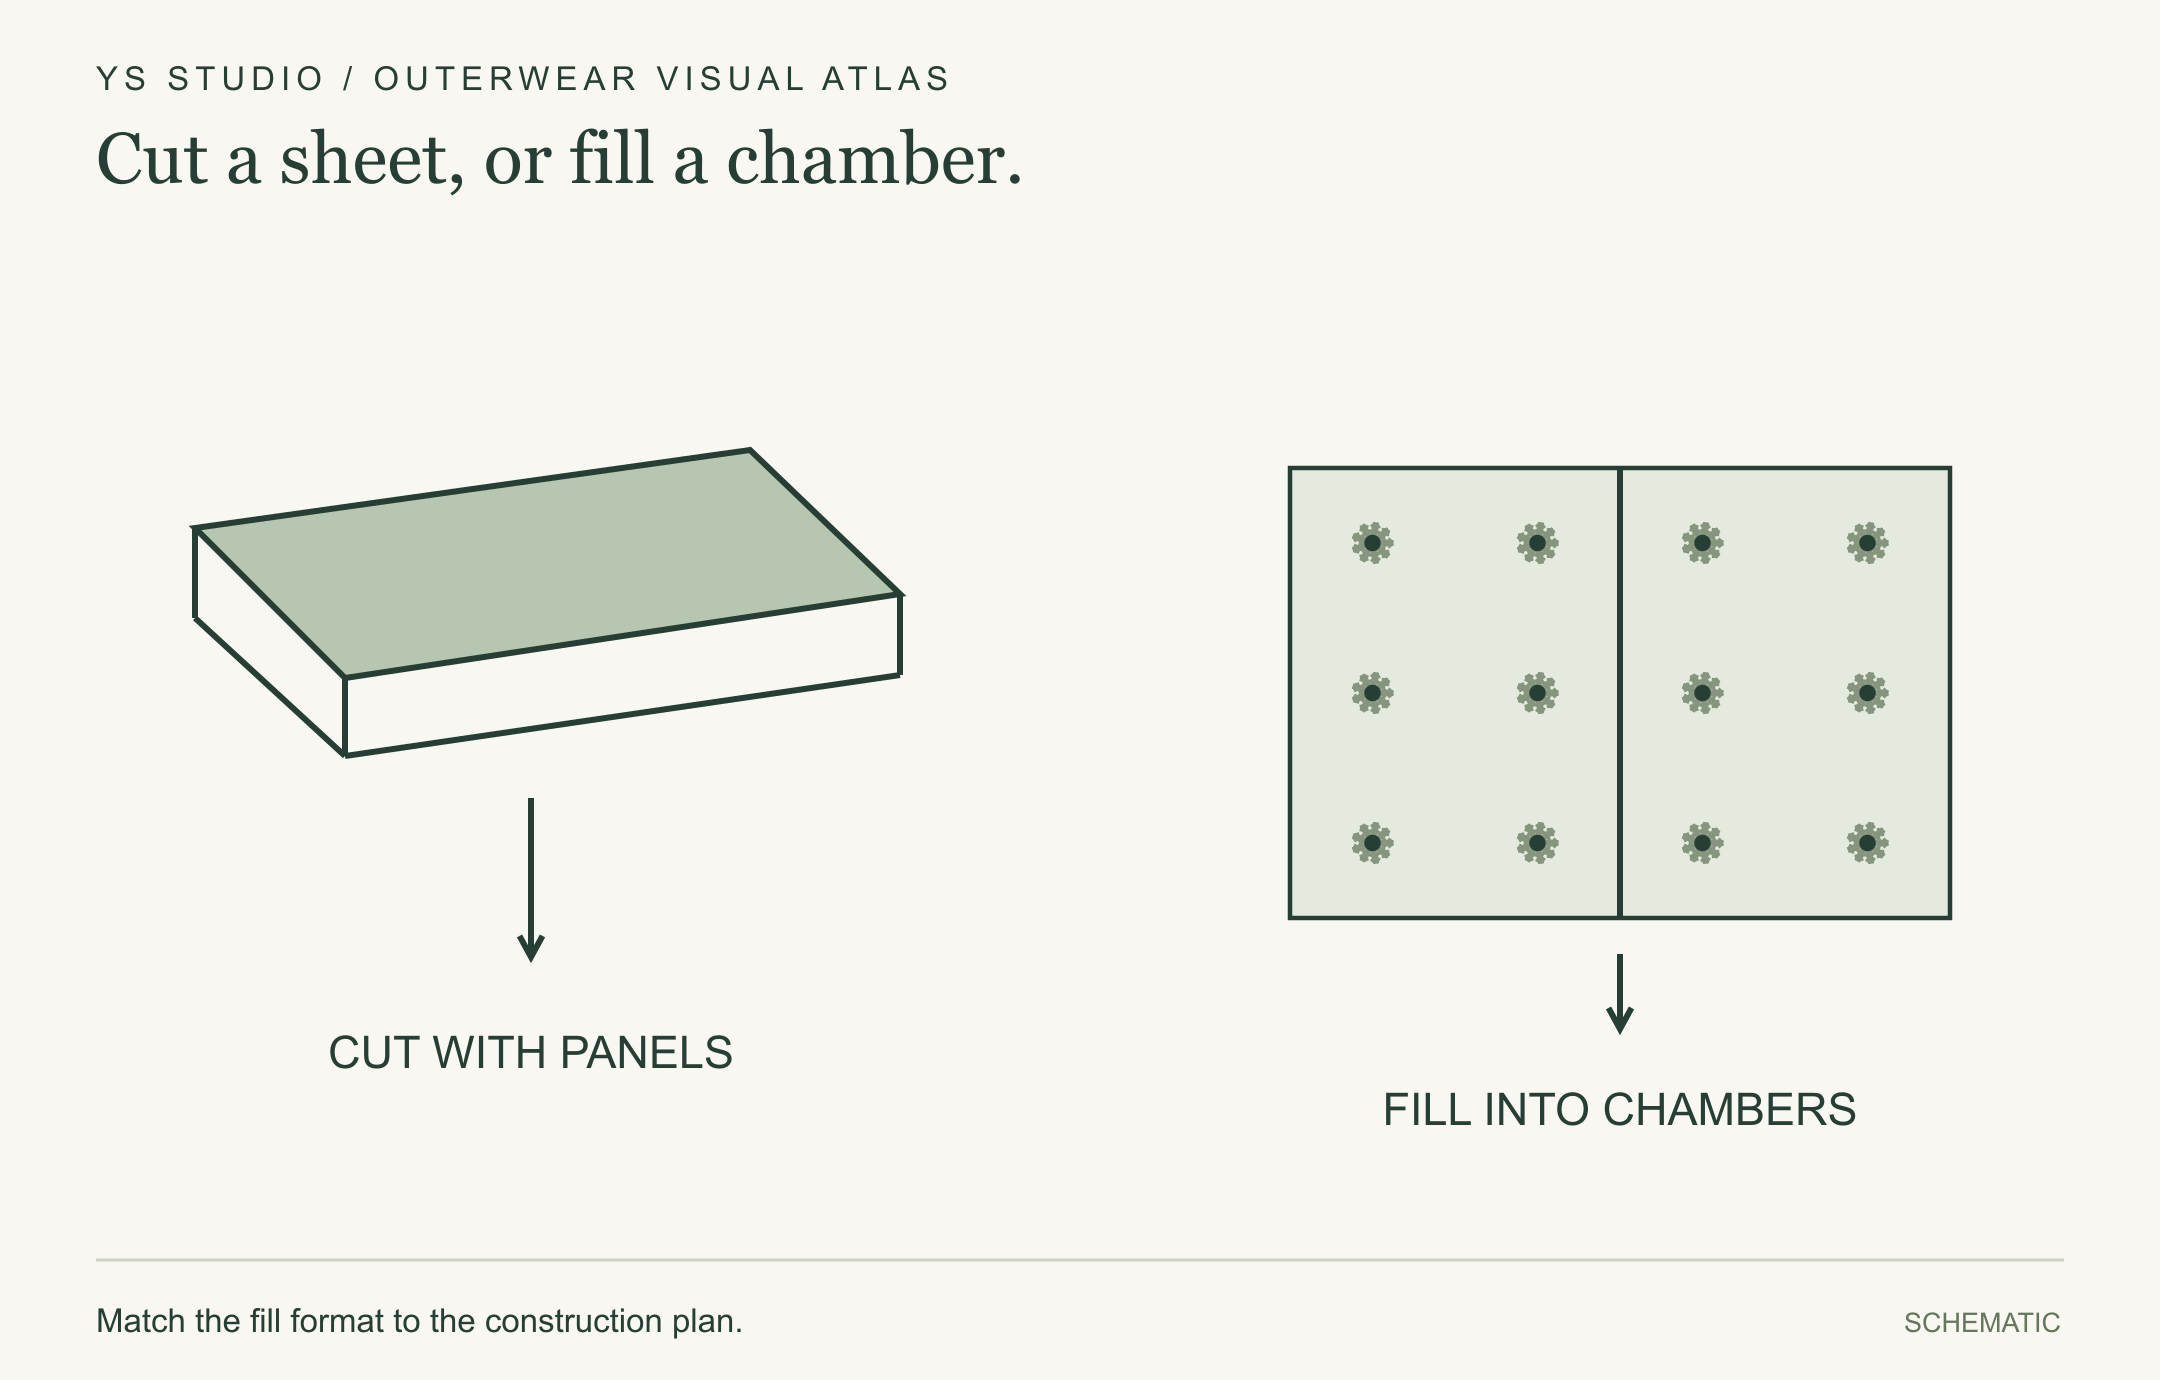
Cut a sheet, or fill a chamber.
Sheet batting is cut with panels; loose fill is placed into compartments. The format changes handling, containment and assembly.
Match the fill format to the construction plan.
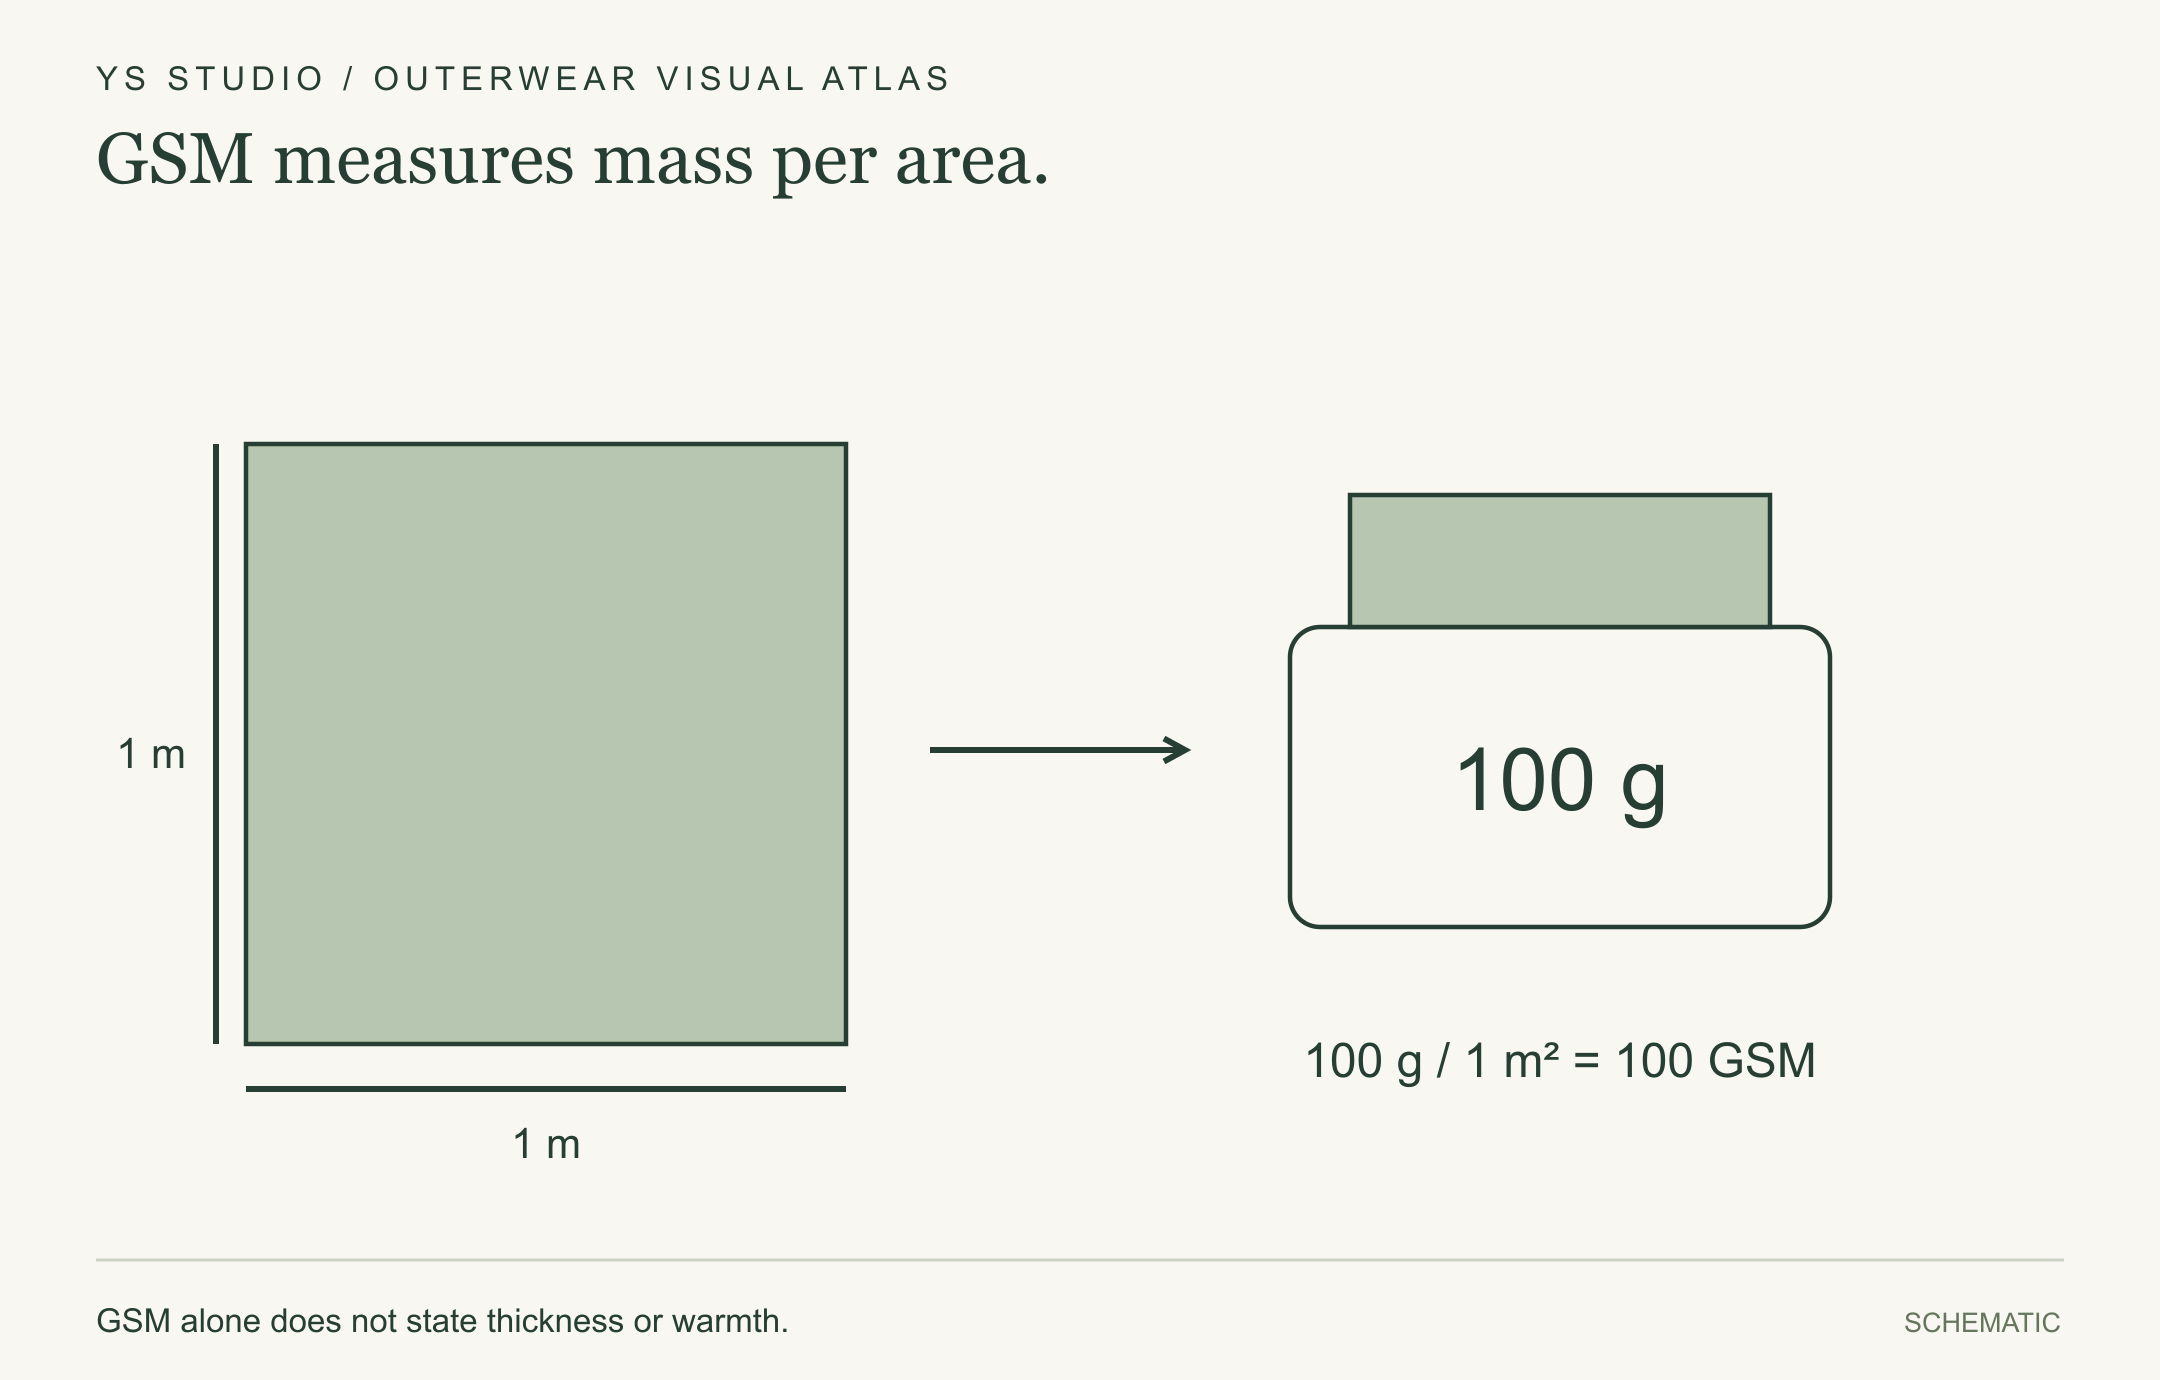
GSM measures mass per area.
A 1 m² piece with a mass of 100 g has a mass per area of 100 g/m². This is a unit example, not a product recommendation.
GSM alone does not state thickness or warmth.
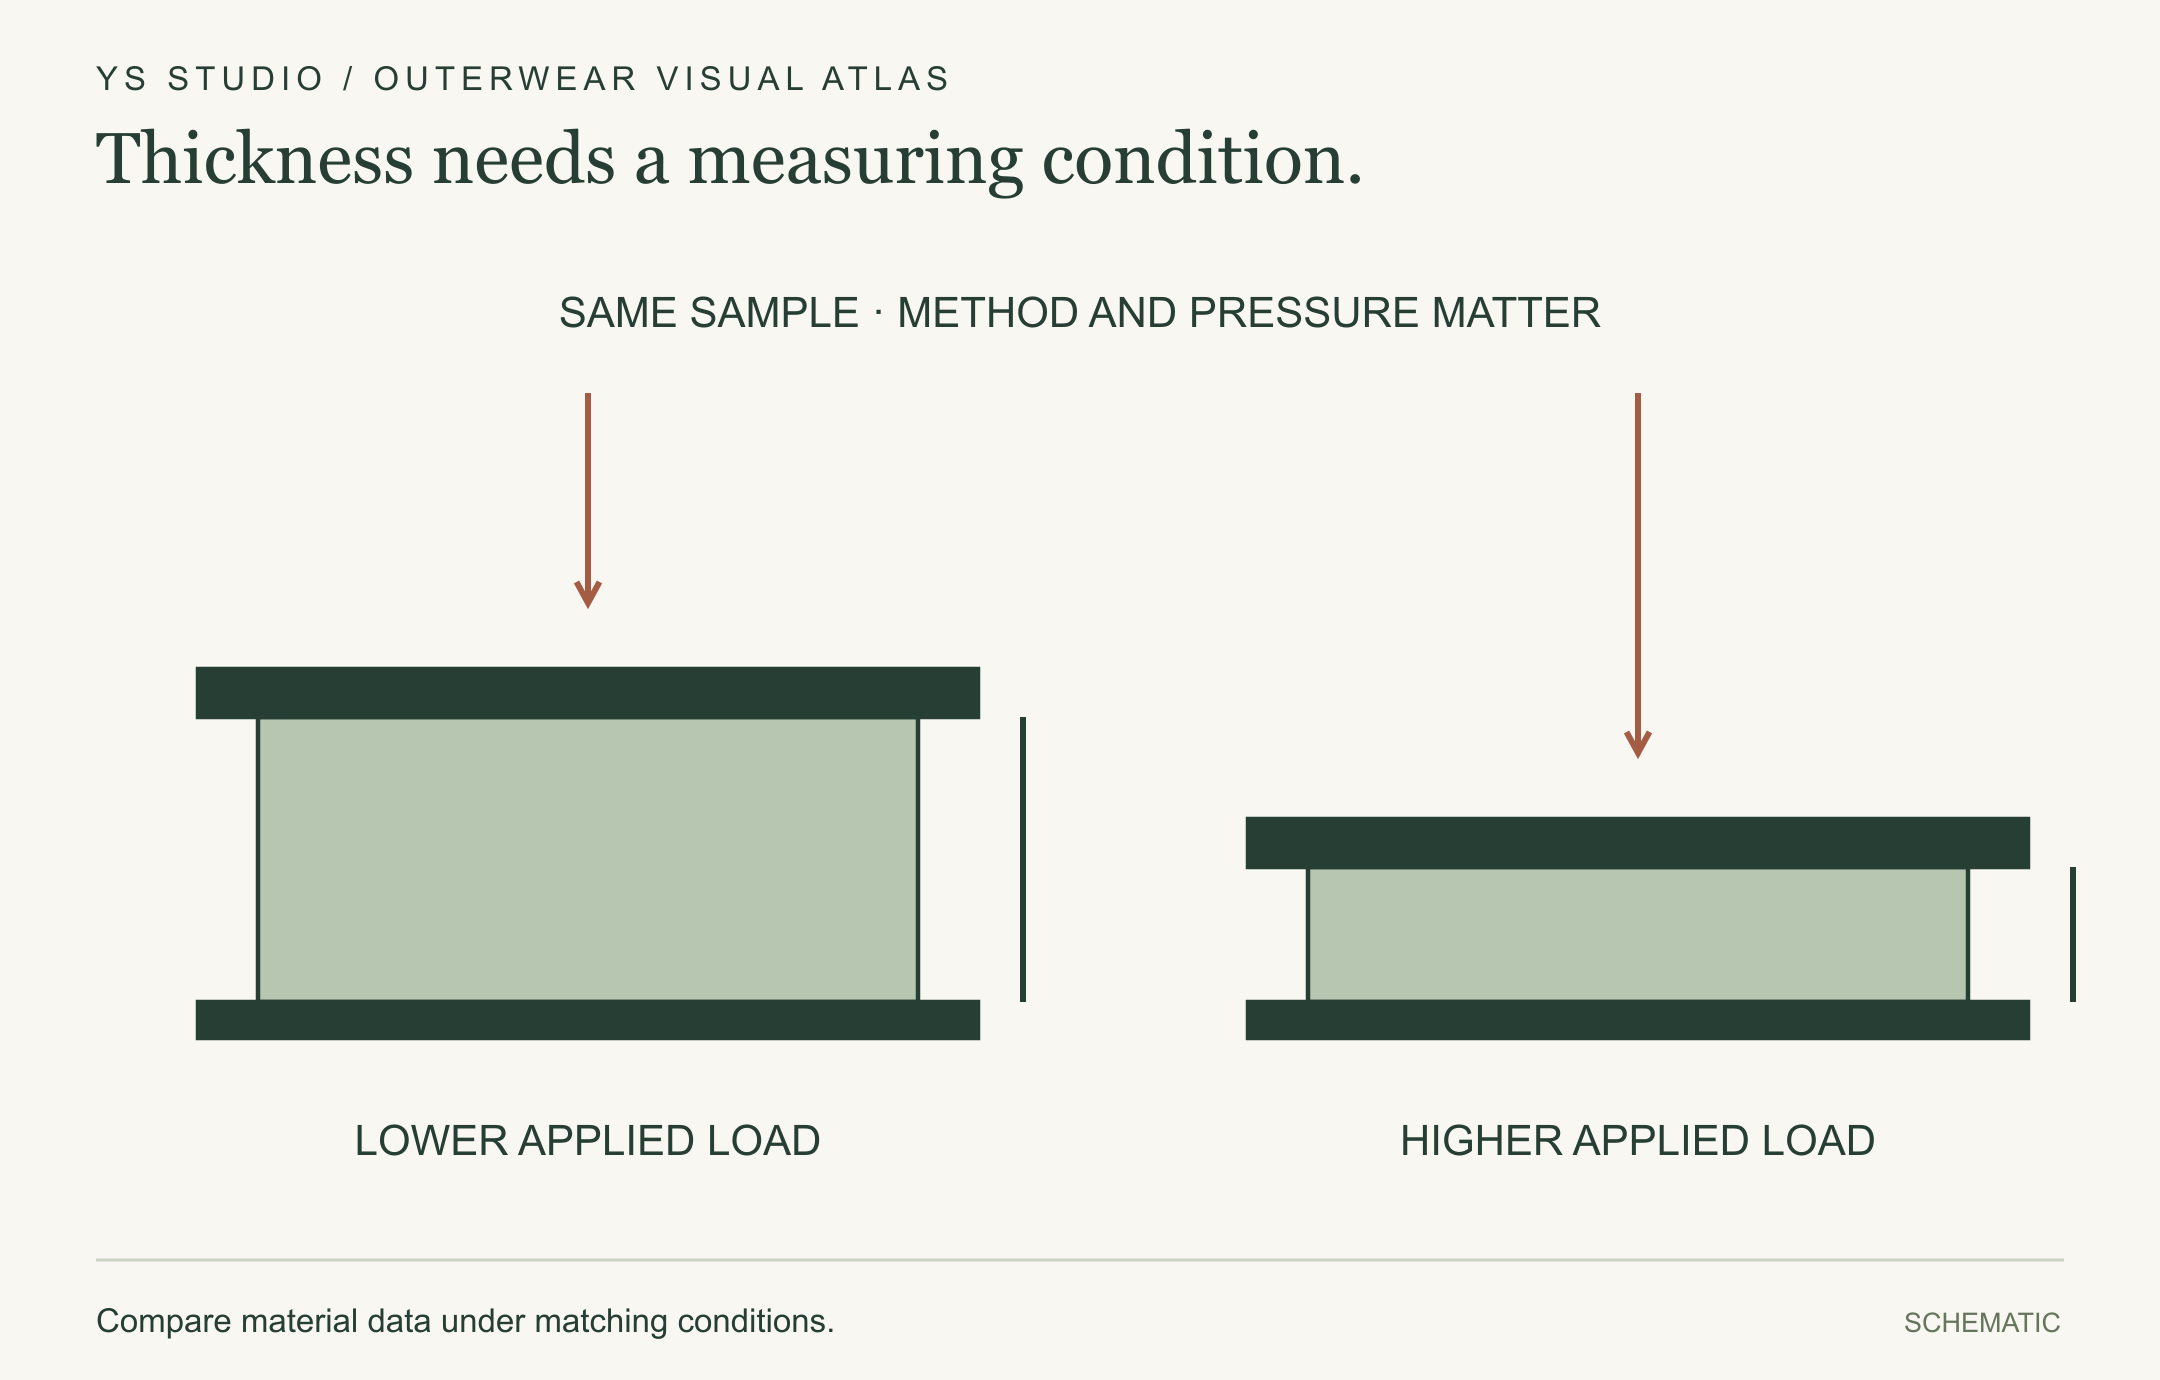
Thickness needs a measuring condition.
The same batting can give different thickness readings under different loads. Record the measurement method and pressure.
Compare material data under matching conditions.
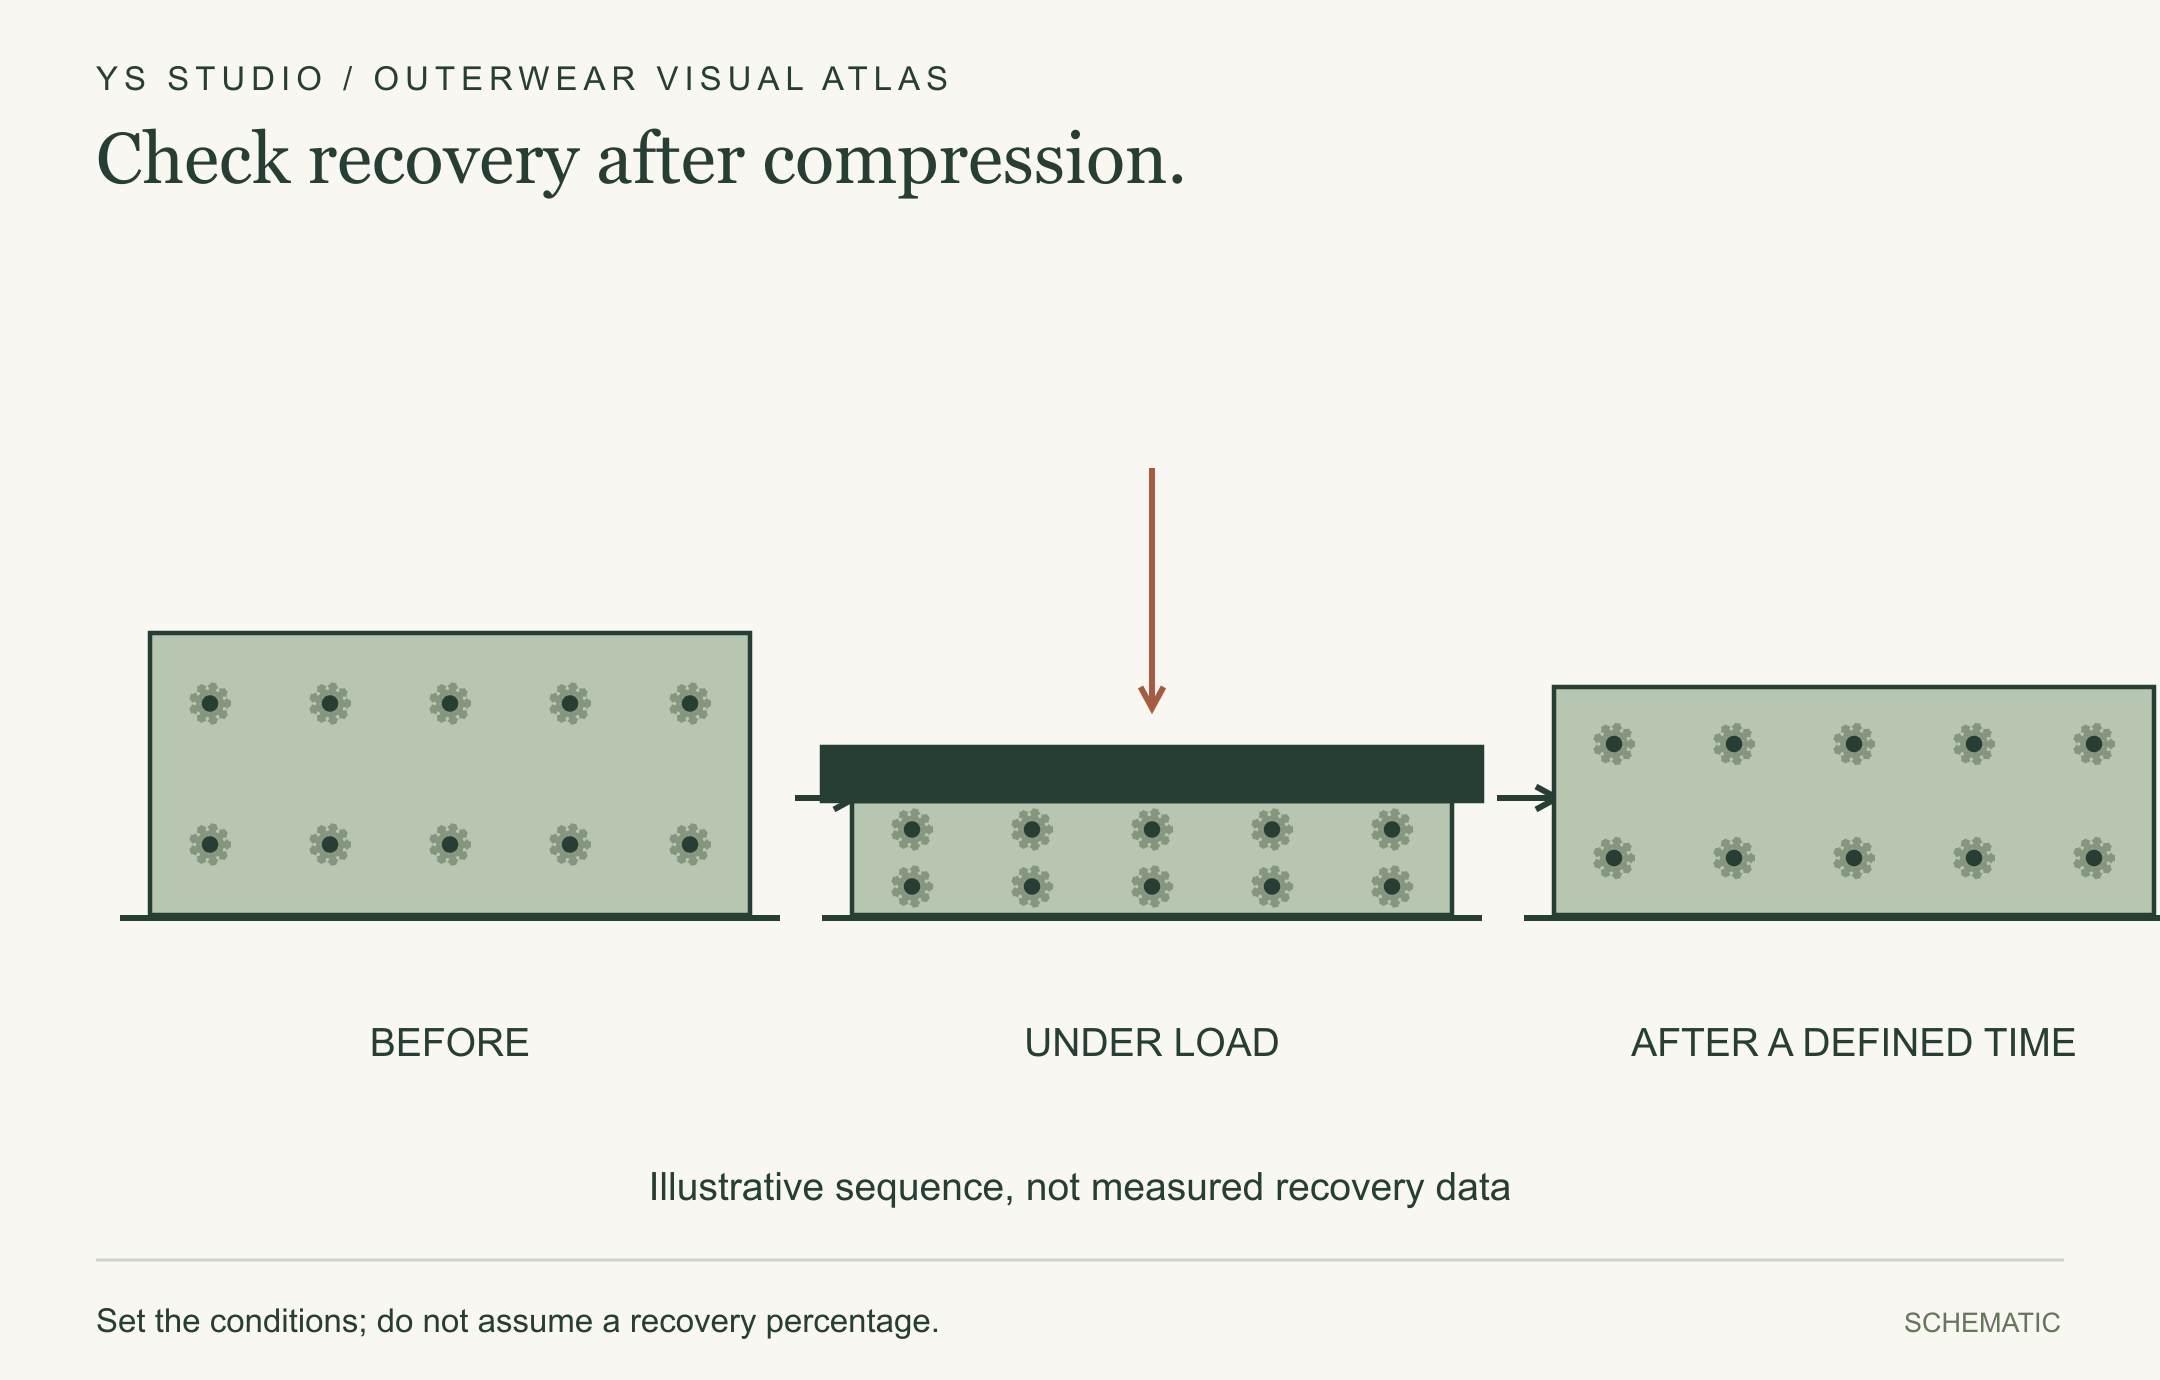
Check recovery after compression.
Inspect the sample before compression, under a defined load, and after a defined recovery period. The sequence illustrates a test plan.
Set the conditions; do not assume a recovery percentage.
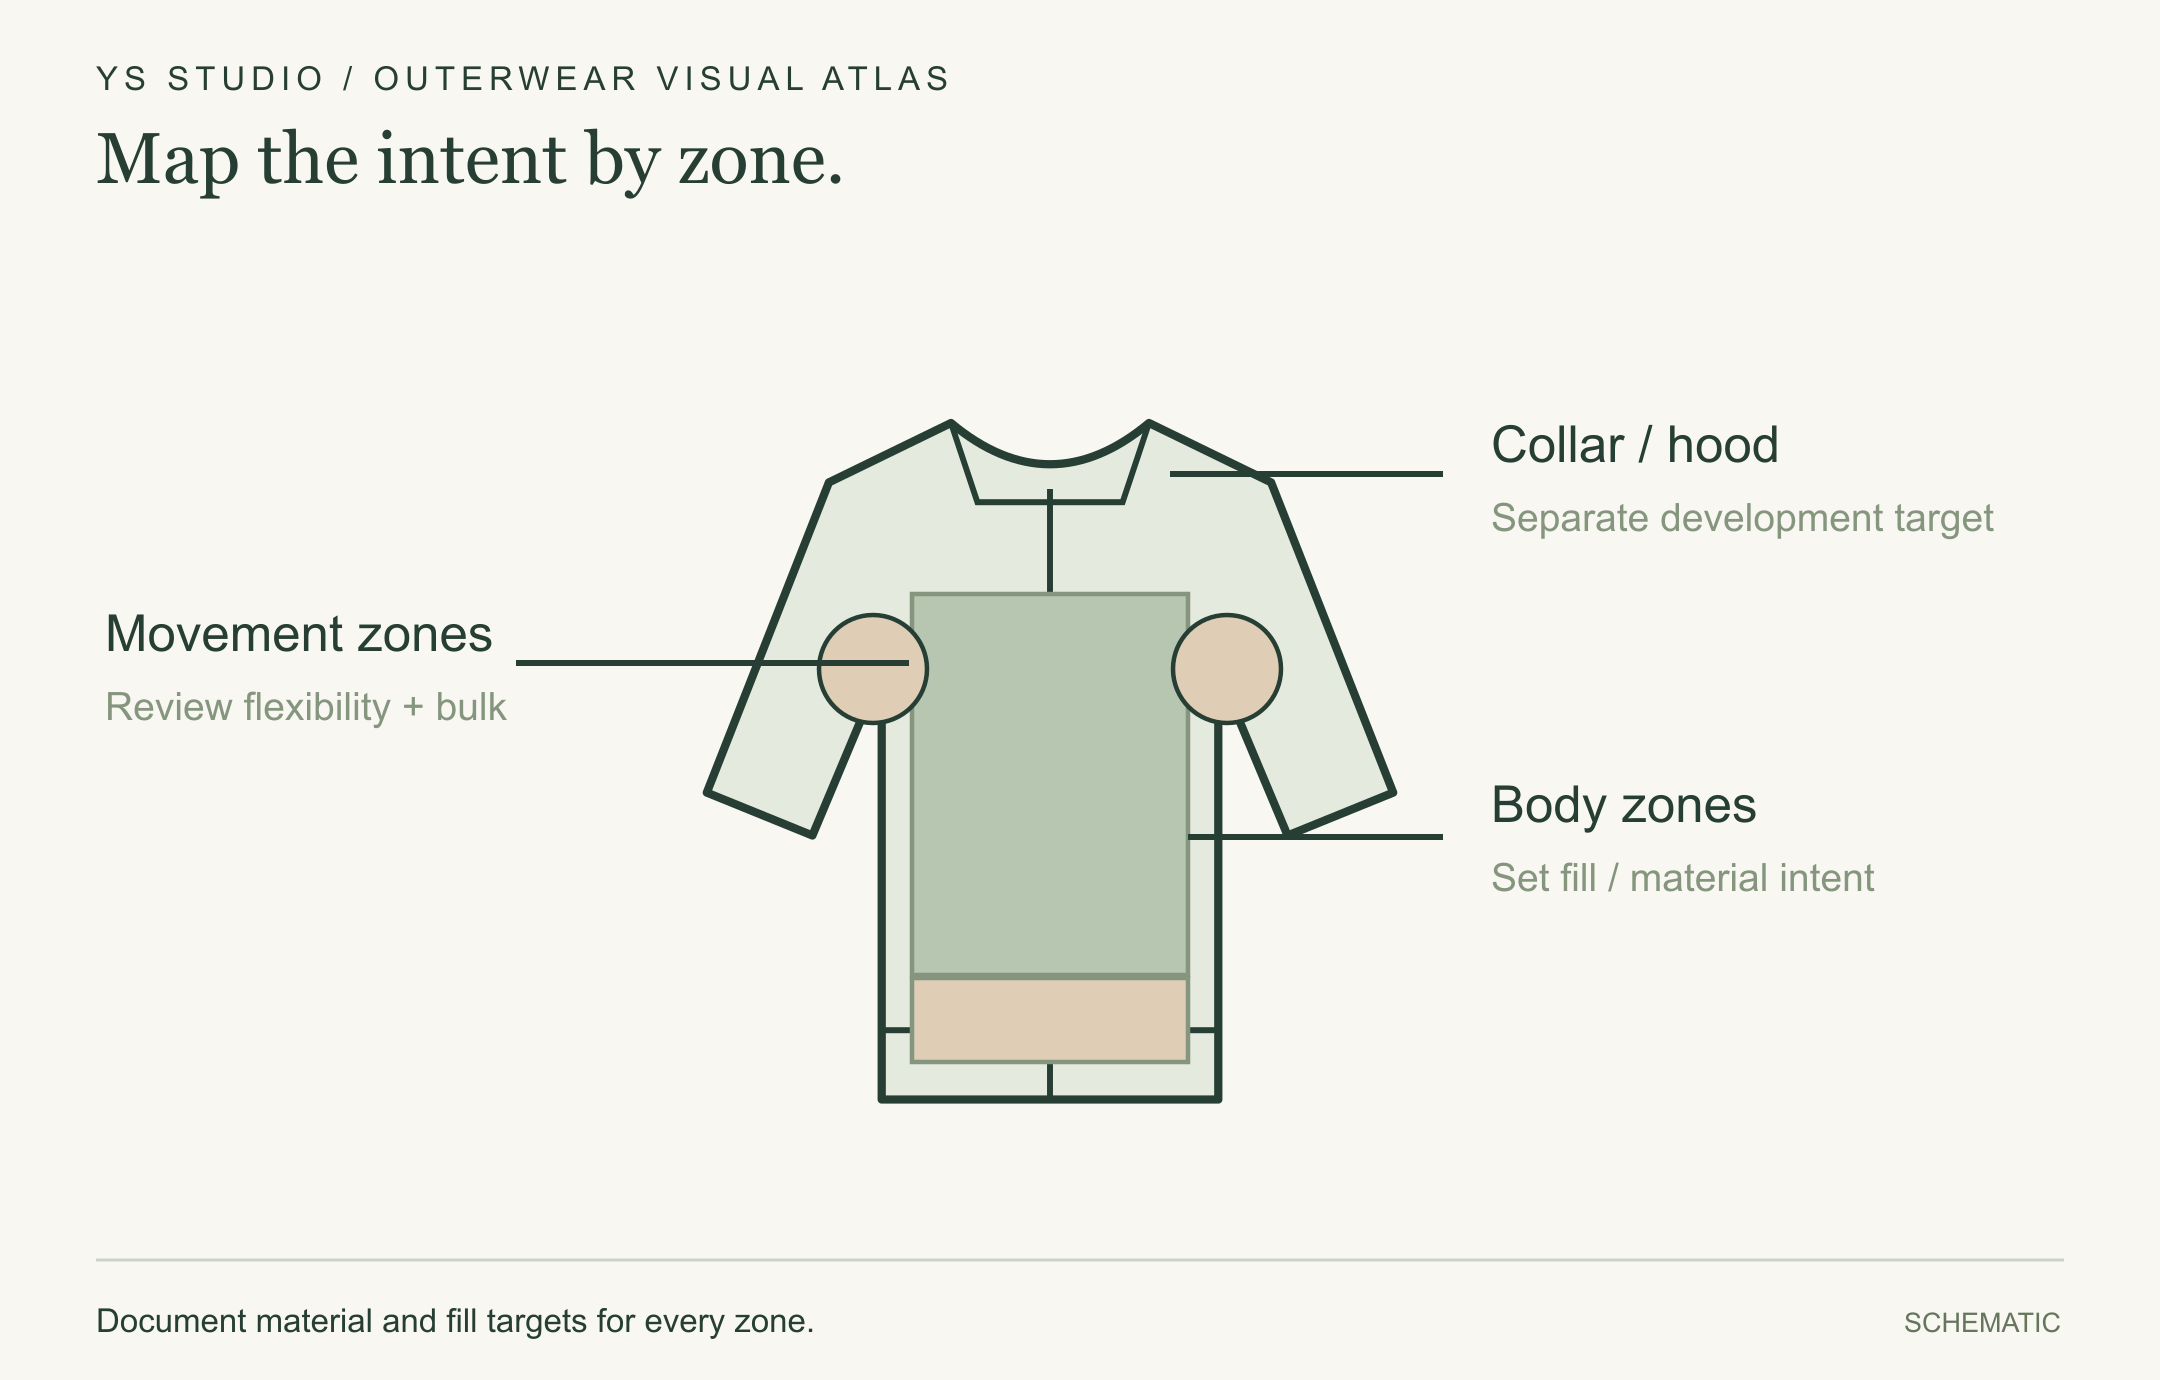
Map the intent by zone.
Body, sleeves, collar and movement zones can have different design needs. Colors identify design zones, not measured temperature.
Document material and fill targets for every zone.
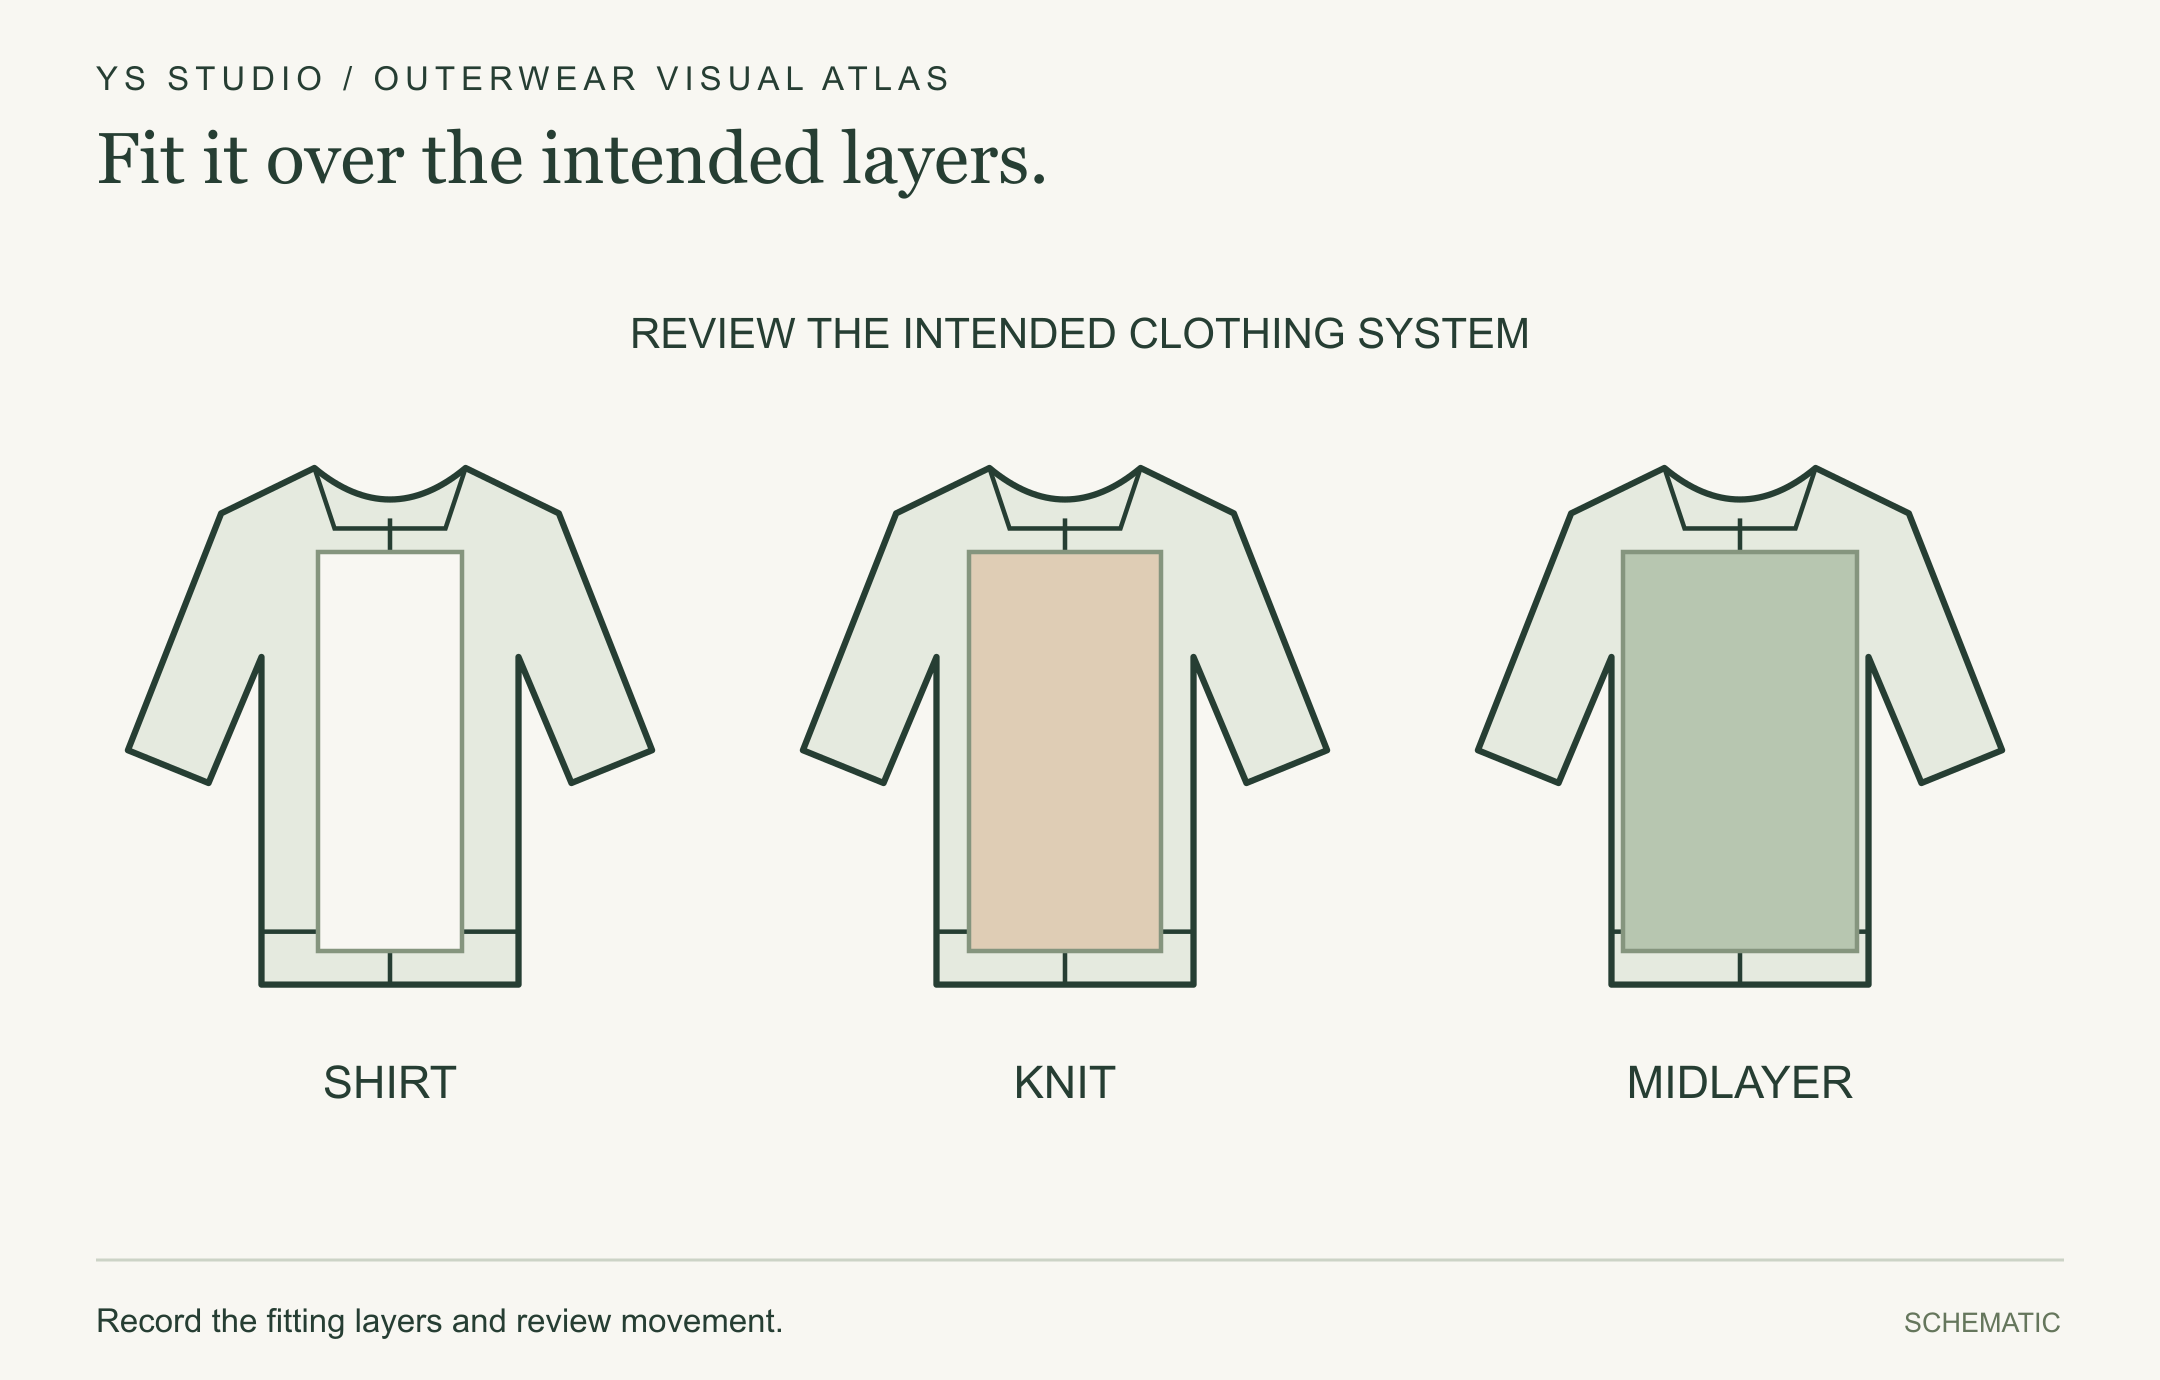
Fit it over the intended layers.
Review the garment over a shirt, knit or midlayer as intended. Pattern ease and insulation compression affect the fit discussion.
Record the fitting layers and review movement.
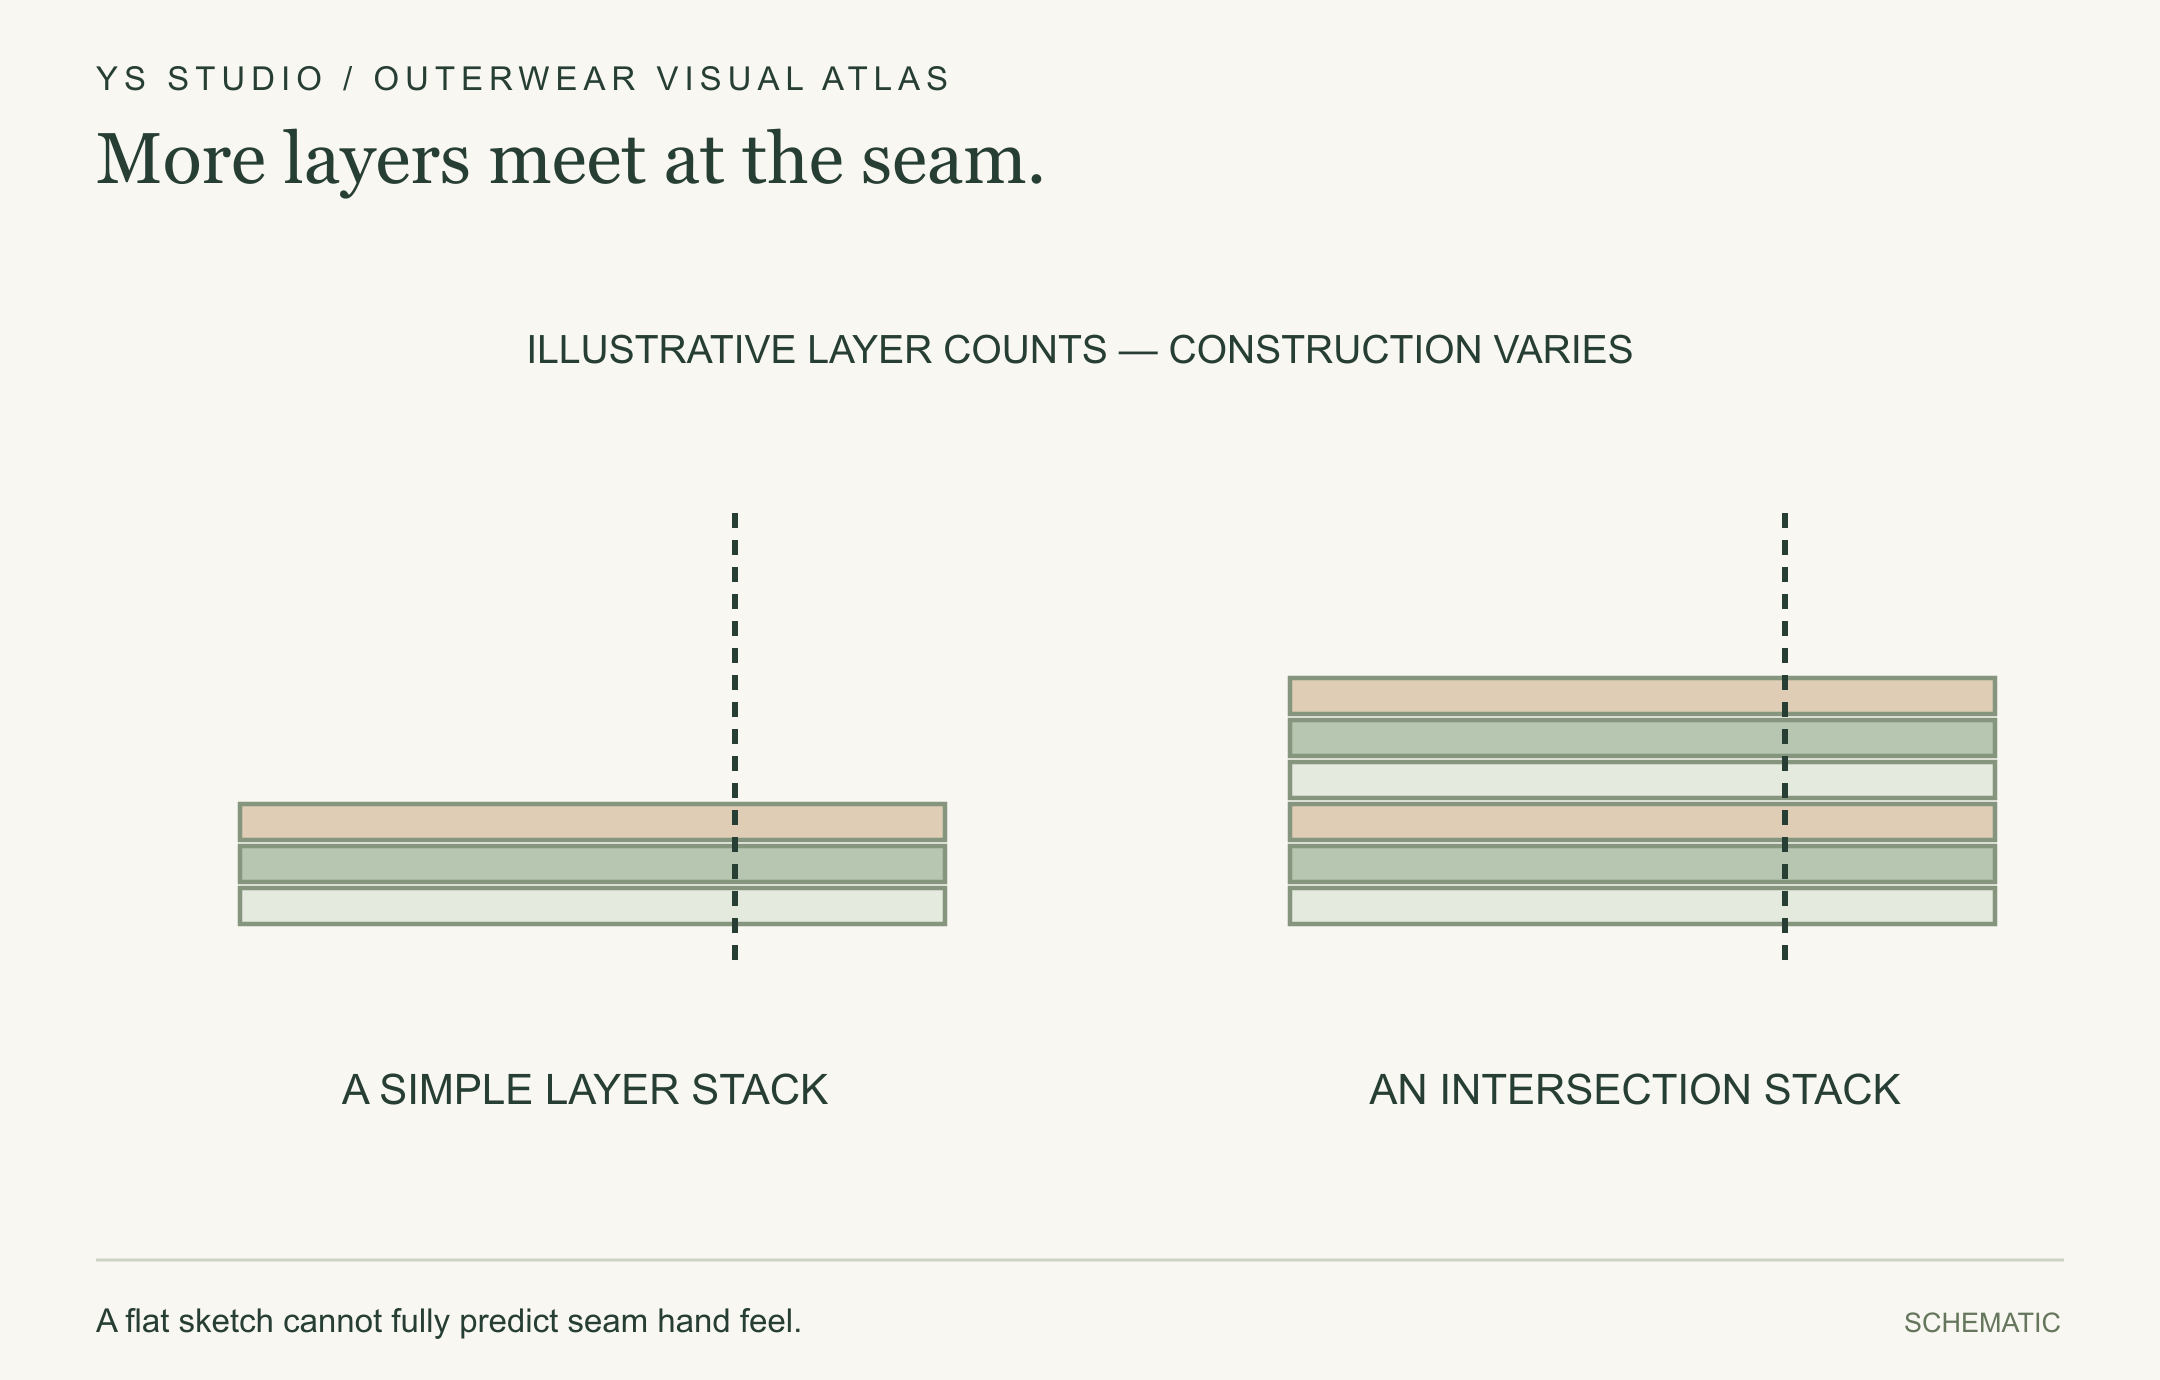
More layers meet at the seam.
Seam intersections can stack shell, lining and insulation. Review actual seam allowance, handling and bulk in the sample.
A flat sketch cannot fully predict seam hand feel.
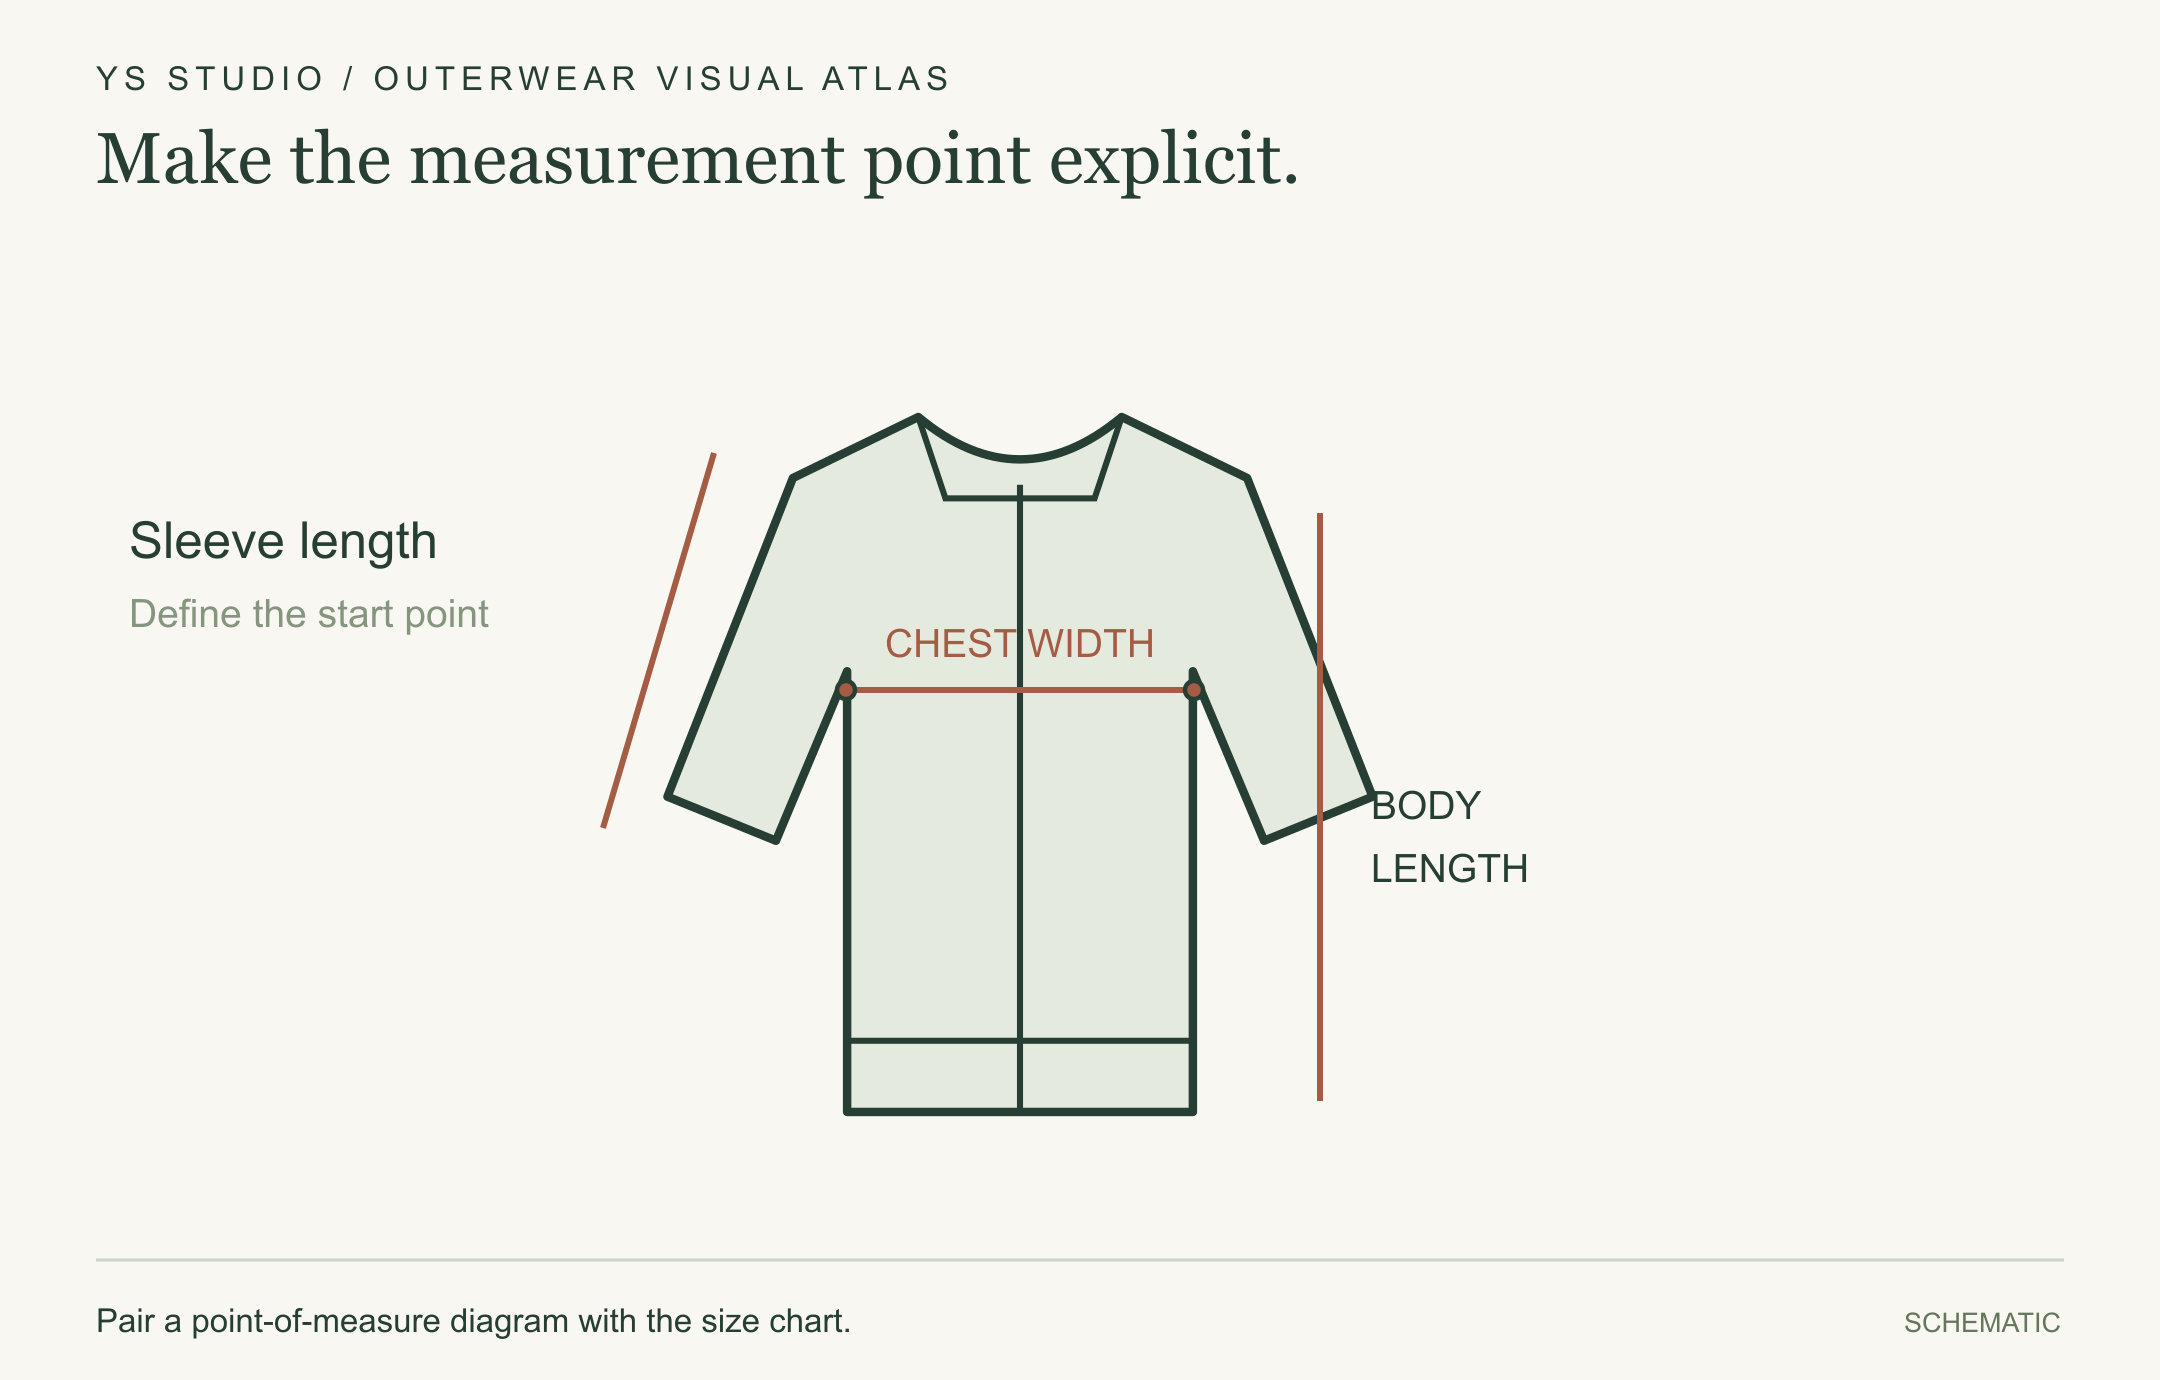
Make the measurement point explicit.
Chest width, body length and sleeve length need defined start/end points and a consistent measuring method.
Pair a point-of-measure diagram with the size chart.
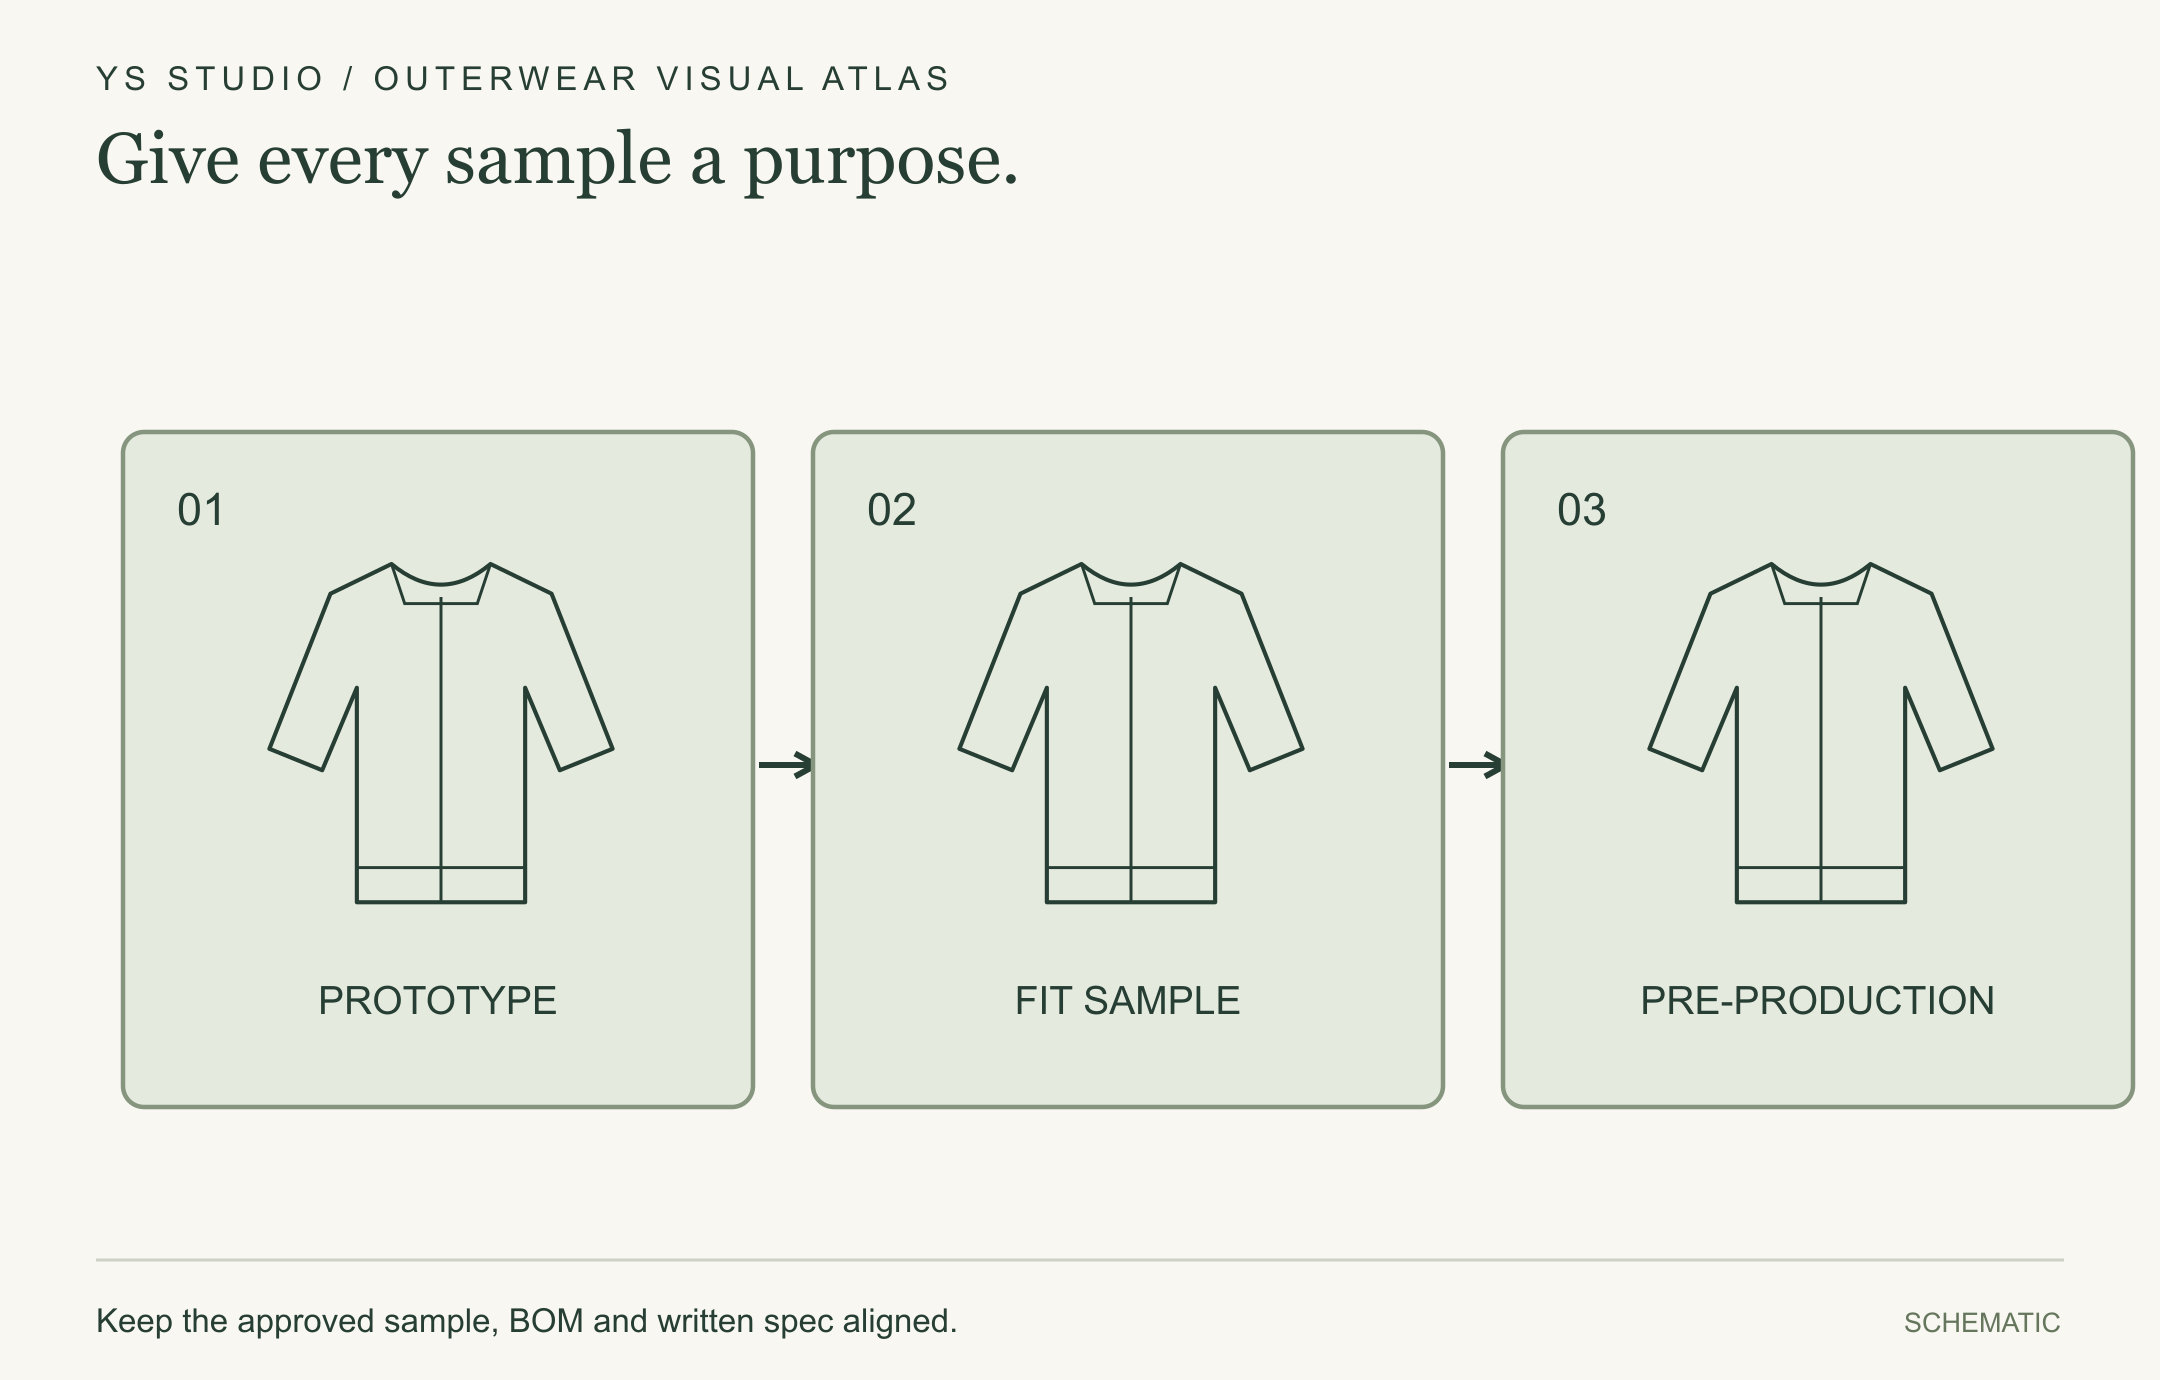
Give every sample a purpose.
Prototype, fit and pre-production samples answer different questions. Stage names vary; agree purpose and approval criteria.
Keep the approved sample, BOM and written spec aligned.
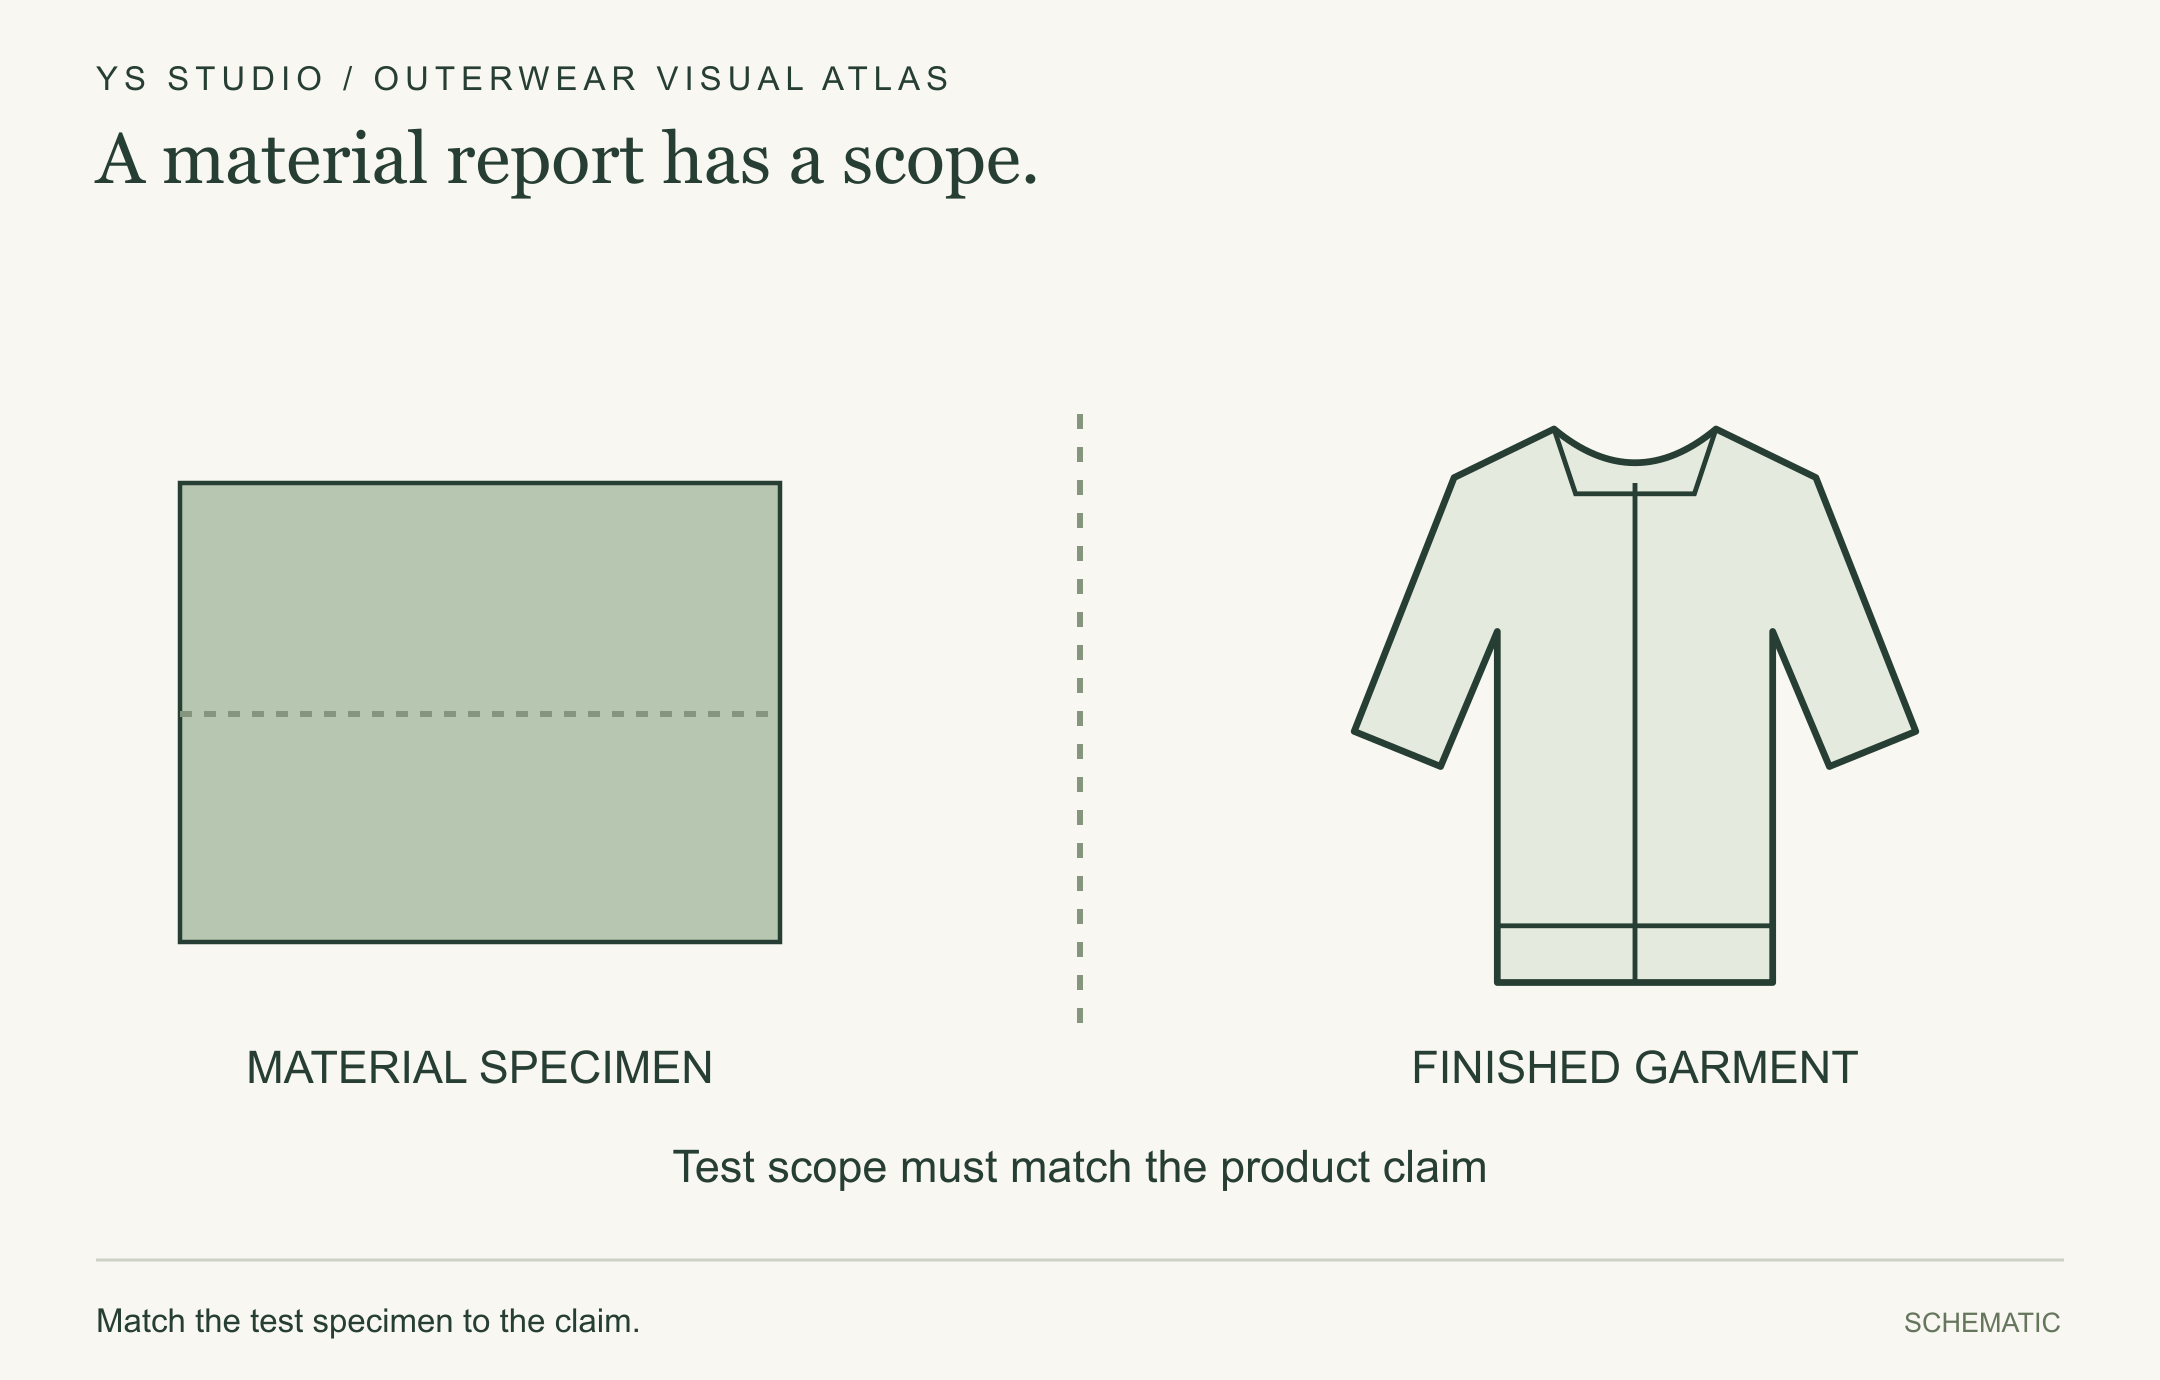
A material report has a scope.
A fabric report can inform material selection. Construction, seams and closures can require separate finished-product evaluation.
Match the test specimen to the claim.
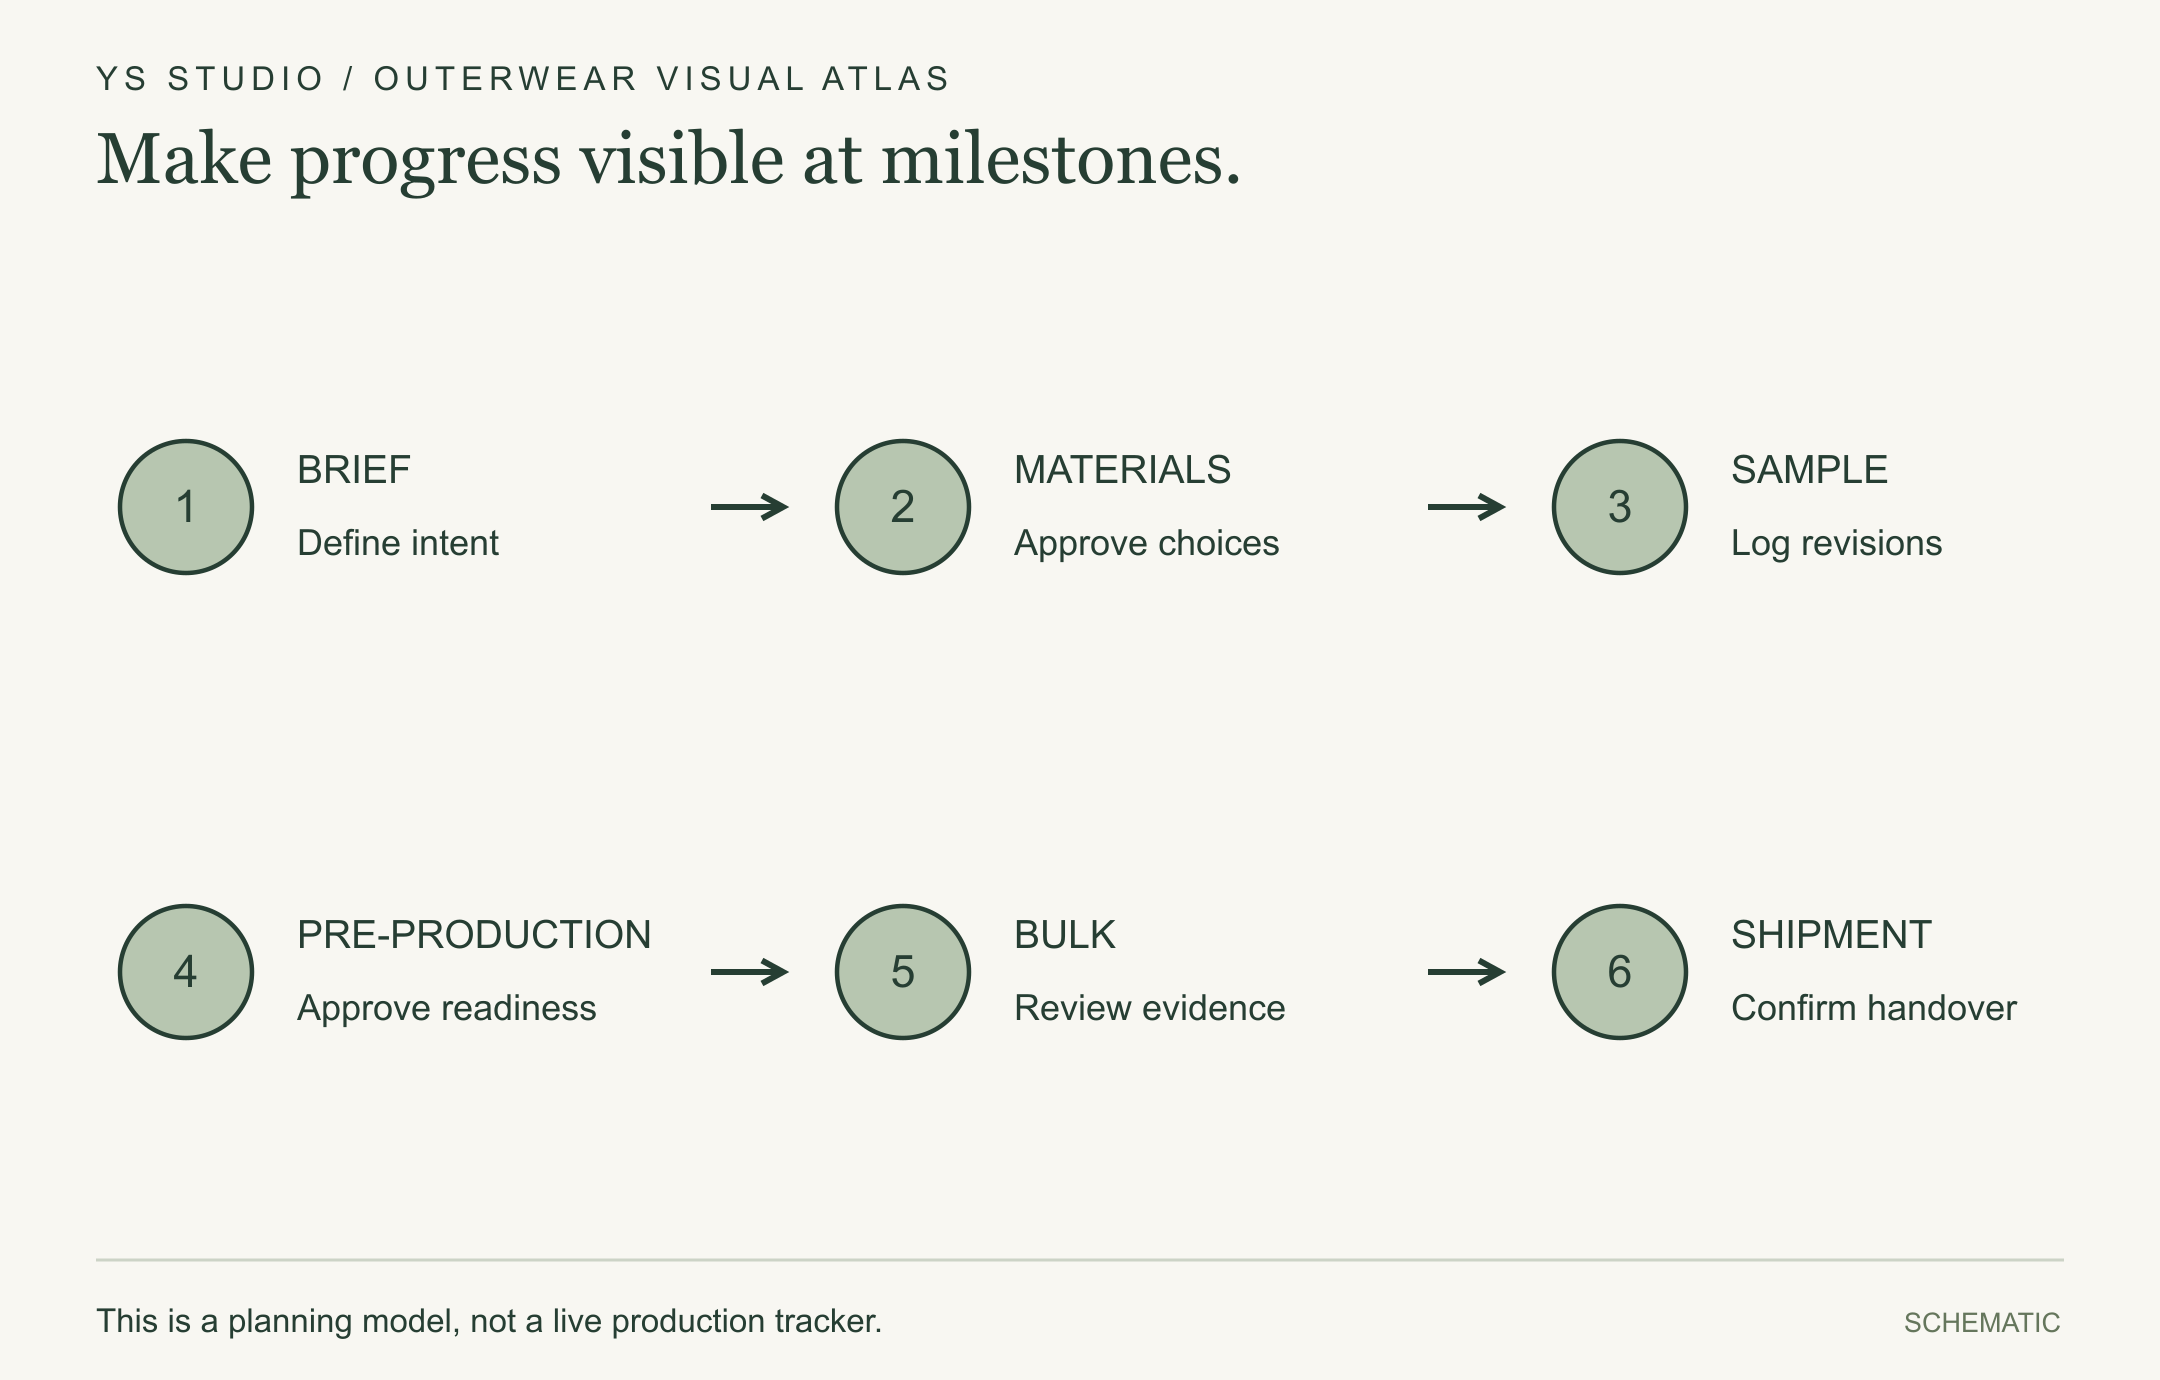
Make progress visible at milestones.
Agree evidence at brief, material, sample, pre-production, bulk and shipment milestones. Dates and update cadence are project-specific.
This is a planning model, not a live production tracker.
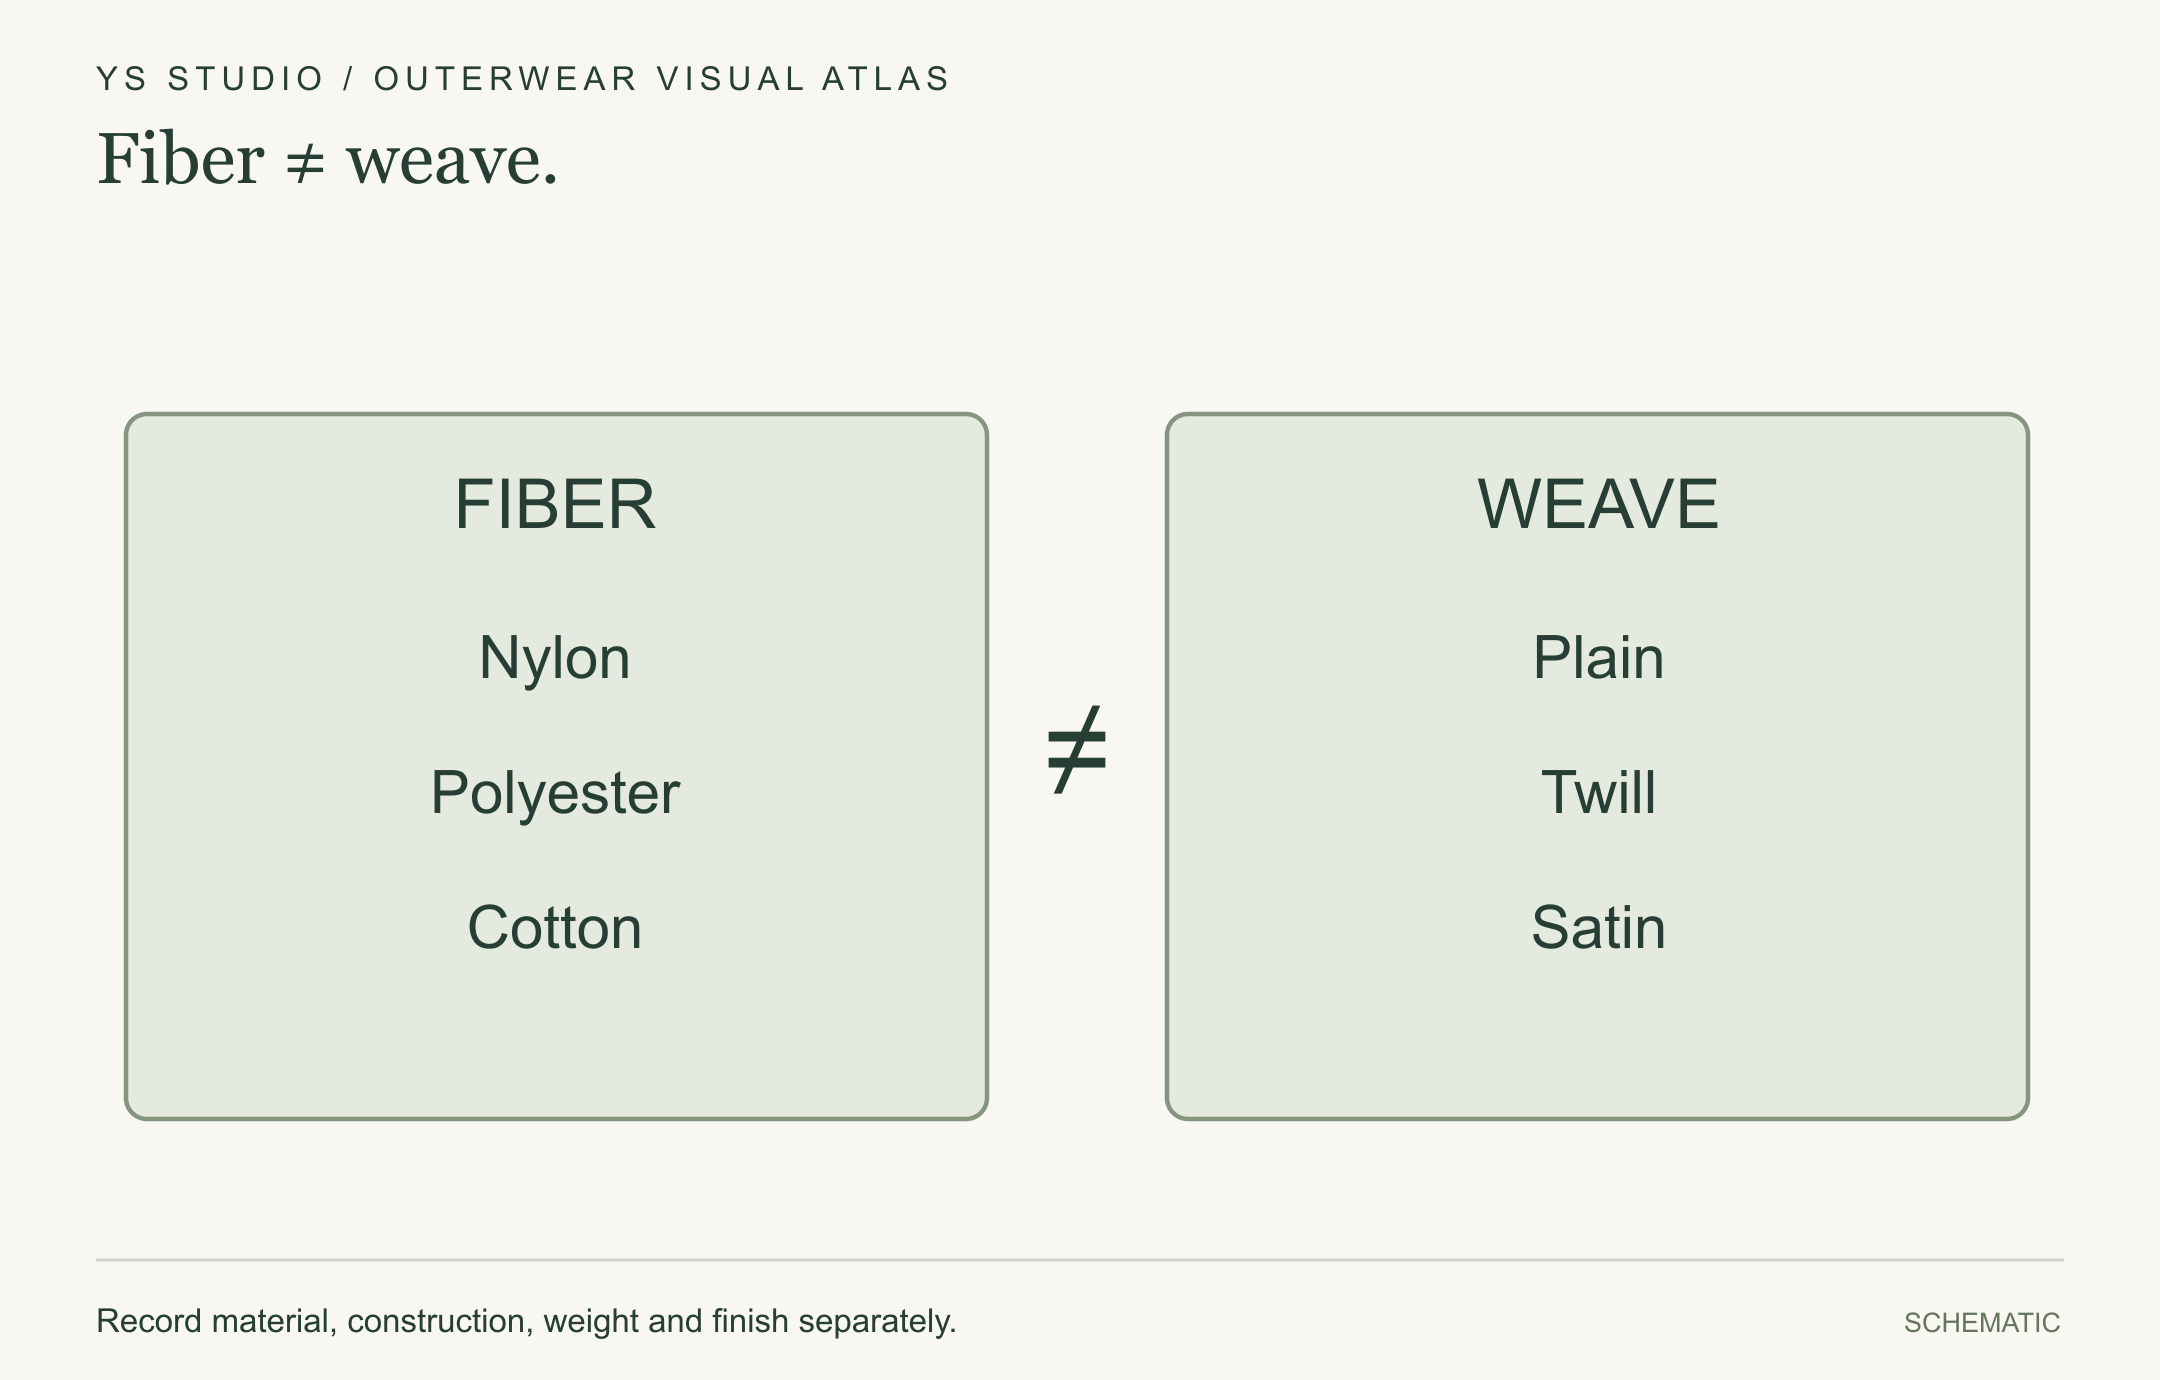
Fiber ≠ weave.
Fiber describes the material; weave describes how warp and weft interlace. Nylon, polyester and cotton belong in a different specification field from plain, twill and satin.
Record material, construction, weight and finish separately.
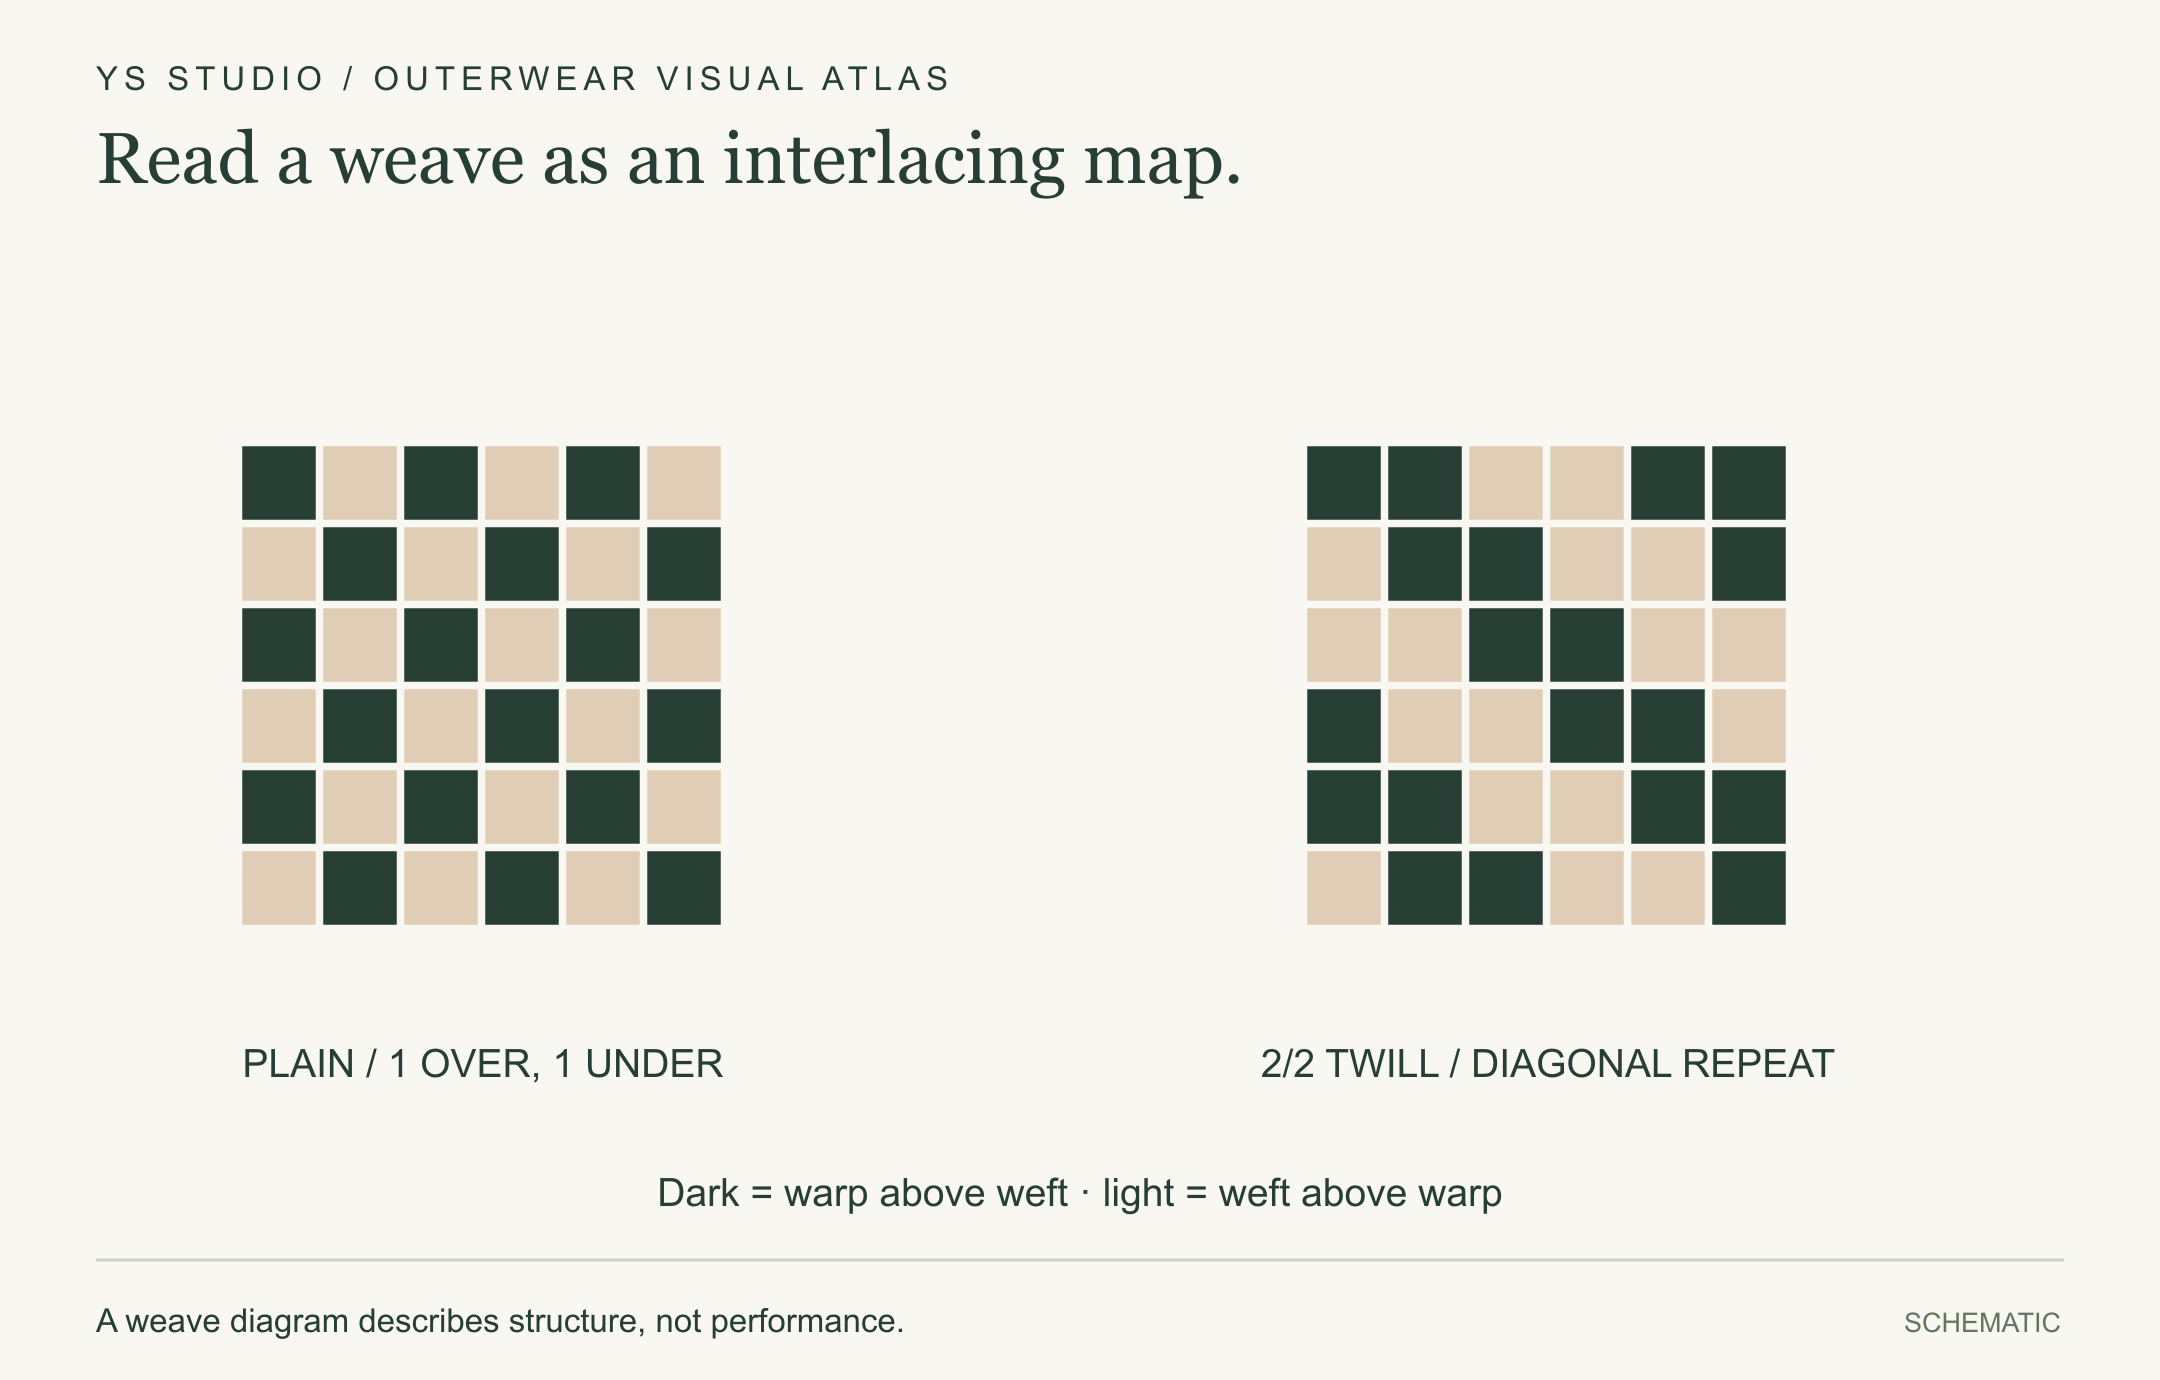
Read a weave as an interlacing map.
These simplified plan views show alternating crossings in plain weave and a diagonal repeat in a 2/2 twill. Colors identify yarn directions, not actual fabric colors.
A weave diagram describes structure, not performance.
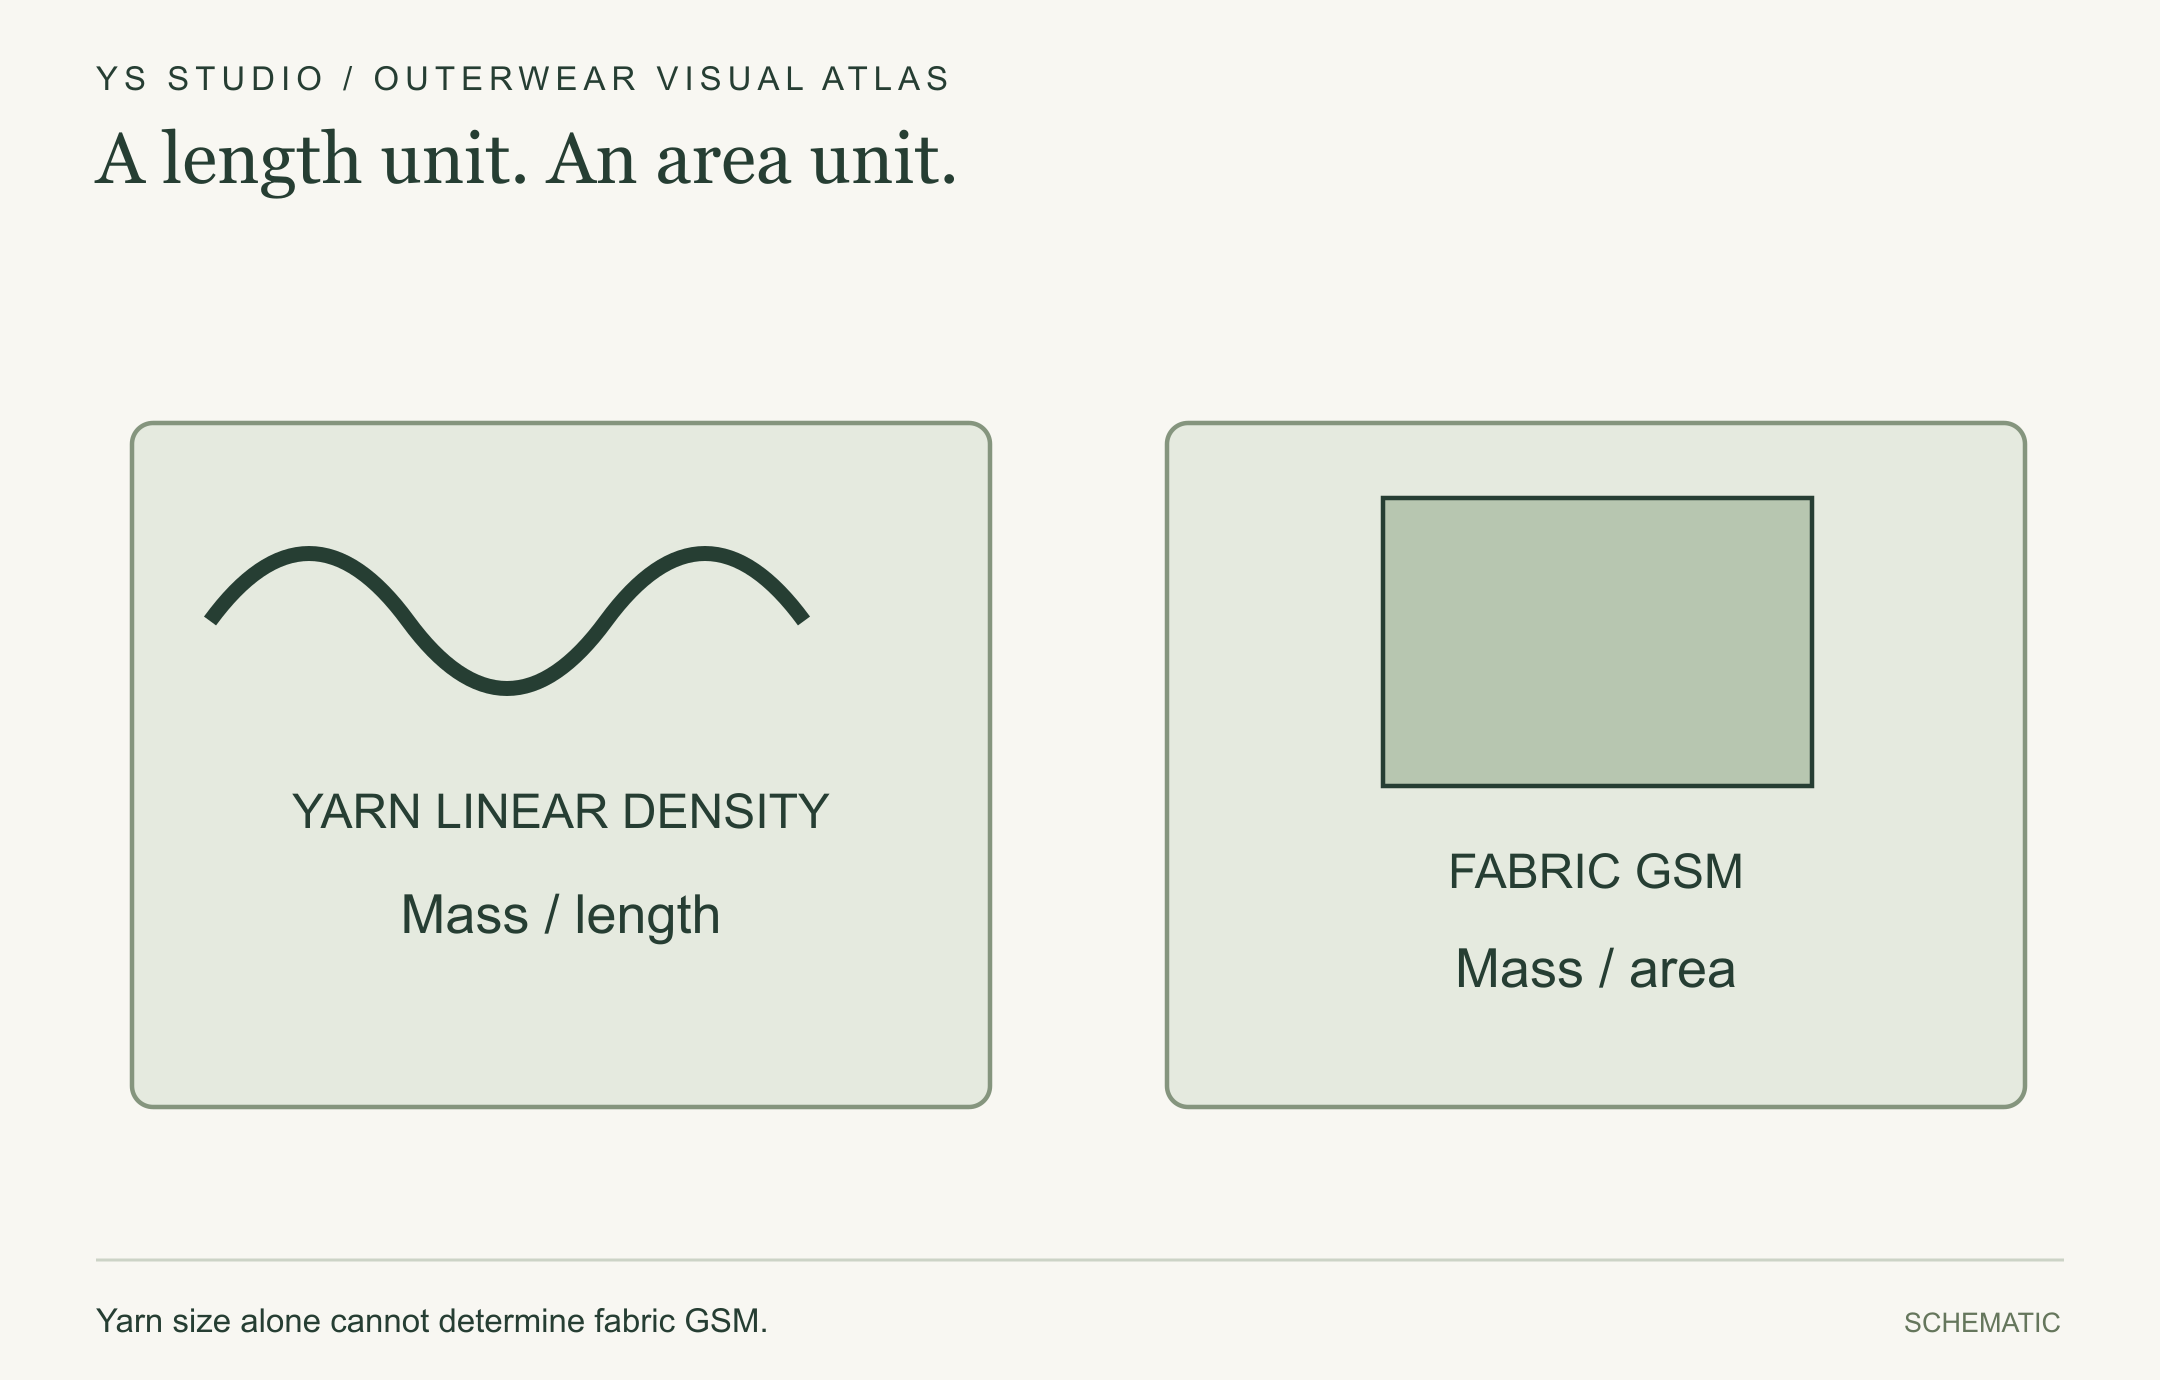
A length unit. An area unit.
Yarn linear density and fabric mass per area describe different objects. Keep yarn count and fabric GSM as separate fields.
Yarn size alone cannot determine fabric GSM.
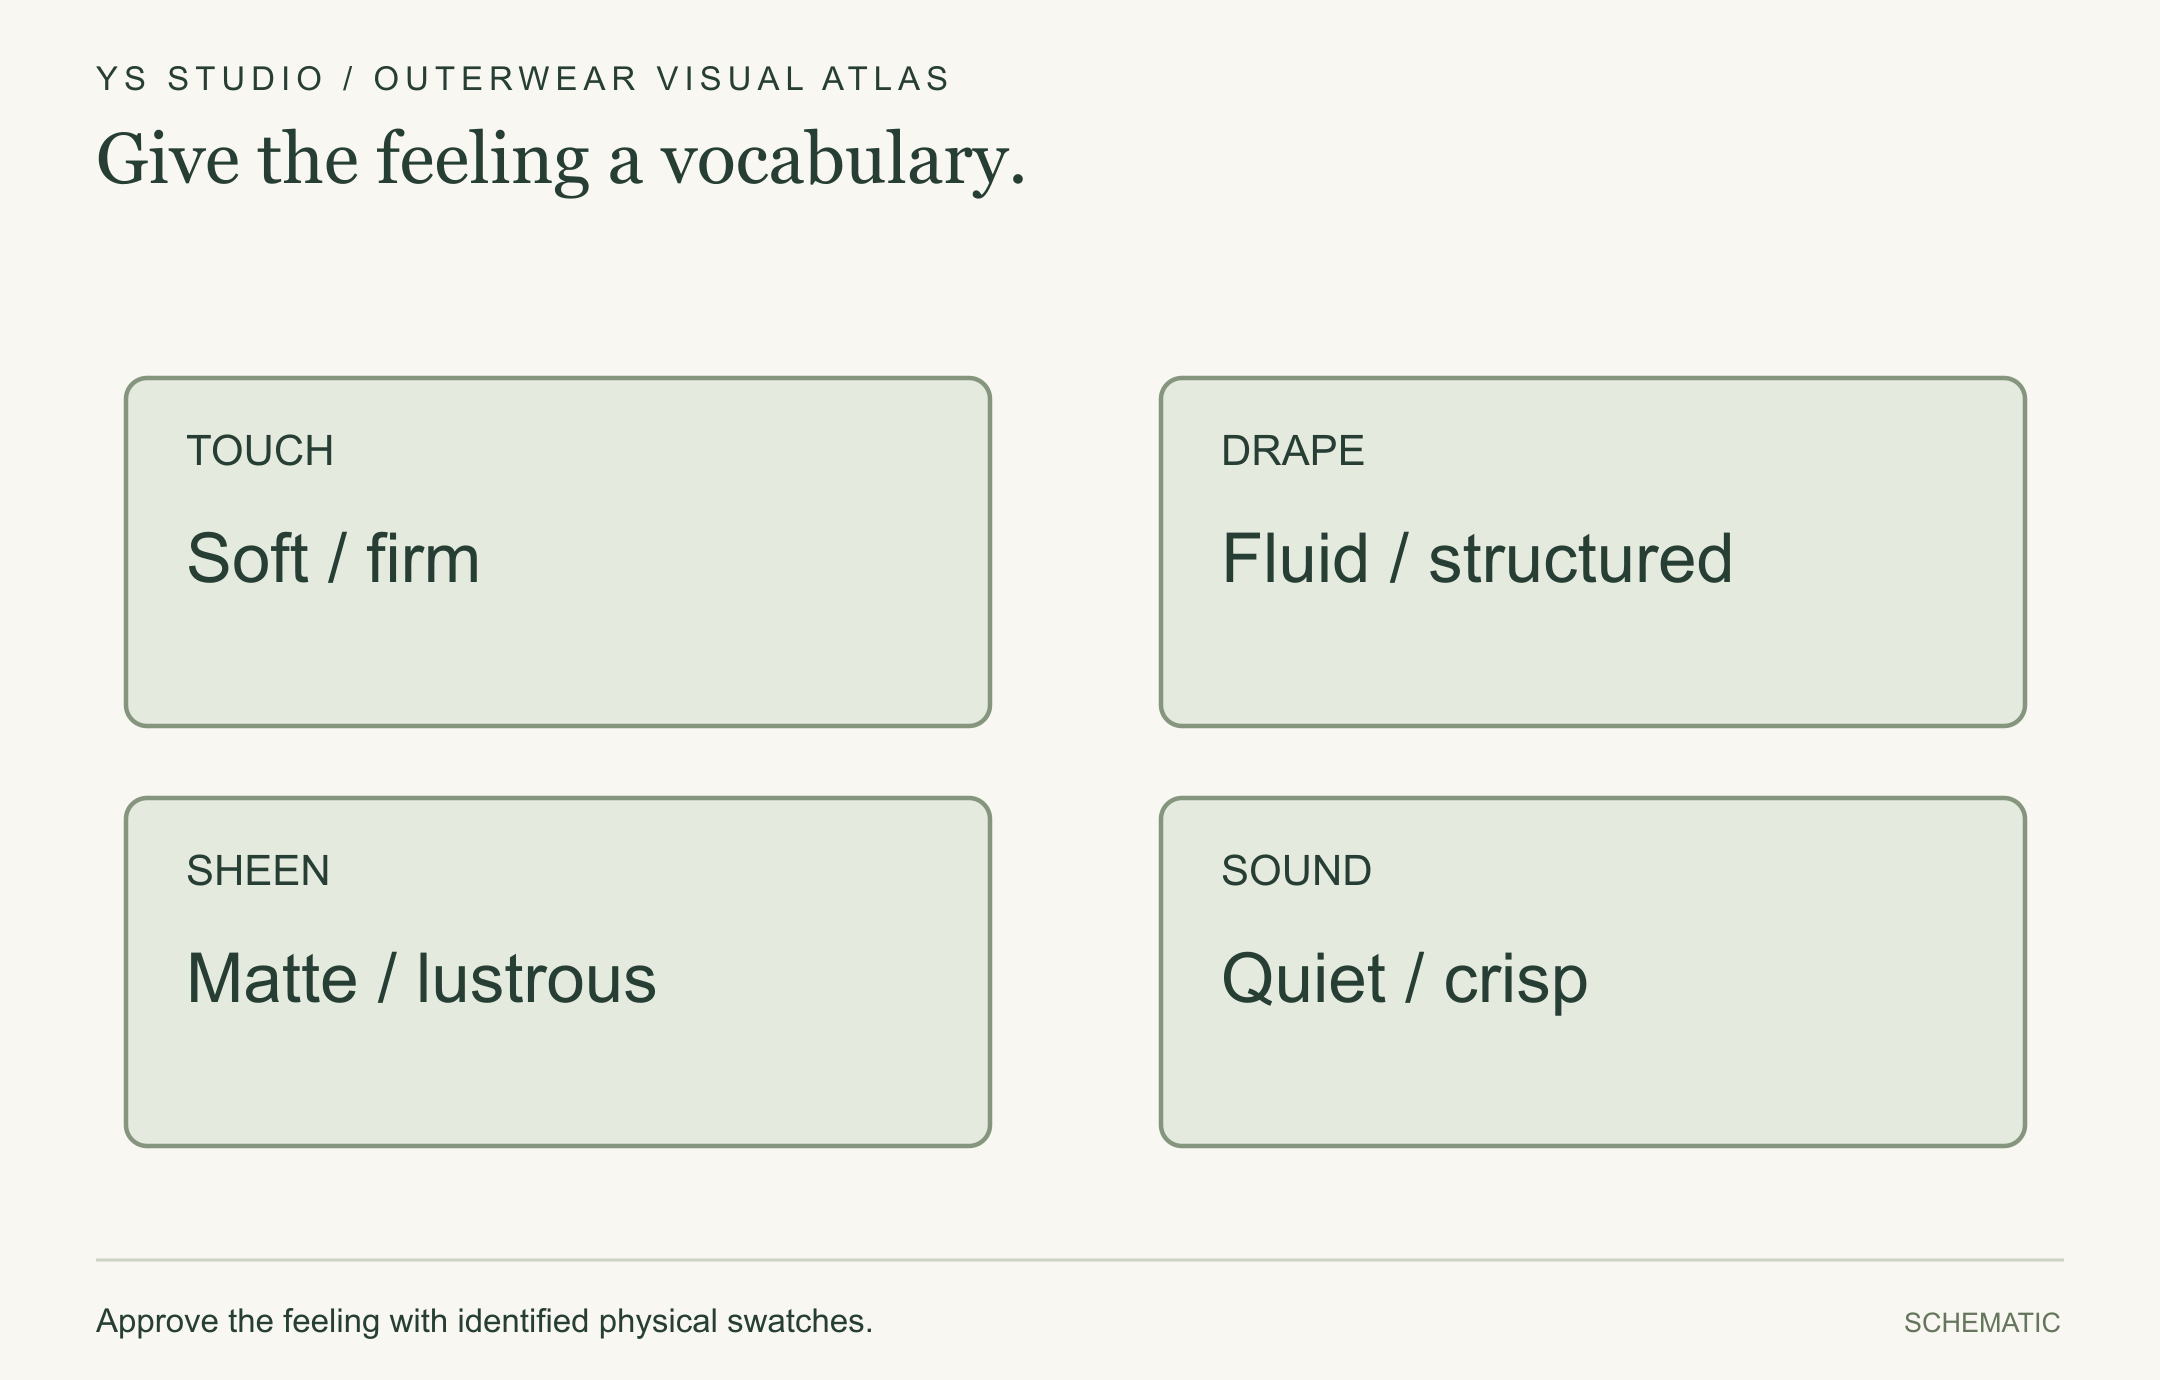
Give the feeling a vocabulary.
Touch, drape, sheen and sound are separate design choices. This vocabulary board is a set of descriptors, with no grade or test score implied.
Approve the feeling with identified physical swatches.
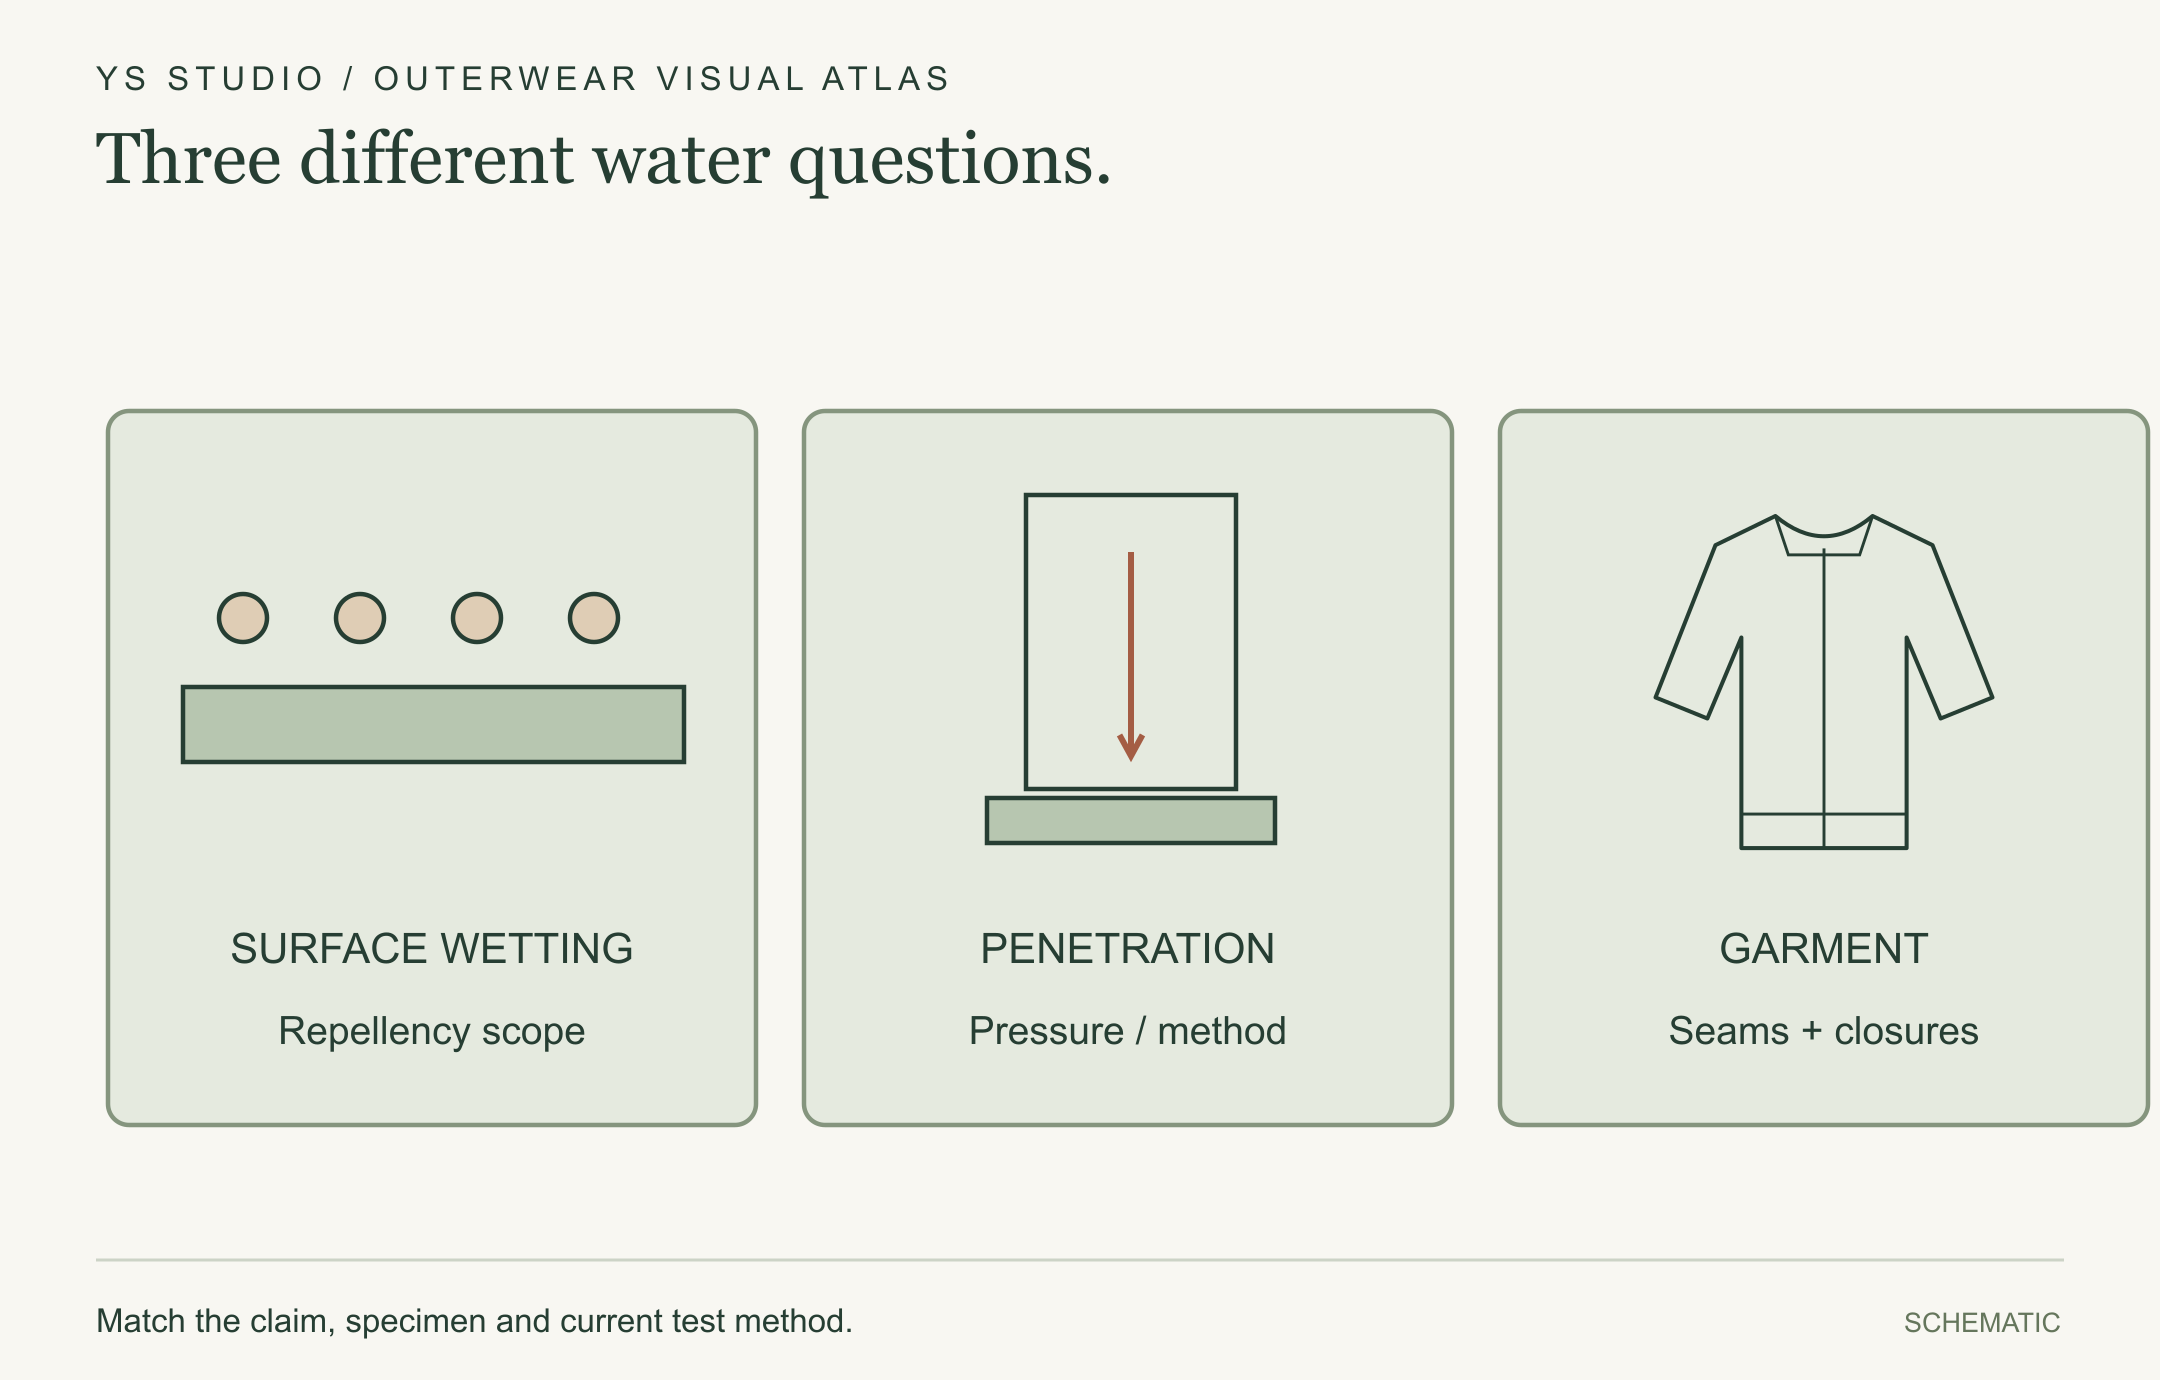
Three different water questions.
Surface wetting, water penetration under pressure and complete garment protection have different scopes. A beading image cannot answer all three.
Match the claim, specimen and current test method.
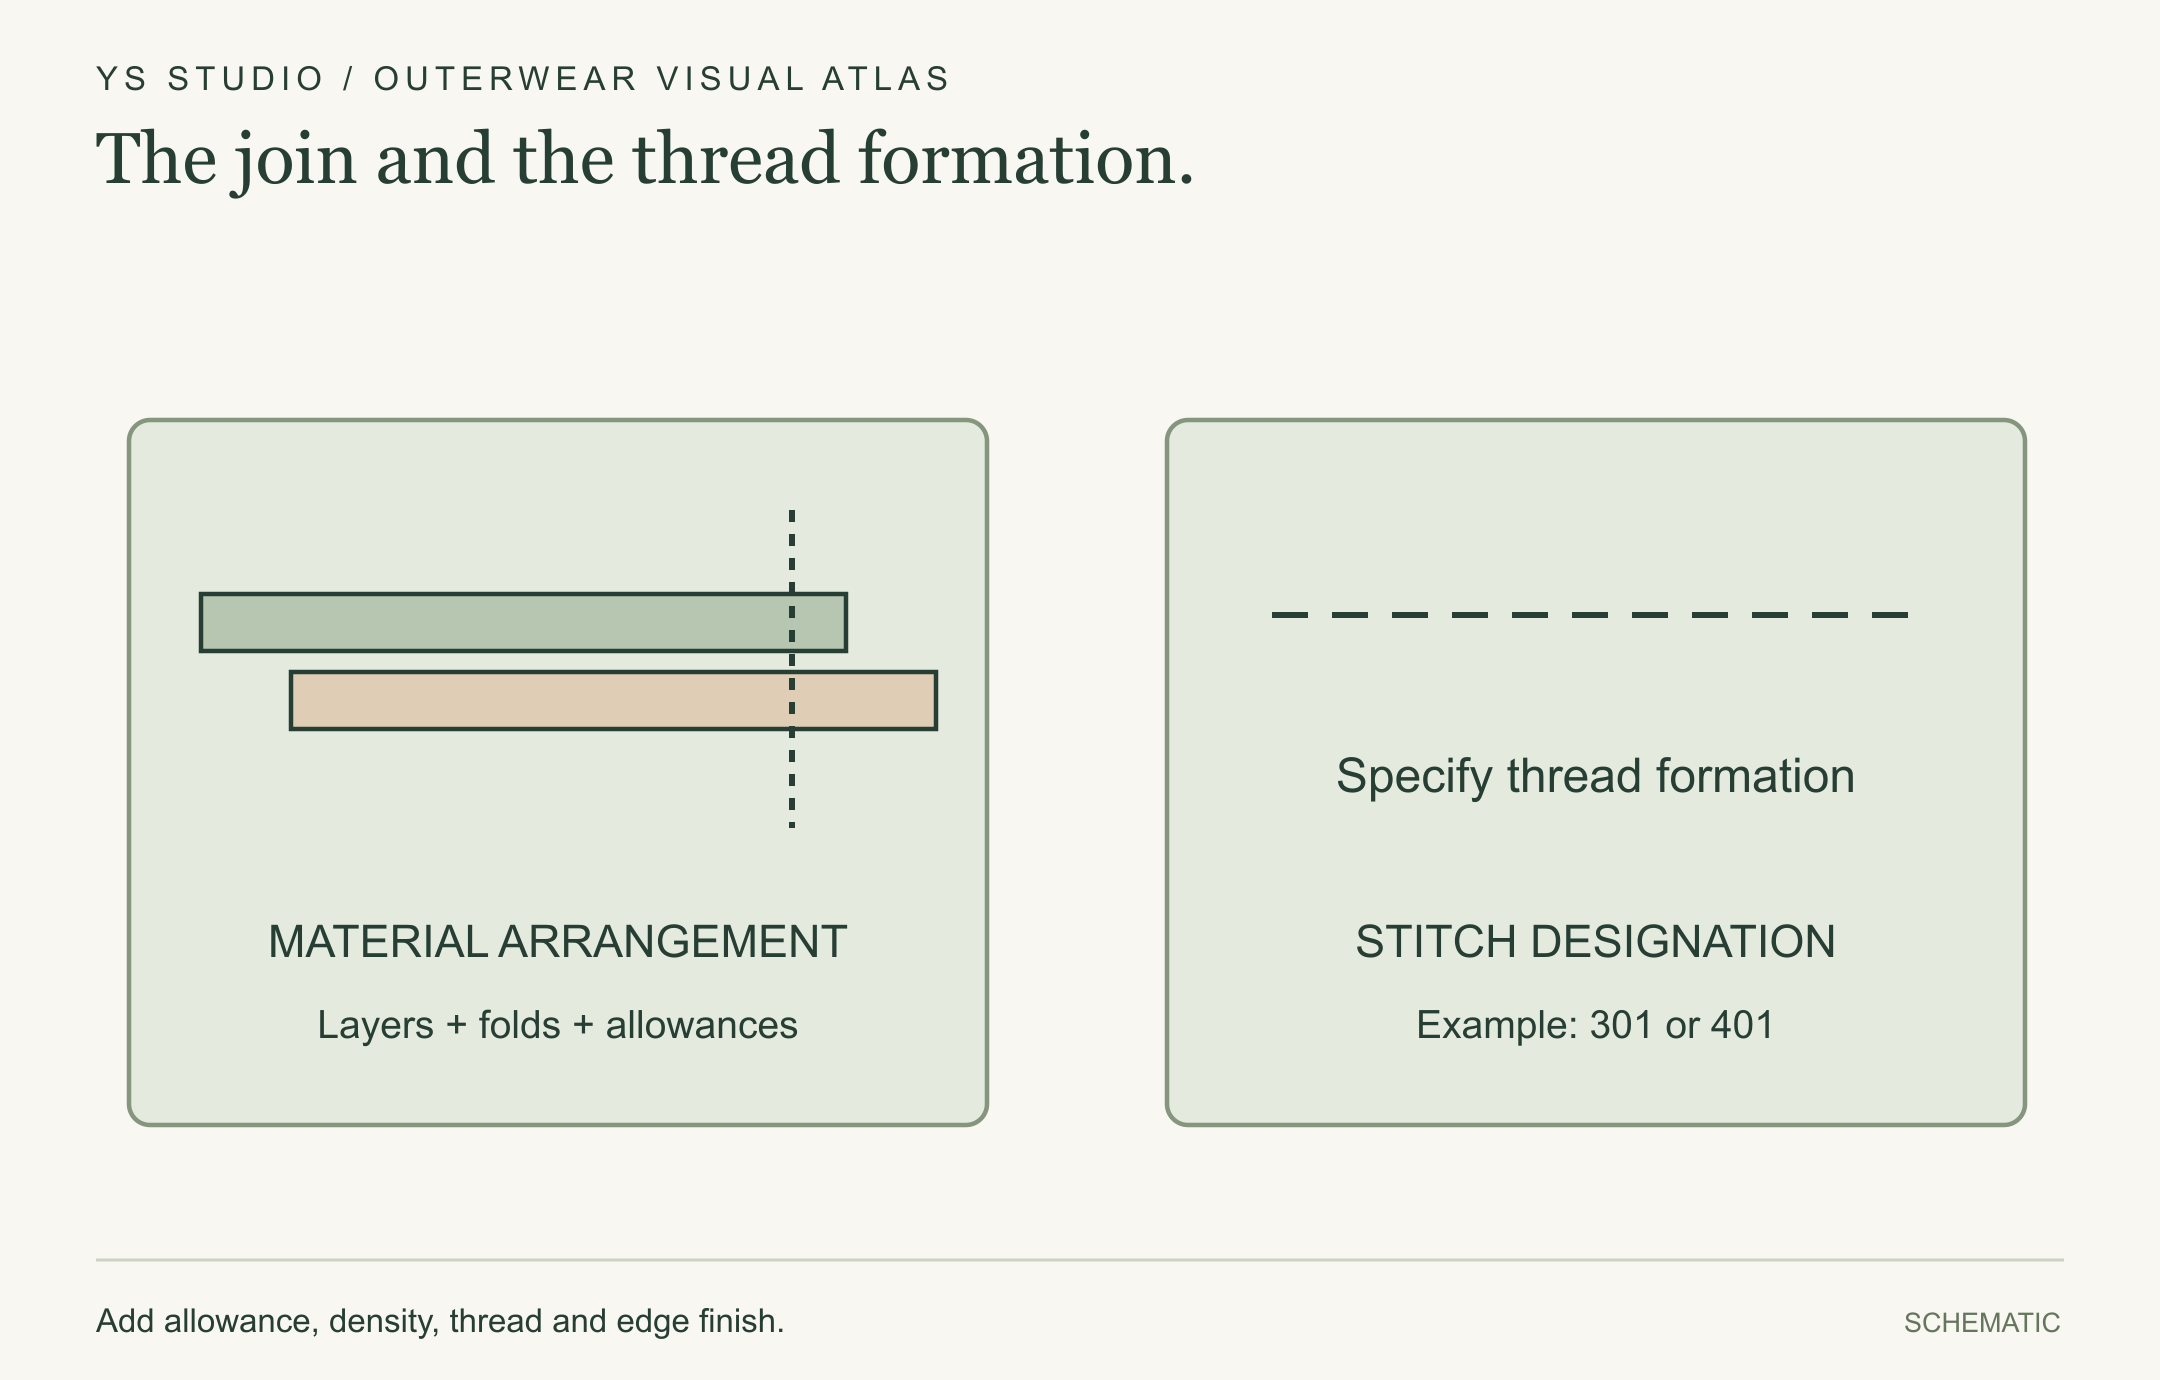
The join and the thread formation.
A seam defines how fabric components meet; a stitch defines thread formation. The seam arrangement and stitch designation belong together in the tech pack.
Add allowance, density, thread and edge finish.
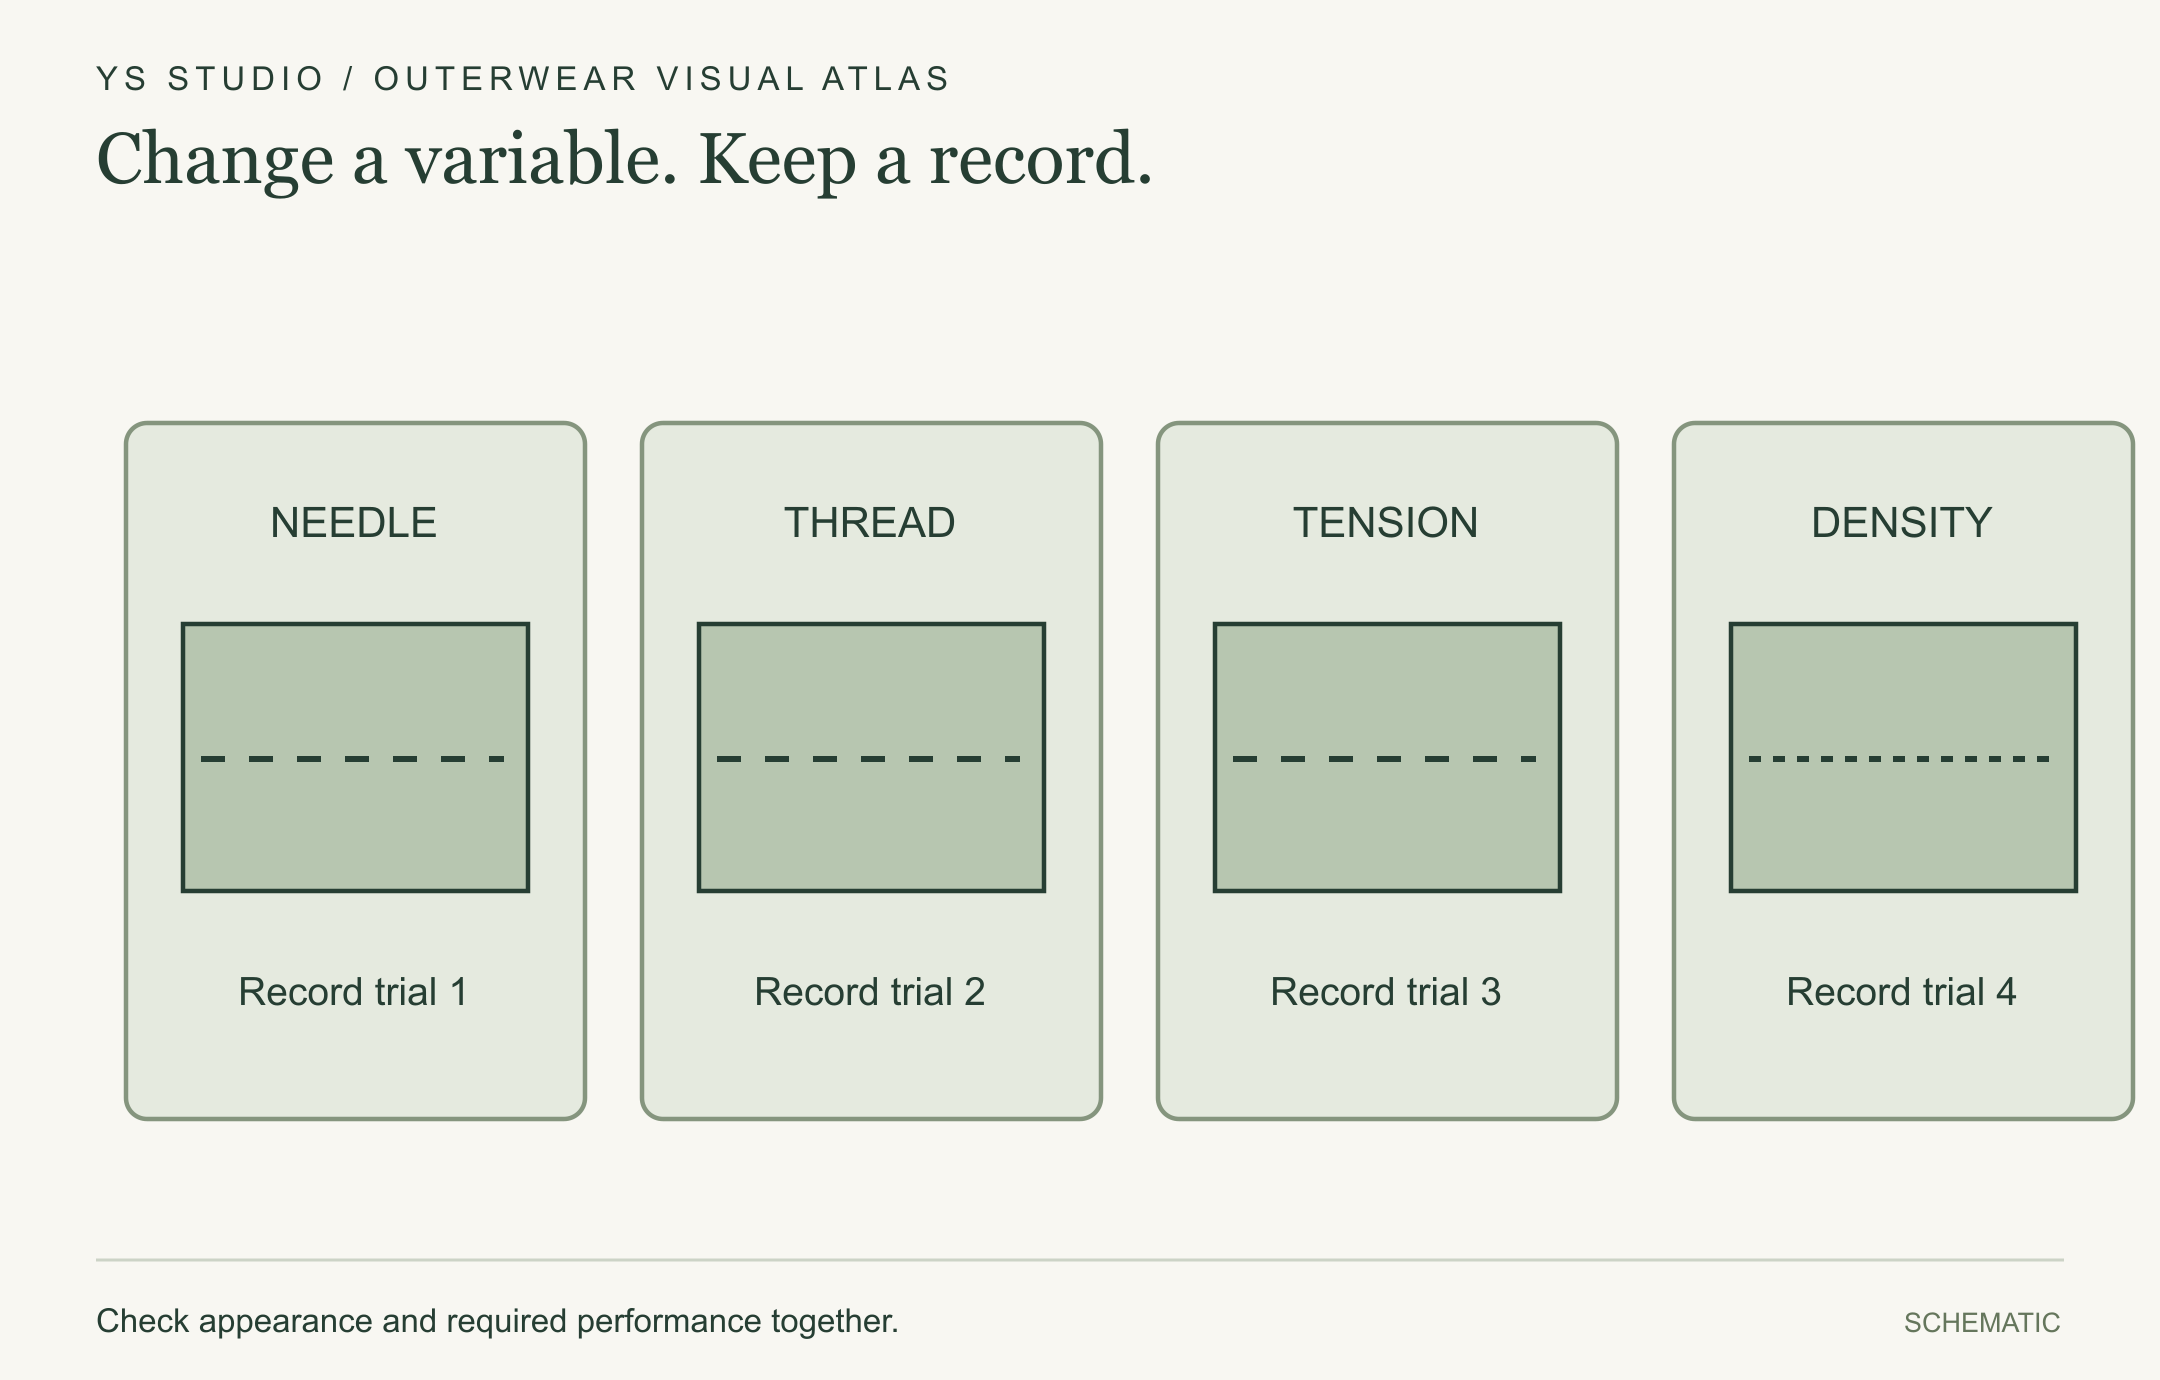
Change a variable. Keep a record.
A labeled seam trial helps compare needle, thread, tension and stitch density on the real material stack. These are review variables, not recommended settings.
Check appearance and required performance together.
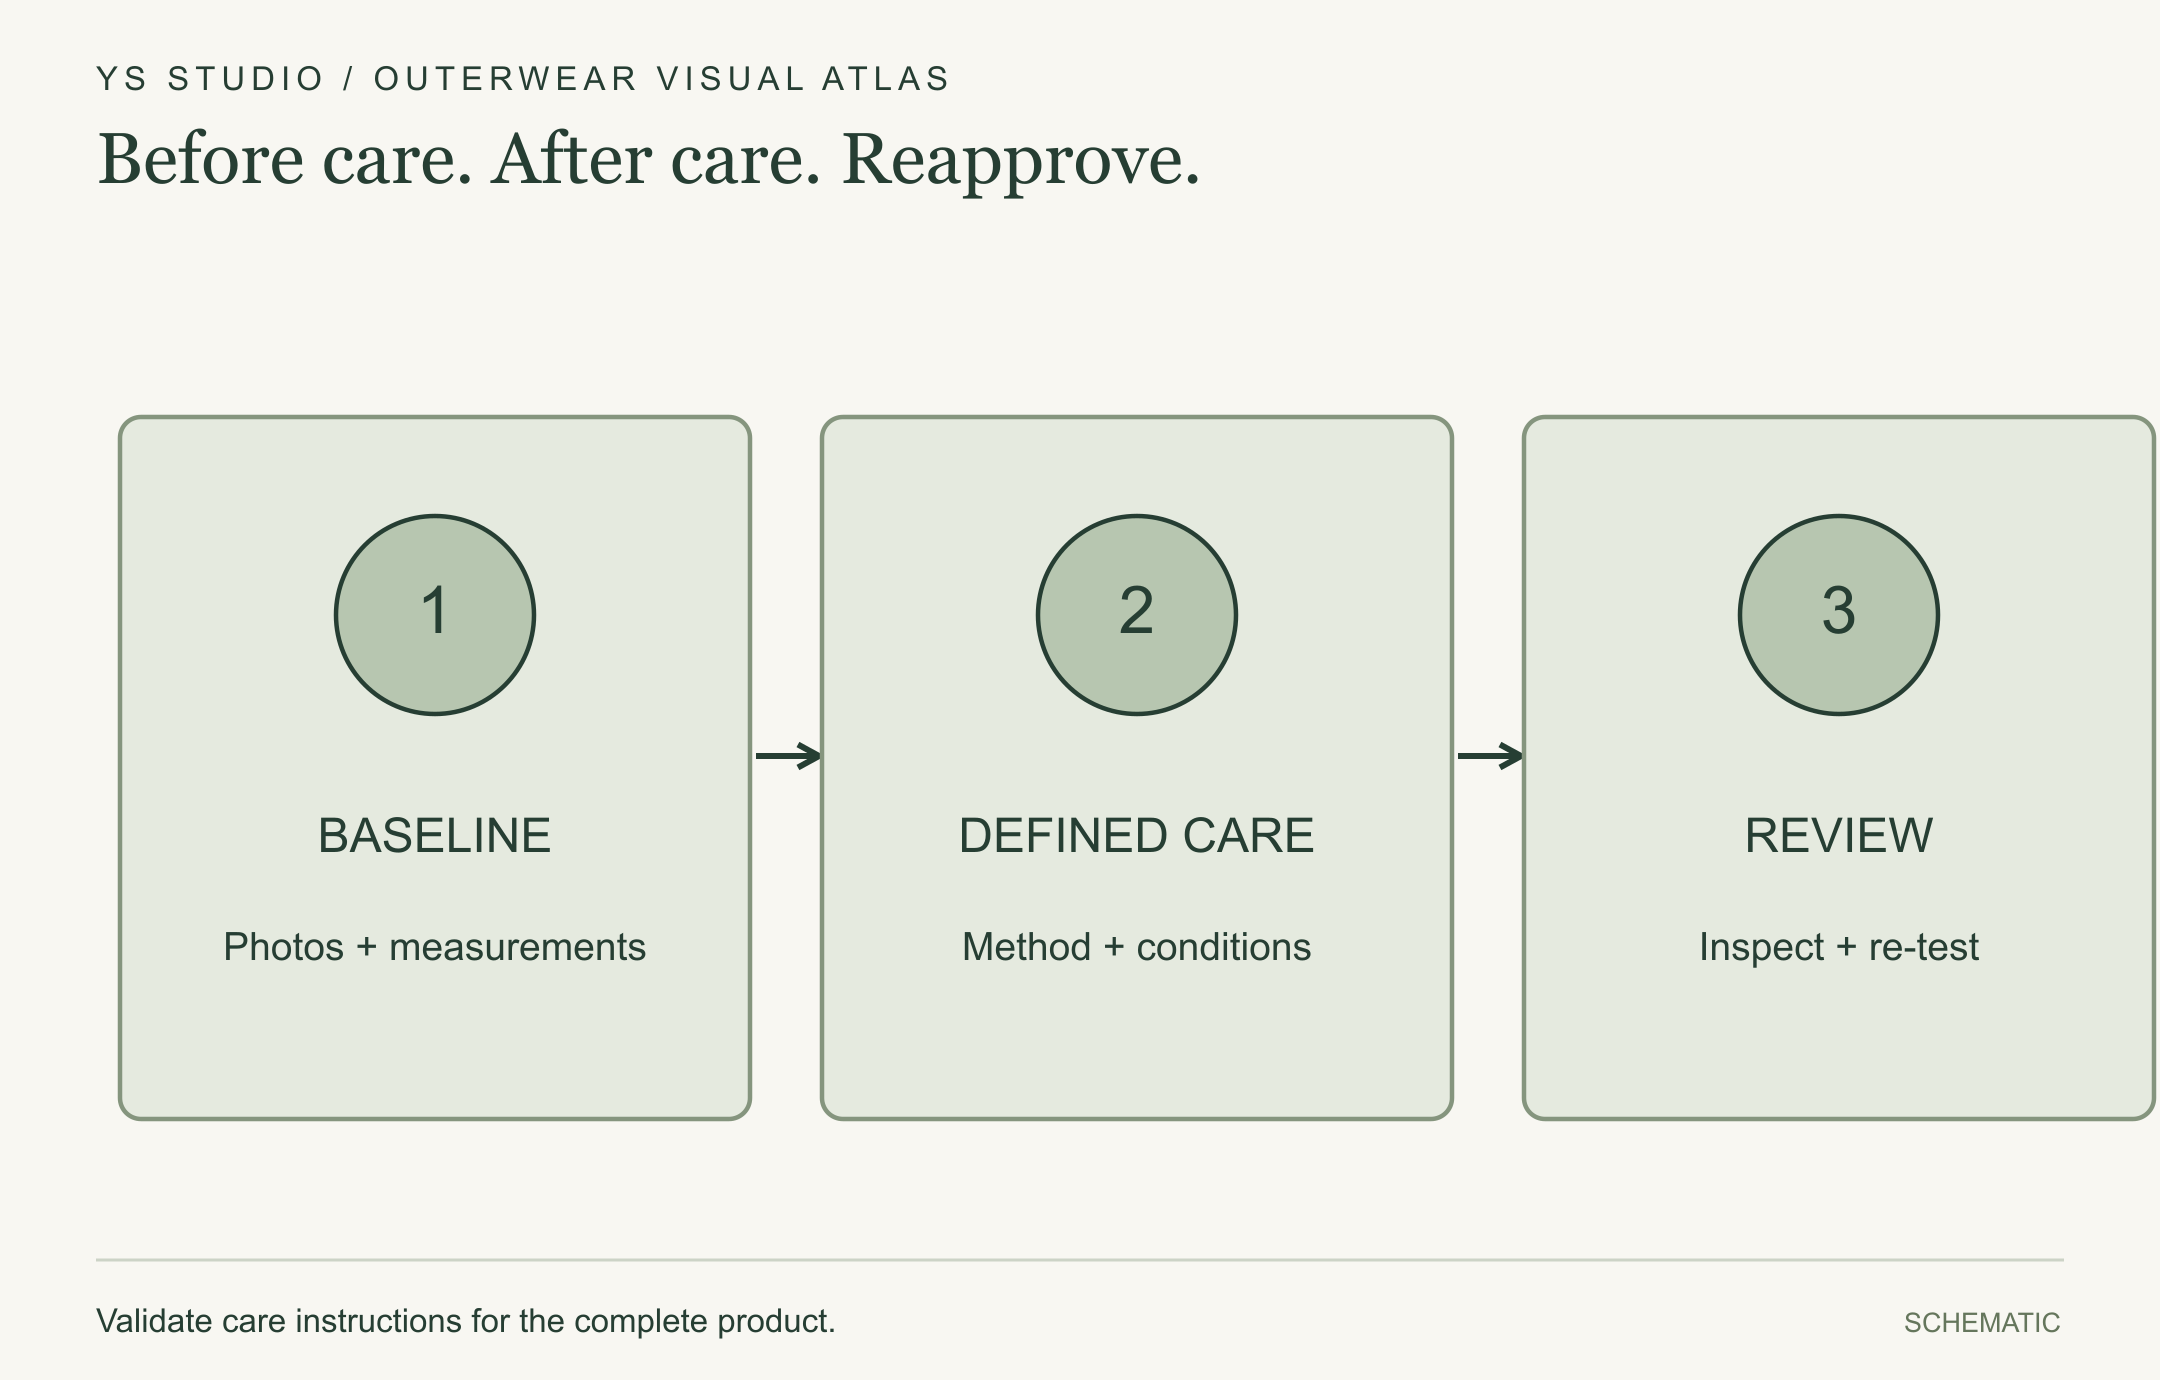
Before care. After care. Reapprove.
Record a baseline, use the agreed care procedure and review the result. The garment includes shell, lining, insulation and trims.
Validate care instructions for the complete product.
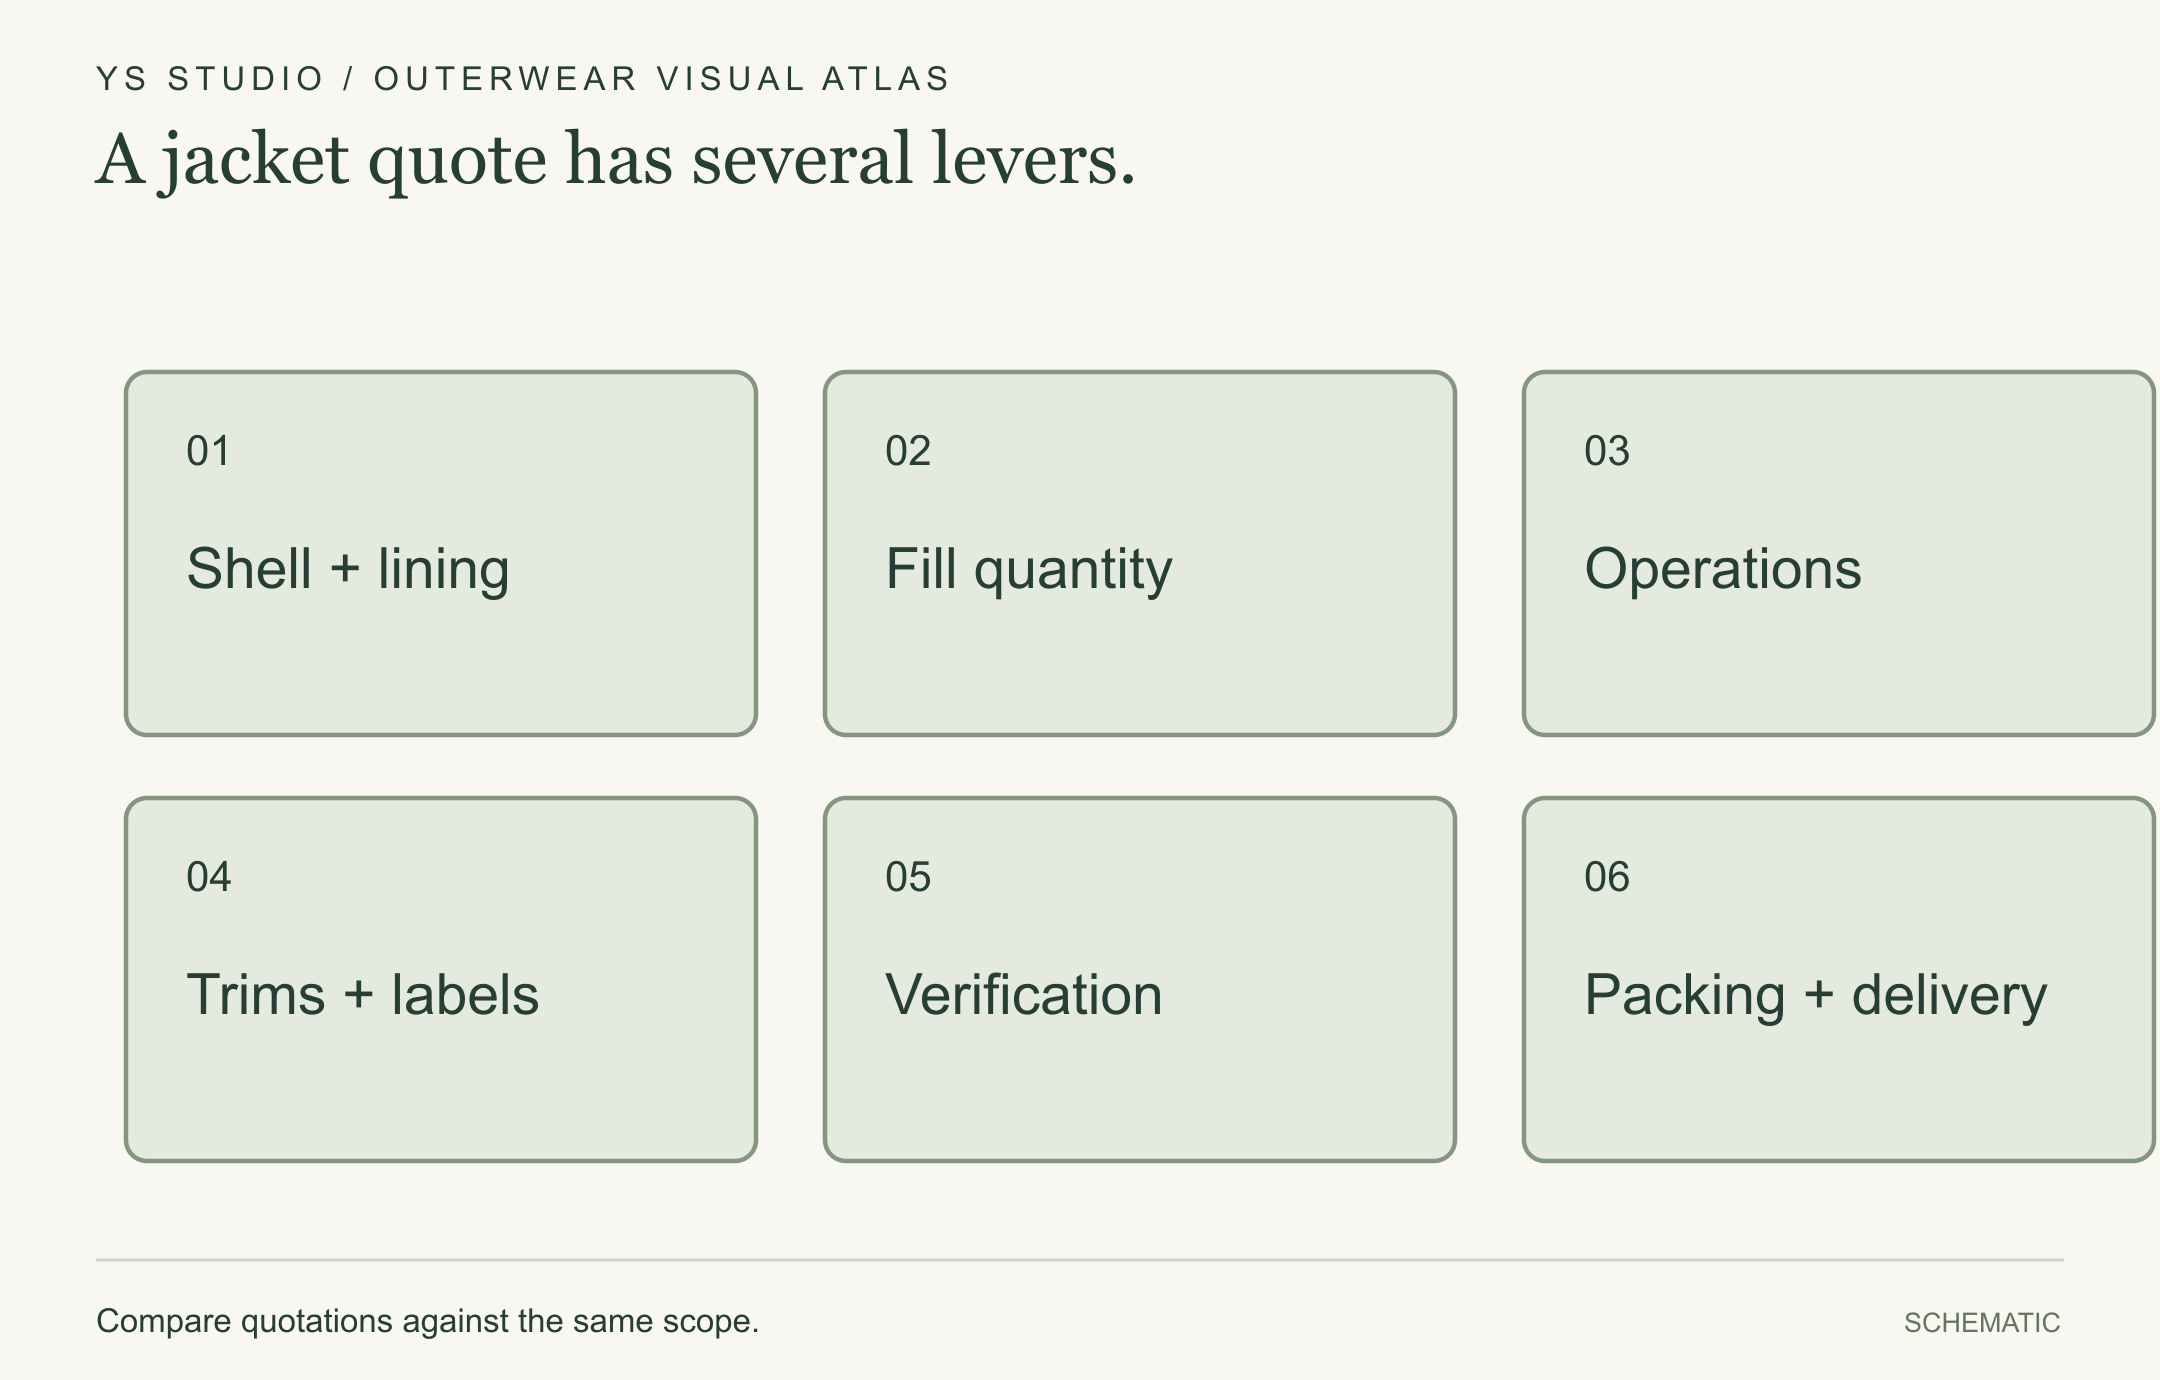
A jacket quote has several levers.
The map separates materials, insulation, operations, trims, verification and packing. It shows cost categories with no universal percentage split.
Compare quotations against the same scope.
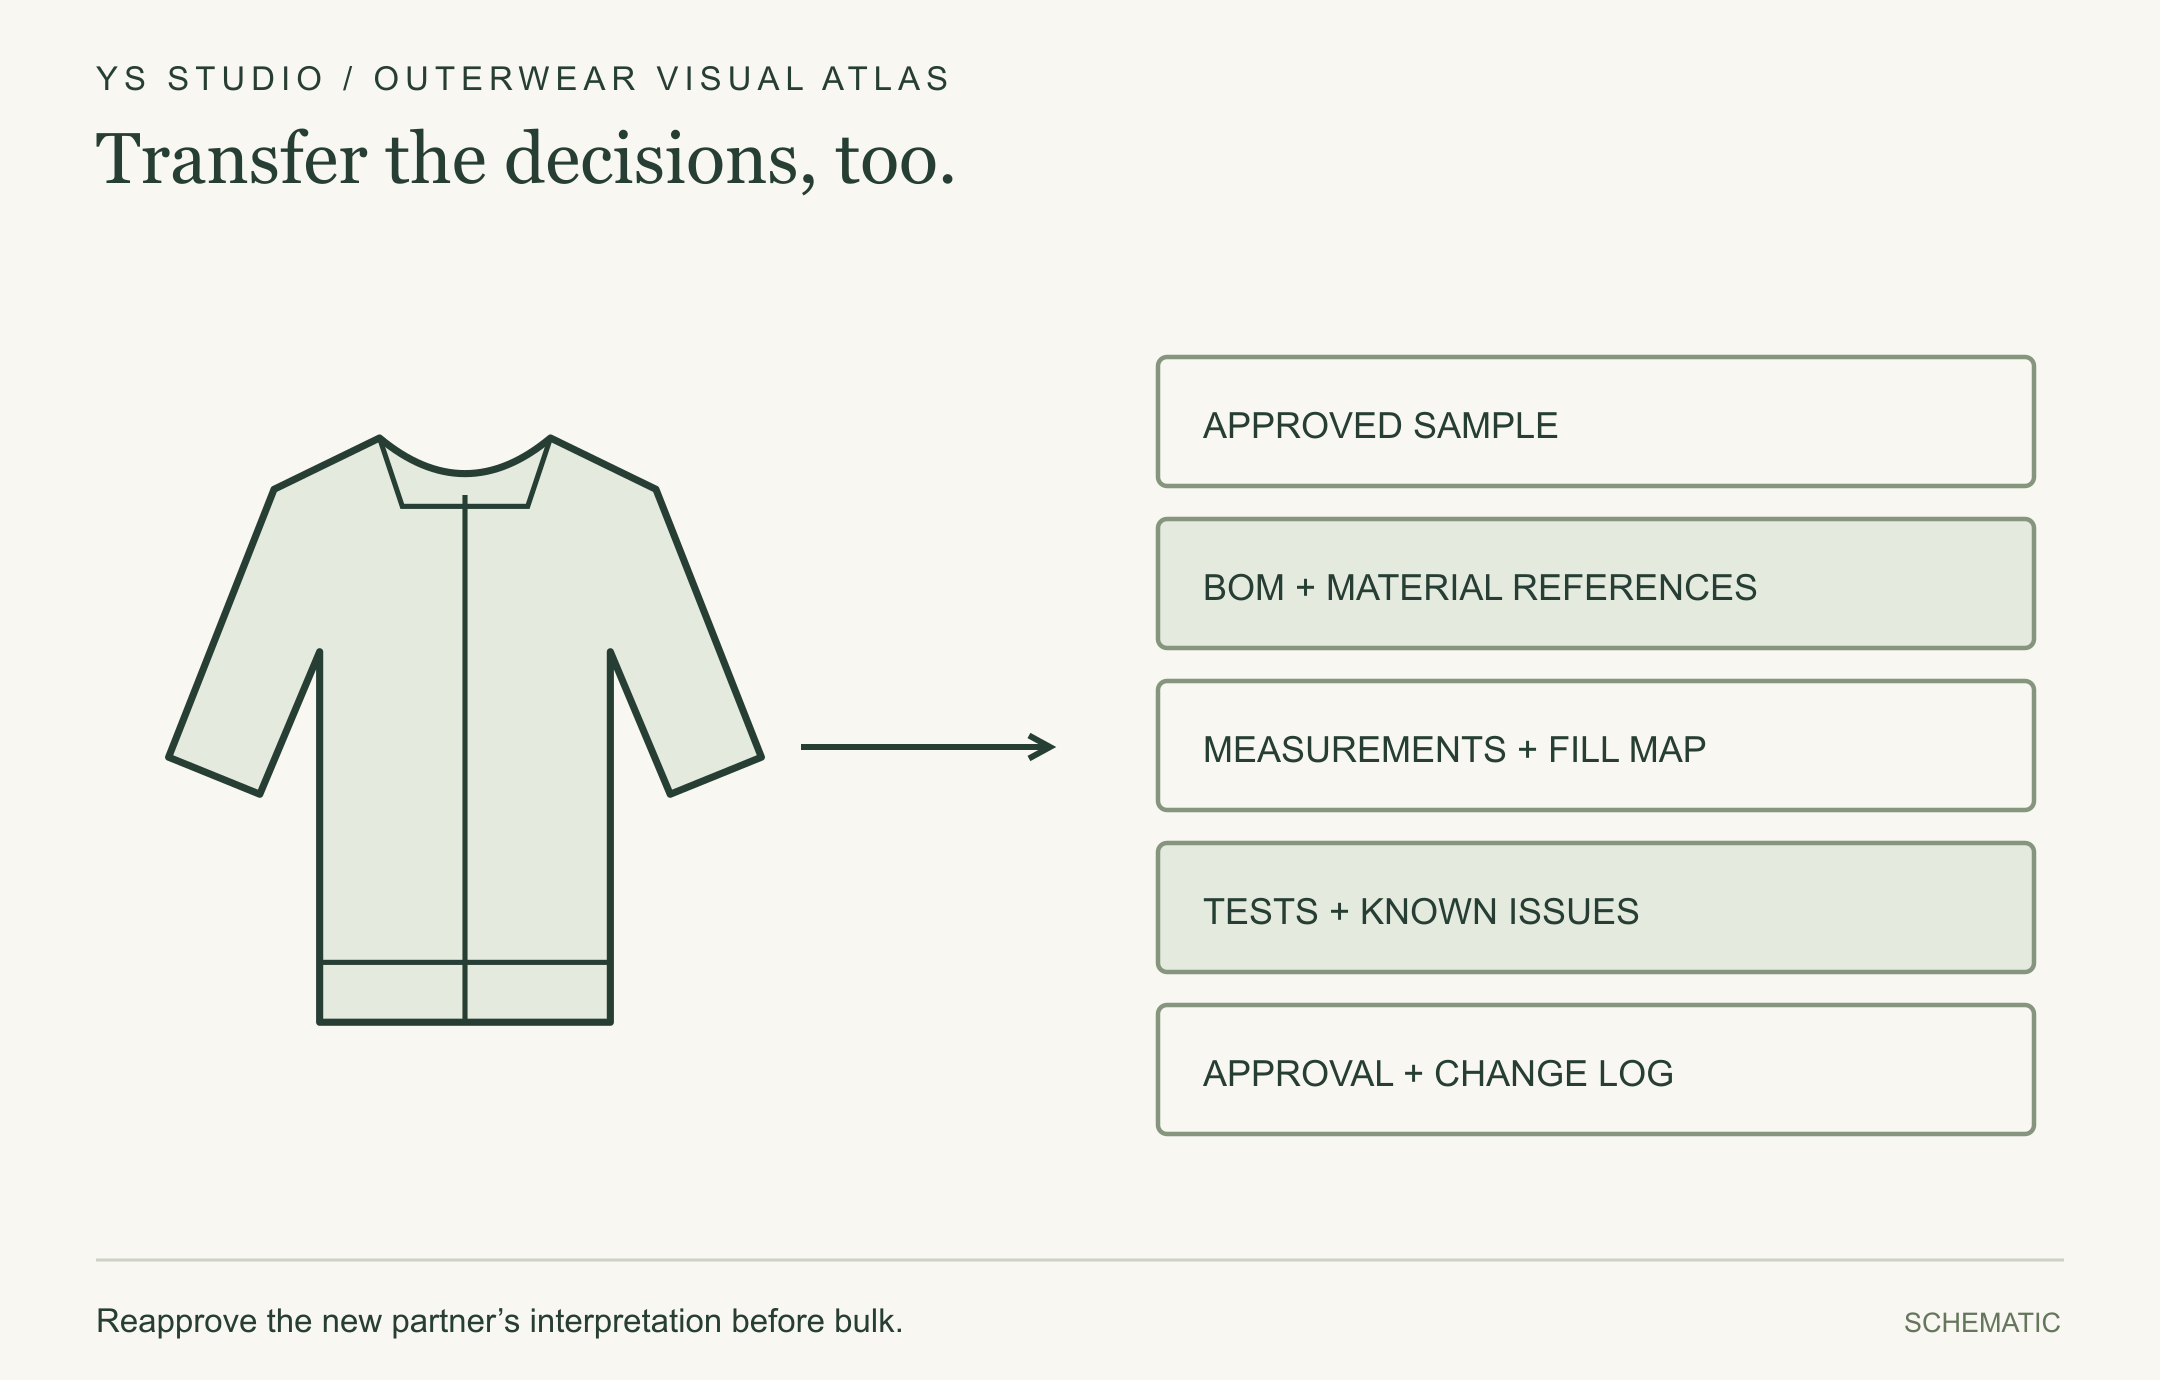
Transfer the decisions, too.
A supplier handover needs the approved sample and its supporting records. A photograph alone cannot transfer the full product specification.
Reapprove the new partner’s interpretation before bulk.
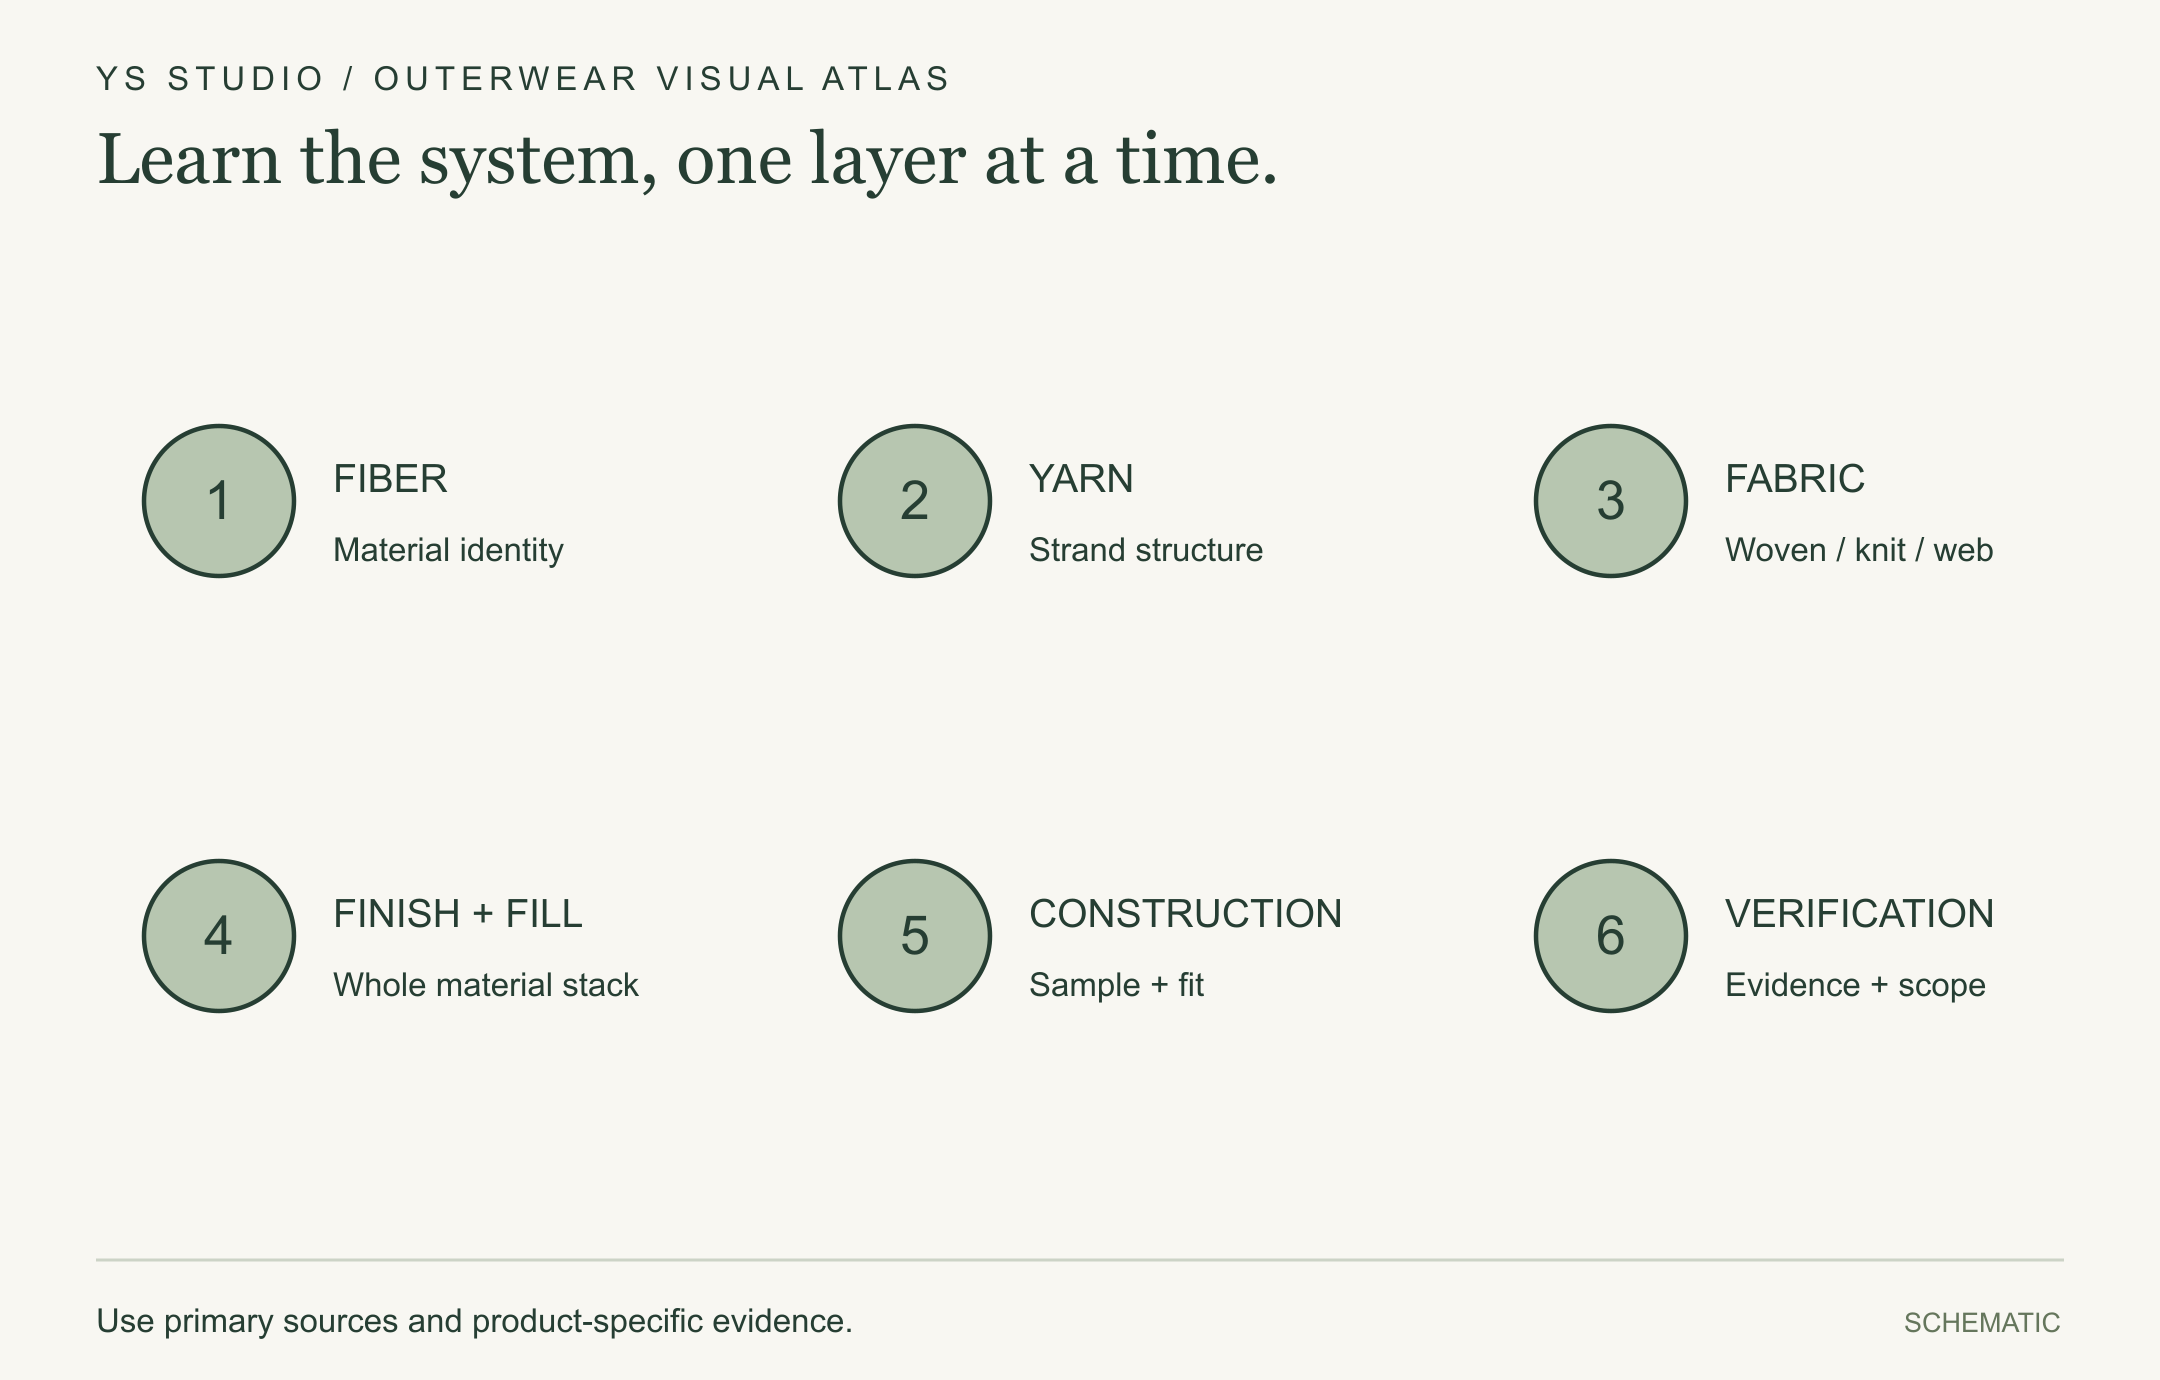
Learn the system, one layer at a time.
Move from fibers and yarns to fabric, finish, insulation, garment construction and verification. Pair books with swatches and real samples.
Use primary sources and product-specific evidence.
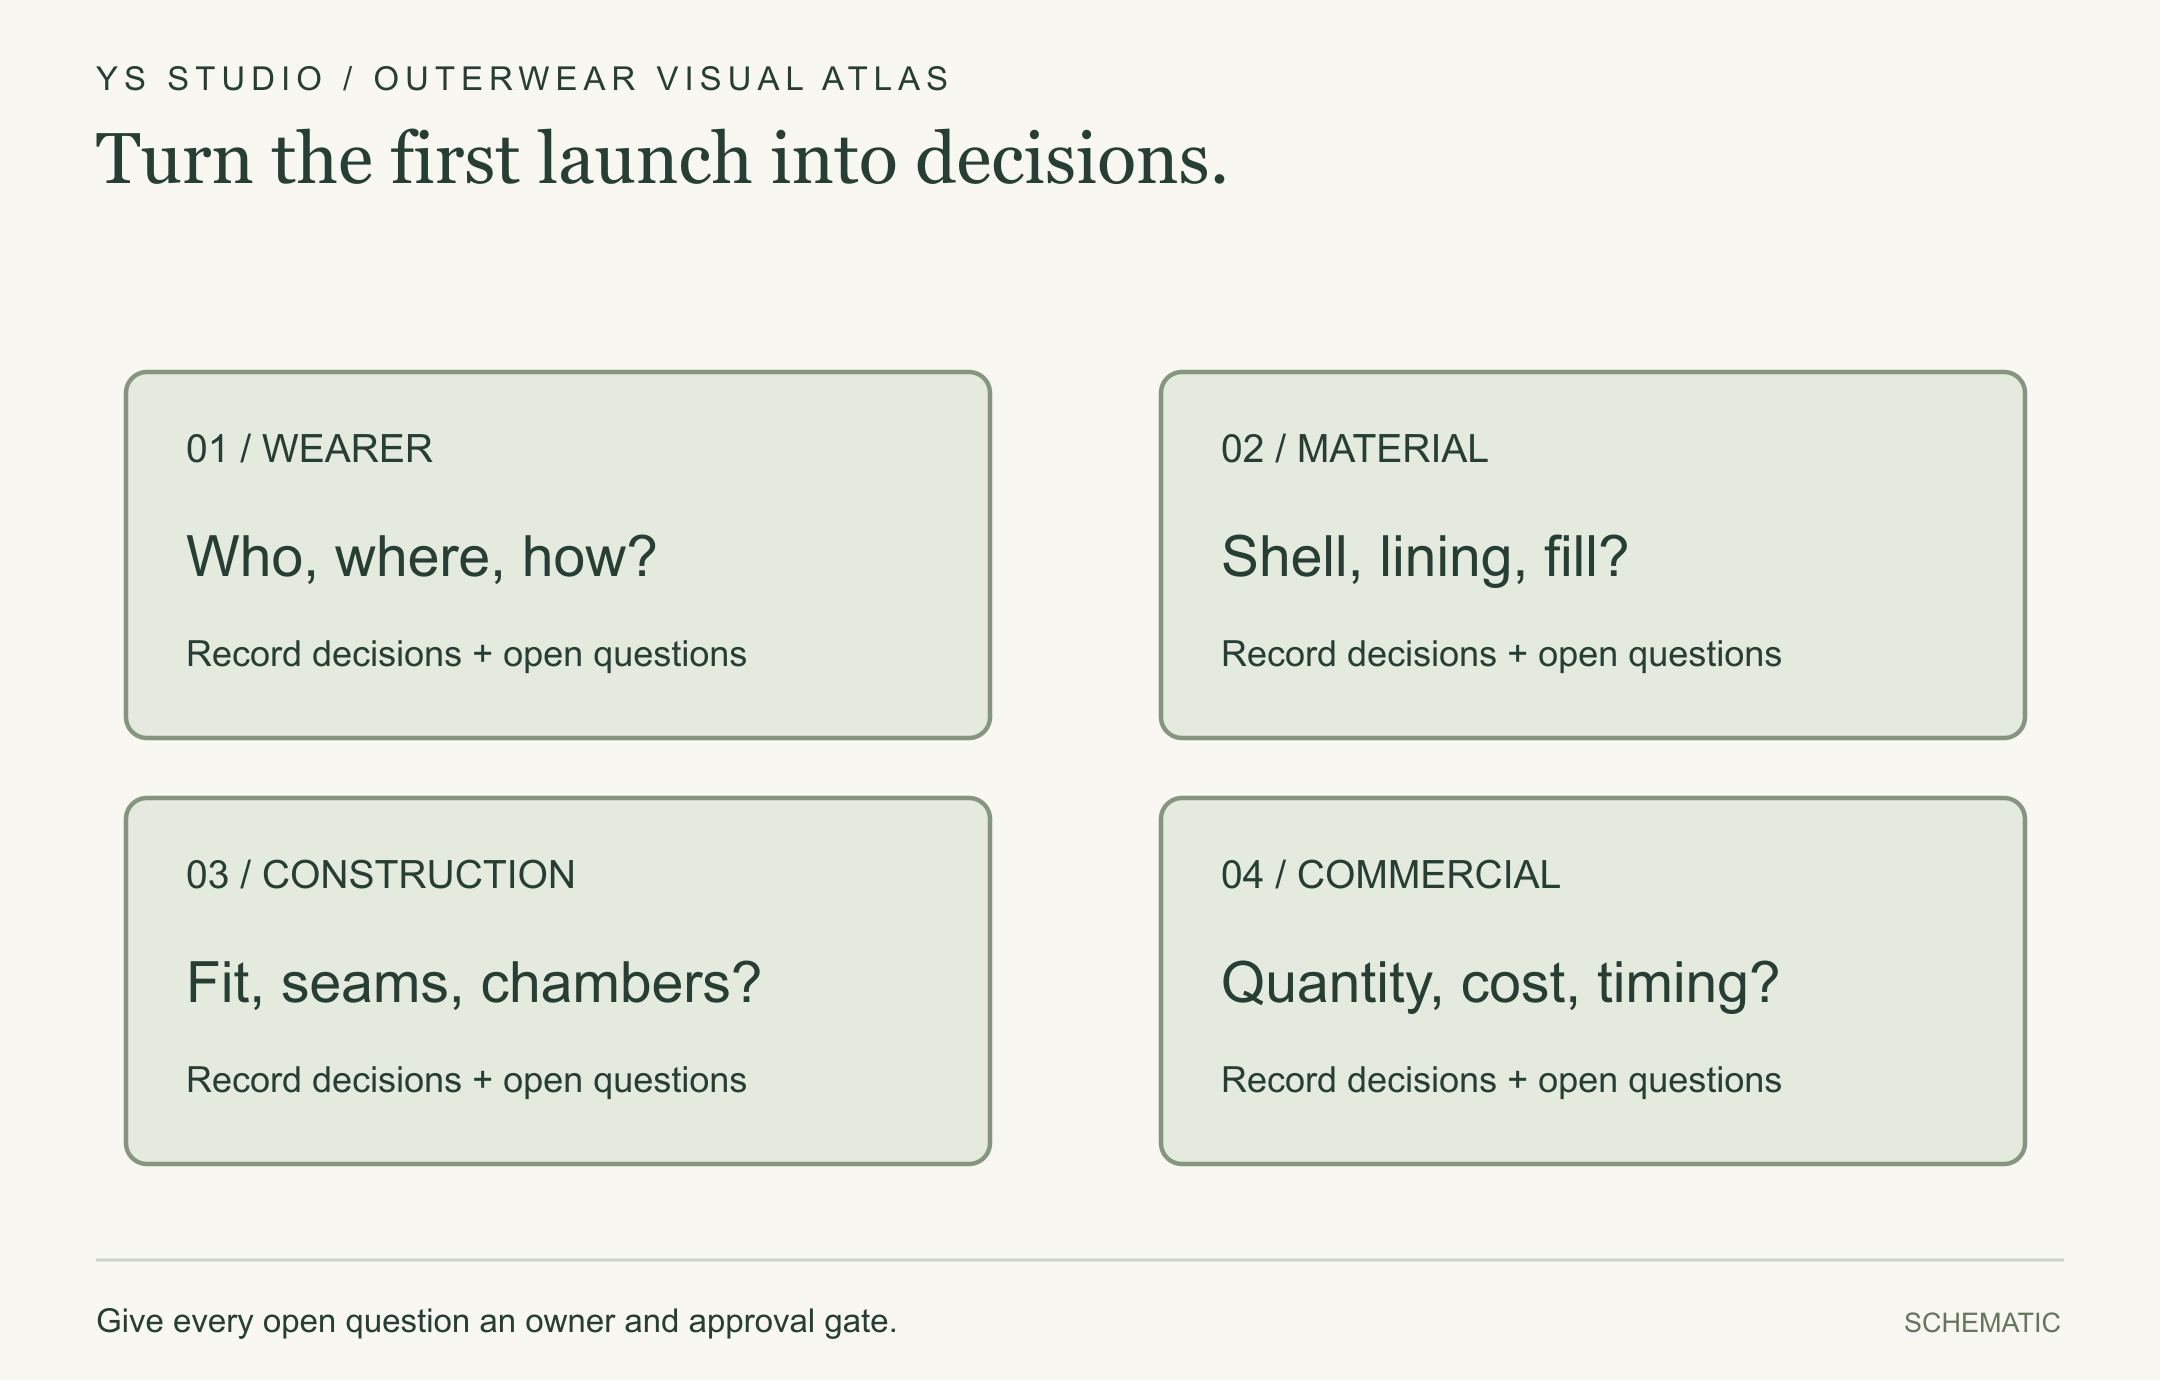
Turn the first launch into decisions.
Resolve wearer, material, construction and commercial questions before bulk. Unknowns can be developed with the design and sampling partner.
Give every open question an owner and approval gate.
Read the drawing. Check the detail.
These original YS Studio schematics explain construction concepts. Shapes, dimensions, loads and fill levels are illustrative unless explicitly stated. Each explanation links to a guide with further context and source material.
Bring a concept to the studio ↗