UNDERSTAND IT VISUALLY
Trace where the fill escapes.
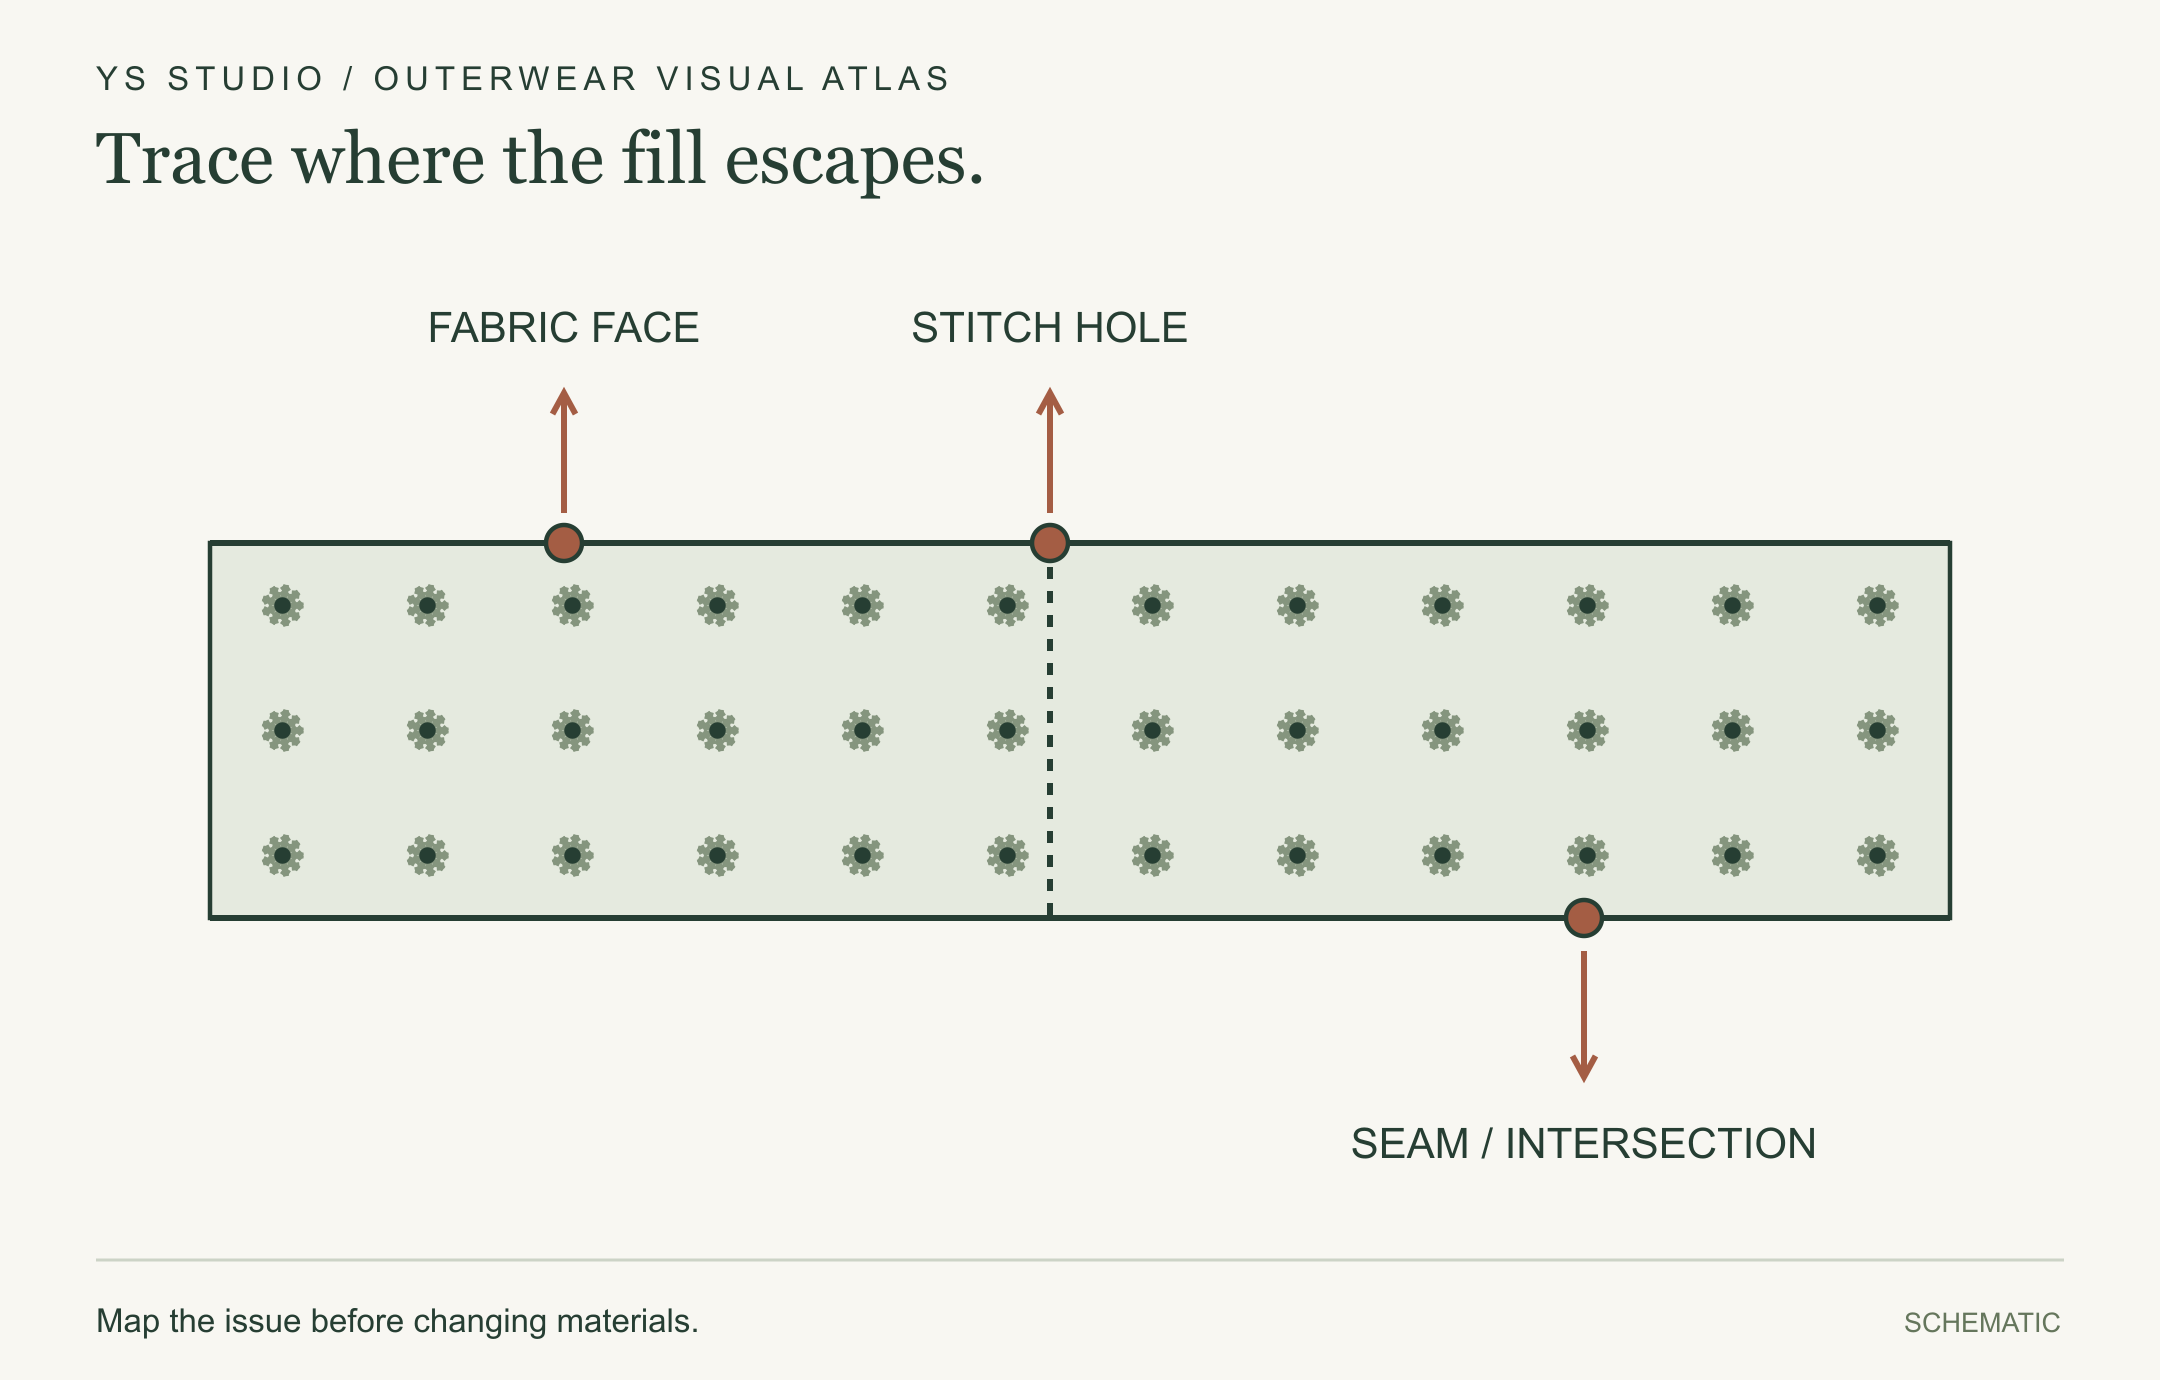
Investigate the fabric face, stitch holes and seam intersections separately. A leakage location is a clue, not proof of the root cause.
Map the issue before changing materials.
Start with location and pattern
Map leakage by garment zone and inspect whether fibers emerge through the fabric face, stitch line, seam intersection, pocket or damaged point. Keep the garment and lot information. A single loose plume does not identify a root cause.
Check the system
Review fabric and lining performance, needle and thread, stitch density, seam allowance, baffle design, fill handling and the production process. Confirm whether the issue appears on unused samples, after wear simulation, or after packing and transport.
Test the right specimen
A fabric test can help evaluate material retention. A finished-garment test may be needed to assess seams and construction. Agree test method and acceptance limits before bulk, then document corrective actions and re-check the revised sample.
Questions buyers ask
Is every escaped feather a defect?
Acceptance depends on the product specification and agreed inspection criteria. Define limits and assessment conditions with the buyer.
Should I just choose a tighter fabric?
First identify the source. Stitching or assembly may be the cause, and a tighter fabric can change hand feel, weight and airflow.
Sources and further reading
External sources inform the technical explanations above. Standards and test requirements can vary by market; check current documents for your product.
This guide supports early product decisions. Confirm material data, applicable labeling rules and performance claims for the specific product and destination market.